Ruby is an interpreted, high-level, and general-purpose language developed by Yukihiro Matsumoto. Ruby on Rails is a powerful web framework built on top of Ruby. It is used as a backend for several web applications such as GitHub, Spotify, and more. Ruby on Rails can also be integrated with several databases including MySQL, SQLite, and PostgreSQL.
Step 1 – Install and Configure MySQL
First, install the MySQL server and client library with the following command.
apt install mysql-server-8.0 libmysqlclient-dev
Once the MySQL server is installed, secure MySQL with the following command.
mysql_secure_installation
Answer all the questions as shown below.
Press y|Y for Yes, any other key for No: Y
Remove anonymous users? (Press y|Y for Yes, any other key for No) : Y
Disallow root login remotely? (Press y|Y for Yes, any other key for No) : Y
Remove test database and access to it? (Press y|Y for Yes, any other key for No) : Y
Reload privilege tables now? (Press y|Y for Yes, any other key for No) : Y
Next, connect to MySQL with the following command.
mysql -u root --skip-password
Set a password for the root user using the following command.
ALTER USER 'root'@'localhost' IDENTIFIED WITH mysql_native_password BY 'securepassword';
Next, flush the privileges and exit from the MySQL shell.
FLUSH PRIVILEGES;
EXIT;
Step 2 – Install rbenv
First, install all required dependencies using the following command.
apt install git curl libssl-dev libreadline-dev zlib1g-dev autoconf bison build-essential libyaml-dev libreadline-dev libncurses5-dev libffi-dev libgdbm-dev
After successful installation, install rbenv with the following command.
apt install rbenv libtool
Next, initialize rbenv.
rbenv init
Output:
eval "$(rbenv init -)"
Next, edit the .bashrc file and add the above output.
nano ~/.bashrc
Add the following line:
eval "$(rbenv init -)"
Next, reload the .bashrc file.
source ~/.bashrc
Next, install rbenv plugin to provide support for the rbenv install command.
mkdir -p "$(rbenv root)"/plugins
git clone https://github.com/rbenv/ruby-build.git "$(rbenv root)"/plugins/ruby-build
Next, verify your rbenv configuration with the following command.
curl -fsSL https://github.com/rbenv/rbenv-installer/raw/main/bin/rbenv-doctor | bash
You will see the following output:
Checking for `rbenv' in PATH: /usr/bin/rbenv
Checking for rbenv shims in PATH: OK
Checking `rbenv install' support: /root/.rbenv/plugins/ruby-build/bin/rbenv-install (ruby-build 20231014-3-g1d9b4e2)
Counting installed Ruby versions: none
  There aren't any Ruby versions installed under `/root/.rbenv/versions'.
  You can install Ruby versions like so: rbenv install 3.2.2
Auditing installed plugins: OK
Step 3 – Install Ruby
First, list all available Ruby versions using the following command:
rbenv install -l
Next, install a specific Ruby version with the following command:
rbenv install 3.2.0
Next, set the Ruby version as a global version:
rbenv global 3.2.0
You can now verify the Ruby version with the following command:
ruby --version
Output:
ruby 3.0.2p107 (2021-07-07 revision 0db68f0233) [x86_64-linux-gnu]
Step 4 – Install Ruby on Rails
First, install the gem bundler with the following command:
gem install bundler
Next, install Ruby on Rails using the following command:
gem install rails
Next, rehash Rails with the following command:
rbenv rehash
To verify the Rails version, run the following command:
rails -v
Output:
Rails 7.1.1
Next, install the MySQL gem adapter to connect to the MySQL server.
gem install mysql2
Step 5 – Create a Rails App and Configure MySQL Connection
At this point, all the required components of Ruby on Rails are installed. Now, let’s create a new application named myapp with the following command:
rails new myapp -d mysql
Next, change the directory to myapp application and exit the database configuration file.
cd myapp
nano config/database.yml
Define your MySQL root username and password as shown below:
default: &default
  adapter: mysql2
  encoding: utf8mb4
  pool: <%= ENV.fetch("RAILS_MAX_THREADS") { 5 } %>
  username: root
  password: securepassword
  socket: /var/run/mysqld/mysqld.sock
Save and close the file, then create the necessary databases with the following command.
rake db:create
Step 6 – Verify Configuration
Finally, start the Rails server to verify the configuration.
rails server --binding=0.0.0.0
If everything is fine, you will see the following output:
=> Booting Puma
=> Rails 7.1.1 application starting in development
=> Run `bin/rails server --help` for more startup options
Puma starting in single mode...
* Puma version: 6.4.0 (ruby 3.2.0-p0) ("The Eagle of Durango")
*  Min threads: 5
*  Max threads: 5
*  Environment: development
*          PID: 69257
* Listening on http://0.0.0.0:3000
Use Ctrl-C to stop
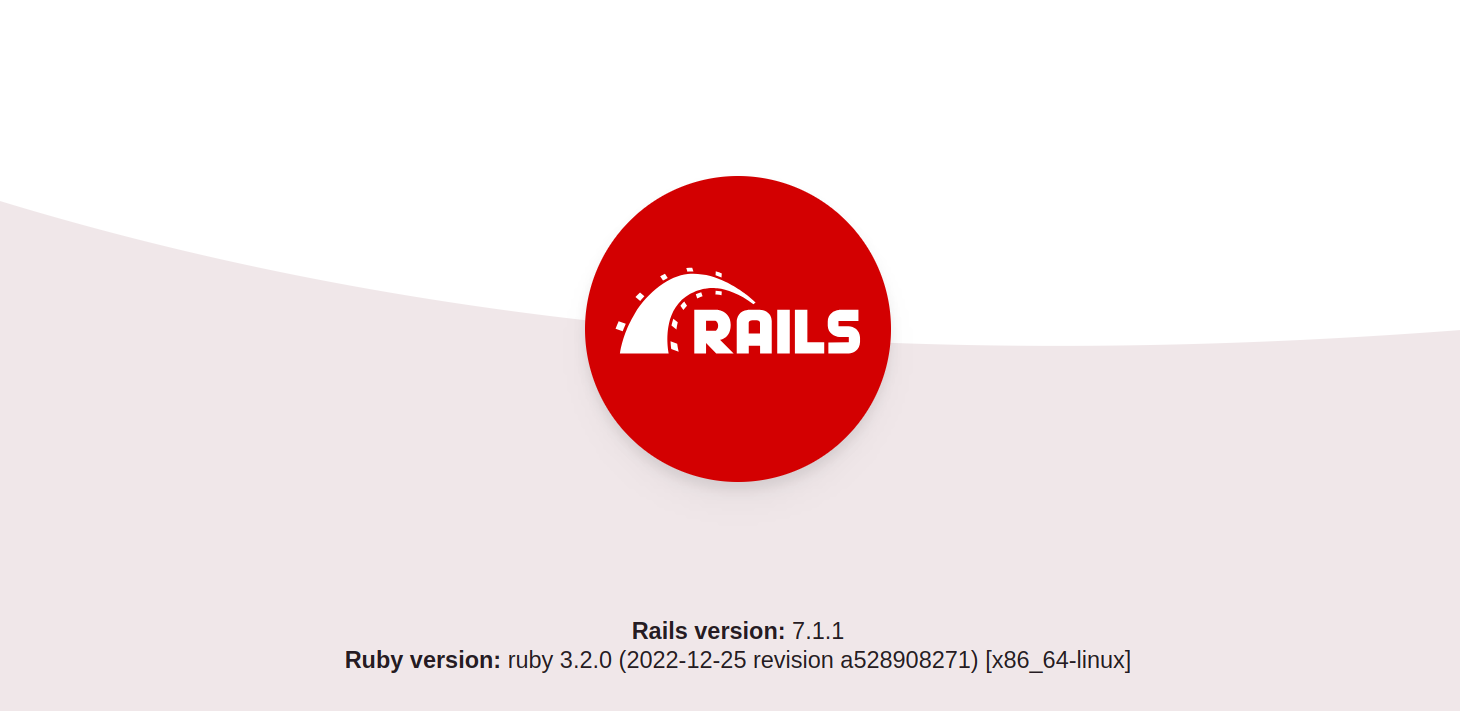
Now, open your web browser and access the Ruby on Rails app using the URL http://your-server-ip:3000. You will see the following screen.
Conclusion
In this post, we explained how to install Ruby on Rails and connect it to the MySQL database on Ubuntu 22.04. Ruby on Rails supports several database engines. If you need concurrency and scaling, then MySQL will be a better choice for your project. You can now integrate MySQL with the Ruby on Rails application on dedicated server hosting from Atlantic.Net!
