GFPGAN (Generative Facial Prior GAN) is a powerful tool developed by the TencentARC team for restoring old, damaged, or low-quality facial images. By leveraging generative models, GFPGAN can enhance facial details, improve resolution, and deliver more realistic restorations compared to traditional image enhancement methods. Using a GPU-accelerated environment is highly recommended for faster inference times when working on multiple images or high-resolution inputs.
This guide will walk you through the process of setting up GFPGAN for AI-powered face restoration on an Atlantic.Net Cloud GPU server.
Prerequisites
Before starting, ensure you have the following:
- An Ubuntu 22.04 Cloud GPU Server.
- CUDA Toolkit and cuDNN Installed.
- A root or sudo privileges.
Update and Upgrade Packages
Before starting, it’s always good practice to ensure your system is up to date:
apt update
apt upgrade
Install Python 3 and Pip
Ubuntu 22.04 should have Python 3 and pip installed by default. If not, run:
apt install -y python3 python3-pipInstall Torch with CUDA Support
GFPGAN requires PyTorch for model inference. Install the appropriate PyTorch version for CUDA support.
pip install torch==2.1.2+cu118 torchvision==0.16.2+cu118 --index-url https://download.pytorch.org/whl/cu118The –index-url option points pip to PyTorch’s CUDA 11.8 wheel index.
Download the GFPGAN Repository
Next, we’ll download the GFPGAN source code from GitHub:
git clone https://github.com/TencentARC/GFPGAN.gitOnce the download is completed, change the directory to the GFPGAN.
cd GFPGANInstall Dependent Packages
1. Install basicsr and facexlib for face detection and image restoration operations.
pip install basicsr facexlib2. Install all the Python dependencies listed in GFPGAN’s requirements.txt. These may include image-processing libraries, PyTorch-related tools, and other necessary packages.
pip install -r requirements.txt3. Install GFPGAN in a “development” mode. It allows you to run GFPGAN as a module and integrate its code changes immediately.
python3 setup.py develop4. Install Real-ESRGAN to enhance images further.
pip install realesrganDownload the Pre-trained GFPGAN Model Weights
GFPGAN relies on pre-trained models to perform face restoration. We will download version 1.3 of the model weights:
wget https://github.com/TencentARC/GFPGAN/releases/download/v1.3.0/GFPGANv1.3.pth -P experiments/pretrained_modelsThis command downloads the GFPGANv1.3.pth model file directly into the experiments/pretrained_models folder, where GFPGAN expects the weights.
Setting Up the Web Interface
To make the restoration process user-friendly, we’ll set up a simple Flask-based web interface. With this interface, you can upload an image through a browser and get the restored version.
1. Create a folder for holding HTML templates used by the Flask application.
mkdir templates2. Next, create a simple HTML page index.html for uploading images.
nano templates/index.htmlAdd the code below.
<!DOCTYPE html>
<html lang="en">
<head>
<meta charset="UTF-8">
<meta name="viewport" content="width=device-width, initial-scale=1.0">
<title>GFPGAN Web Interface</title>
</head>
<body>
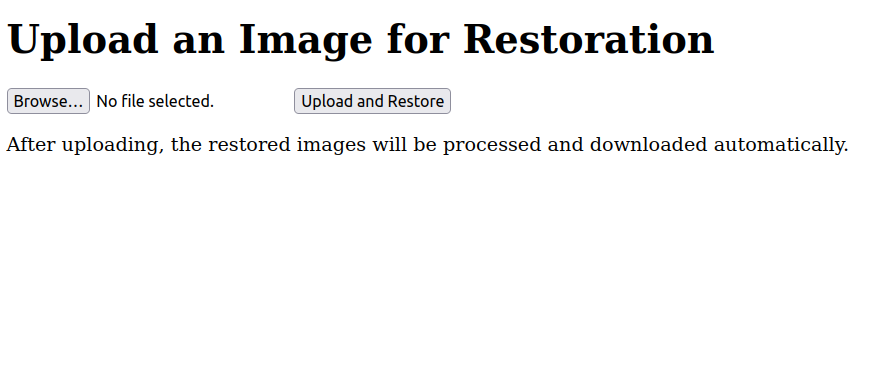
<h1>Upload an Image for Restoration</h1>
<form action="/upload" method="post" enctype="multipart/form-data">
<input type="file" name="file" accept="image/*">
<button type="submit">Upload and Restore</button>
</form>
<p>After uploading, the restored images will be processed and downloaded automatically.</p>
</body>
</html>This HTML form allows the user to select an image file and upload it to the Flask application. Once submitted, the image is sent to the upload endpoint for processing.
3. Create a Flask application.
nano app.pyAdd the following code:
from flask import Flask, request, render_template, send_file
import os
import subprocess
import shutil
import zipfile
from datetime import datetime

app = Flask(__name__)
UPLOAD_FOLDER = 'inputs/whole_imgs'
RESULT_FOLDER = 'results'
app.config['UPLOAD_FOLDER'] = UPLOAD_FOLDER

os.makedirs(UPLOAD_FOLDER, exist_ok=True)
os.makedirs(RESULT_FOLDER, exist_ok=True)

@app.route('/')
def index():
    return render_template('index.html')

@app.route('/upload', methods=['POST'])
def upload_file():
    if 'file' not in request.files:
        return "No file uploaded", 400

    file = request.files['file']
    if file.filename == '':
        return "No file selected", 400

    filepath = os.path.join(app.config['UPLOAD_FOLDER'], file.filename)
    file.save(filepath)

    # Clean up old files in the results folder
    shutil.rmtree(RESULT_FOLDER)
    os.makedirs(RESULT_FOLDER, exist_ok=True)

    # Run GFPGAN inference
    command = f"python3 inference_gfpgan.py -i {UPLOAD_FOLDER} -o {RESULT_FOLDER} -v 1.3 -s 2"
    subprocess.run(command, shell=True)

    # Create a dynamically named ZIP archive of the results folder
    zip_name = f"results_{datetime.now().strftime('%Y%m%d_%H%M%S')}.zip"
    with zipfile.ZipFile(zip_name, 'w') as zipf:
        for root, dirs, files in os.walk(RESULT_FOLDER):
            for file in files:
                file_path = os.path.join(root, file)
                arcname = os.path.relpath(file_path, start=RESULT_FOLDER)
                zipf.write(file_path, arcname)

    # Send the ZIP file for download
    return send_file(zip_name, as_attachment=True)

if __name__ == '__main__':
    app.run(host='0.0.0.0', port=5000)
This code will do the following:
- Imports necessary libraries for file handling, subprocess execution, and ZIP archiving.
- Sets UPLOAD_FOLDER and RESULT_FOLDER for storing input and output images.
- Defines a Flask route / to display the upload form.
- Defines a Flask route /upload to handle file uploads, run GFPGAN, and return a ZIP file of results.
4. Finally, run the Flask application.
python3 app.pyYou will get the following output.
 * Serving Flask app 'app'
 * Debug mode: off
WARNING: This is a development server. Do not use it in a production deployment. Use a production WSGI server instead.
 * Running on all addresses (0.0.0.0)
 * Running on http://127.0.0.1:5000
 * Running on http://your-server-ip:5000
Press CTRL+C to quit
Access the Flask Web UI
1. Open a browser and navigate to http://your-server-ip:5000. You will see an upload form.
2. Download the following image and save it on your local computer.
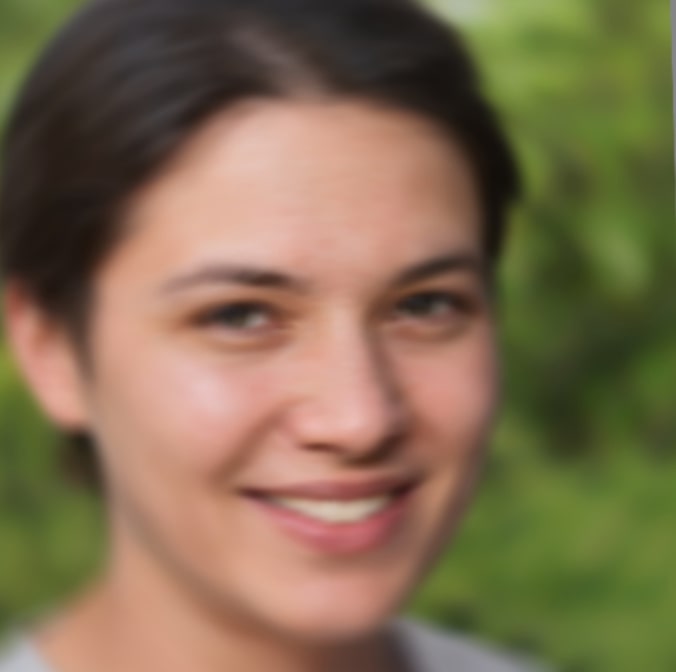
3. Click on Browse, choose the downloaded image from your local system, and click “Upload and Restore.”
4. The server will run GFPGAN inference on the uploaded image and produce a restored version. Once complete, your browser should prompt you to download a ZIP file containing the restored image(s).

5. The restored image will also be found in the restored_imgs folder inside your downloaded zip archive.

Conclusion
By following this guide, you have successfully set up an AI-powered face restoration application using GFPGAN on an Ubuntu 22.04 cloud GPU server. This implementation leverages the power of GPU acceleration provided by PyTorch and CUDA, enabling high-performance image restoration. With GFPGAN, you not only harness state-of-the-art technology but also demonstrate the practical benefits of AI in real-world applications – test it out today on a GPU server from Atlantic.Net!
* This post is for informational purposes only and does not constitute professional, legal, financial, or technical advice. Each situation is unique and may require guidance from a qualified professional.
Readers should conduct their own due diligence before making any decisions.