Artificial Intelligence (AI) has significantly transformed the creative landscape, enabling the generation of high-quality, lifelike images through models like OpenJourney. Users can efficiently produce AI-generated artwork by leveraging the computational power of cloud-based GPU servers, such as those offered by Atlantic.Net.
In this guide, we will set up an environment on an Atlantic.Net Cloud GPU server to generate images using the OpenJourney model.
Prerequisites
Before proceeding, ensure you have the following:
- An Atlantic.Net Cloud GPU server running Ubuntu 24.04, equipped with an NVIDIA A100 GPU with at least 20 GB of GPU RAM.
- Root or sudo privileges.
Step 1: Install NVIDIA CUDA Toolkit
The CUDA Toolkit is essential for GPU acceleration, providing the necessary libraries and tools for running computations on NVIDIA GPUs.
Download and set up the CUDA repository pin.
wget https://developer.download.nvidia.com/compute/cuda/repos/ubuntu2404/x86_64/cuda-ubuntu2404.pin
mv cuda-ubuntu2404.pin /etc/apt/preferences.d/cuda-repository-pin-600
Download and install the CUDA repository package.
wget https://developer.download.nvidia.com/compute/cuda/12.8.0/local_installers/cuda-repo-ubuntu2404-12-8-local_12.8.0-570.86.10-1_amd64.deb
dpkg -i cuda-repo-ubuntu2404-12-8-local_12.8.0-570.86.10-1_amd64.deb
cp /var/cuda-repo-ubuntu2404-12-8-local/cuda-*-keyring.gpg /usr/share/keyrings/
Update the package lists and install the CUDA Toolkit.
apt-get update
apt-get -y install cuda-toolkit-12-8
Configure environment variables to locate the CUDA executables and libraries.
echo "export PATH=/usr/local/cuda-12.8/bin${PATH:+:${PATH}}" >> ~/.bashrcInclude the CUDA library directory in the LD_LIBRARY_PATH.
echo "export LD_LIBRARY_PATH=/usr/local/cuda-12.8/lib64${LD_LIBRARY_PATH:+:${LD_LIBRARY_PATH}}" >> ~/.bashrcActivate the updated environment variables.
source ~/.bashrcVerify that the GPU is recognized and that the CUDA compiler is installed correctly.
nvidia-smiOutput:
Thu Jan 30 11:30:08 2025
+-----------------------------------------------------------------------------------------+
| NVIDIA-SMI 550.90.07              Driver Version: 550.90.07      CUDA Version: 12.4     |
|-----------------------------------------+------------------------+----------------------+
| GPU  Name                 Persistence-M | Bus-Id          Disp.A | Volatile Uncorr. ECC |
| Fan  Temp   Perf          Pwr:Usage/Cap |           Memory-Usage | GPU-Util  Compute M. |
|                                         |                        |               MIG M. |
|=========================================+========================+======================|
|   0  GRID A100D-20C                 On  |   00000000:06:00.0 Off |                    0 |
| N/A   N/A    P0             N/A /  N/A  |       1MiB /  20480MiB |      0%      Default |
|                                         |                        |             Disabled |
+-----------------------------------------+------------------------+----------------------+

+-----------------------------------------------------------------------------------------+
| Processes:                                                                              |
|  GPU   GI   CI        PID   Type   Process name                              GPU Memory |
|        ID   ID                                                               Usage      |
|=========================================================================================|
|  No running processes found                                                             |
+-----------------------------------------------------------------------------------------+
Step 2: Install NVIDIA cuDNN Library
The cuDNN library is a GPU-accelerated library for deep neural networks, enhancing the performance of deep learning frameworks.
Download and install the cuDNN repository package.
wget https://developer.download.nvidia.com/compute/cudnn/9.7.0/local_installers/cudnn-local-repo-ubuntu2404-9.7.0_1.0-1_amd64.deb
dpkg -i cudnn-local-repo-ubuntu2404-9.7.0_1.0-1_amd64.deb
cp /var/cudnn-local-repo-ubuntu2404-9.7.0/cudnn-*-keyring.gpg /usr/share/keyrings/
Update the package lists and install cuDNN.
apt-get update
apt-get -y install cudnn
Check the installed version of cuDNN to ensure it’s correctly set up.
cat /usr/include/cudnn_version.h | grep CUDNN_MAJOR -A 2Output:
#define CUDNN_MAJOR 9
#define CUDNN_MINOR 7
#define CUDNN_PATCHLEVEL 0
--
#define CUDNN_VERSION (CUDNN_MAJOR * 10000 + CUDNN_MINOR * 100 + CUDNN_PATCHLEVEL)

/* cannot use constexpr here since this is a C-only file */
Step 3: Set Up Python Environment
A dedicated Python environment ensures that dependencies for your project are managed efficiently without conflicts.
Install Python 3 and create a virtual environment.
apt install python3-full python3-virtualenv
python3 -m venv venv
source venv/bin/activate
Upgrade pip and install Jupyter Notebook.
pip install --upgrade pip
pip install notebook
Launch the Jupyter Notebook.
jupyter notebook --no-browser --port=8888 --ip=your-server-ip --allow-rootOutput:
    To access the server, open this file in a browser:
        file:///root/.local/share/jupyter/runtime/jpserver-7131-open.html
    Or copy and paste one of these URLs:
        http://your-server-ip:8888/tree?token=46d4d0af7fd47802a59aa8dce159eafba688b17261592841
        http://127.0.0.1:8888/tree?token=46d4d0af7fd47802a59aa8dce159eafba688b17261592841
[I 2025-01-30 11:13:06.976 ServerApp] Skipped non-installed server(s): bash-language-server, dockerfile-language-server-nodejs, javascript-typescript-langserver, jedi-language-server, julia-language-server, pyright, python-language-server, python-lsp-server, r-languageserver, sql-language-server, texlab, typescript-language-server, unified-language-server, vscode-css-languageserver-bin, vscode-html-languageserver-bin, vscode-json-languageserver-bin, yaml-language-server
Open your web browser and access the Jupyter Notebook using the URL http://your-server-ip:8888/tree?token=8e99e04461348b61490e1a51559a8be313840260787e7e17.
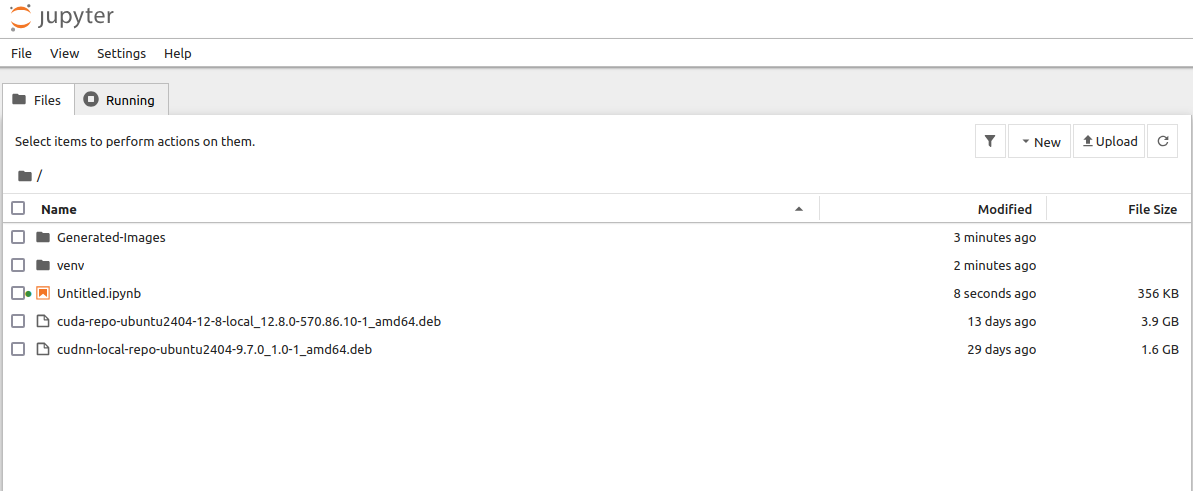
Click on File > New > Notebook. You will be asked to select the Kernel.
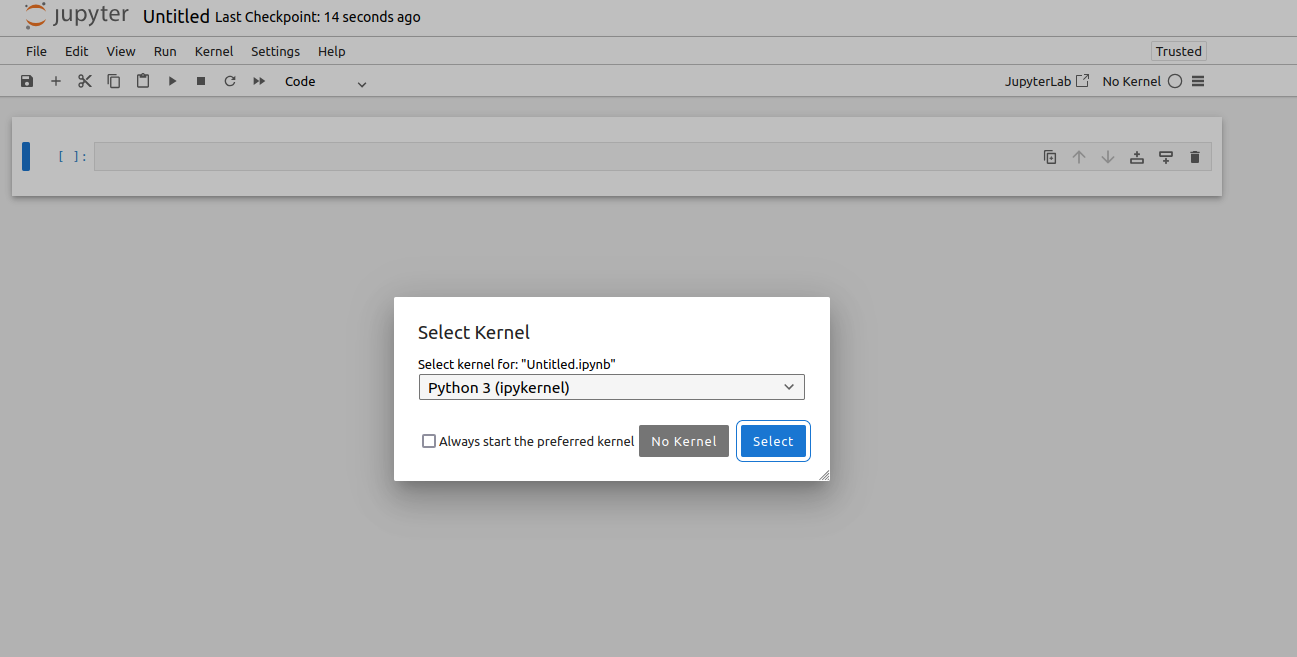
Select the “Python (GPU)” kernel and click Select to create a new notebook.
Step 4: Install Required Python Packages
To generate images using the OpenJourney model, you’ll need to install several Python libraries that facilitate model loading, data processing, and result visualization. It’s important to run these installation commands within your Jupyter Notebook to ensure the packages are available in that environment.
1. Install PyTorch and torchvision.
PyTorch is a deep learning framework, and torchvision provides access to popular datasets and model architectures.
!pip install torch torchvision --index-url https://download.pytorch.org/whl/cu1182. Install the Hugging Face Transformers Library.
The transformers library provides general-purpose architectures for natural language understanding and generation. In this context, it supports the integration with the OpenJourney model.
!pip install transformers3. Install the Diffusers Library:
The diffusers library is essential for working with diffusion models like OpenJourney, enabling efficient image generation.
!pip install diffusers4. Install the Accelerate Library:
The accelerate library optimizes the performance of your models, particularly when utilizing GPU resources, ensuring faster computations.
!pip install accelerate5. Install Matplotlib:
Matplotlib is a plotting library used for visualizing data. Here, it will help display the generated images within the Jupyter Notebook.
!pip install matplotlib6. Install ipywidgets:
ipywidgets enhances the interactivity of Jupyter Notebooks, allowing for dynamic controls and interactive visualizations.
!pip install ipywidgetsStep 5: Generate Images Using OpenJourney
With the environment set up and the necessary packages installed, you can now generate images using the OpenJourney model. This process involves importing essential libraries, initializing the model, and creating images based on textual prompts.
1. Import the Required Libraries:
Begin by importing the necessary libraries into your Jupyter Notebook.
from diffusers import StableDiffusionPipeline

import torch

import matplotlib.pyplot as plt
2. Initialize the OpenJourney Model:
Set up the model to prepare it for image generation.
model_id = "prompthero/openjourney"

pipe = StableDiffusionPipeline.from_pretrained(model_id, torch_dtype=torch.float16)

pipe = pipe.to("cuda")
3. Generate an Image from a Text Prompt:
Create an image by providing a descriptive text prompt.
prompt = "green vulture with clouds in the background, mdjrny-v4 style"

images = pipe(prompt).images
4. Display the Generated Image:
Visualize the output within the Jupyter Notebook.
plt.imshow(images[0])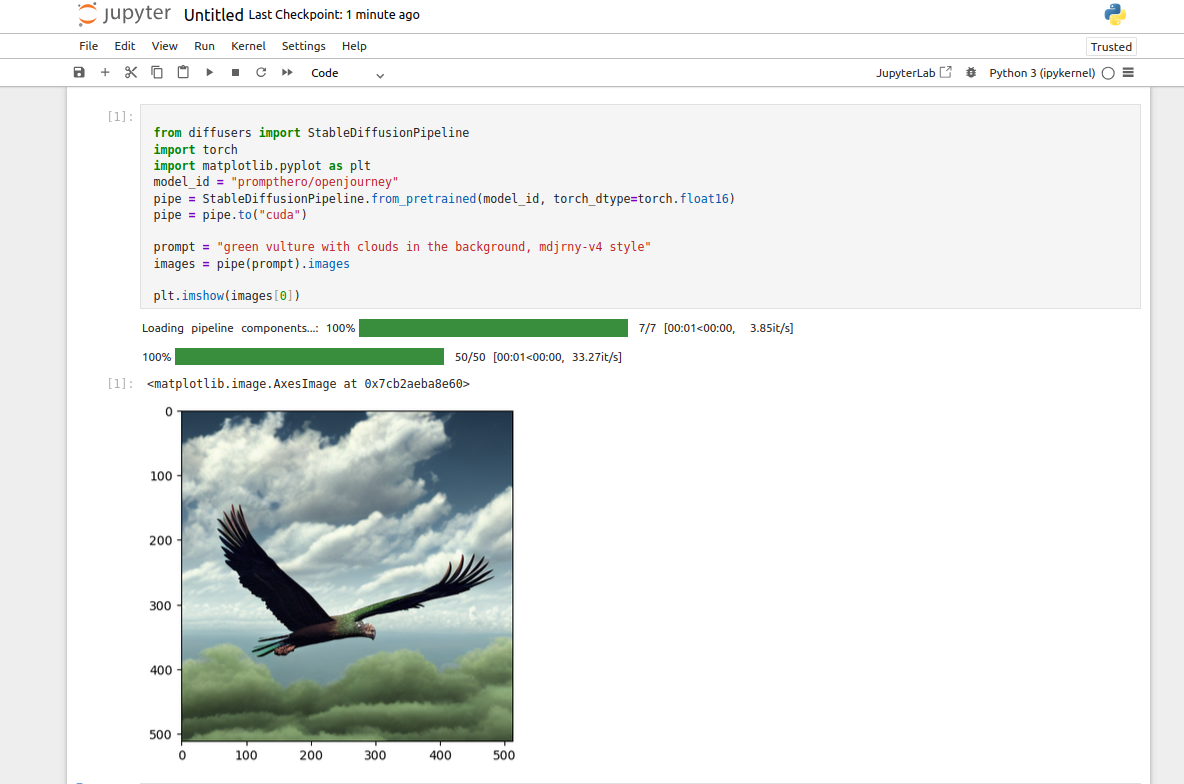
Removes the axis ticks and labels for a cleaner presentation.
plt.imshow(images[0])
plt.axis('off')
plt.show()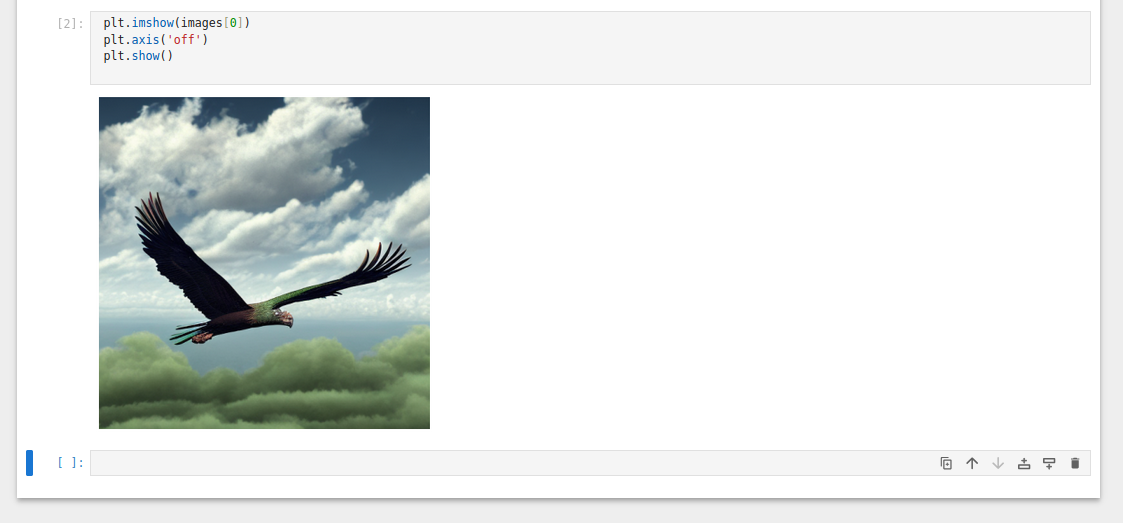
5. Save Generated Images
Specify the directory where the images will be stored.
save_directory = "/opt"6. Iterate through the list of images and save each one.
for i, image in enumerate(images):
     image.save(f"{save_directory}/image_{i}.png")
7. Generate Multiple Images:
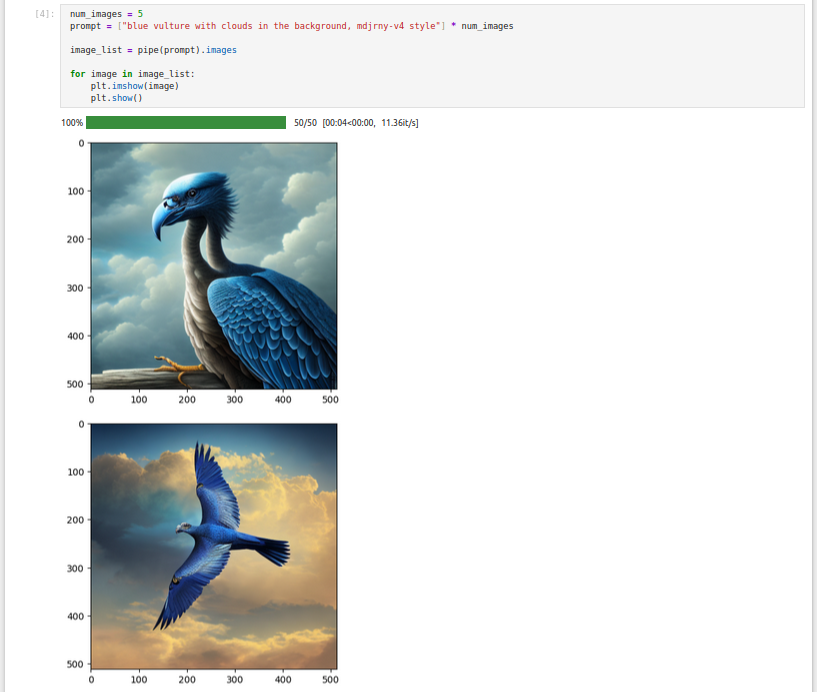
Define the number of images and generate them with new prompts.
num_images = 5
prompt = ["blue vulture with clouds in the background, mdjrny-v4 style"] * num_images

image_list = pipe(prompt).images

for image in image_list:
    plt.imshow(image)
    plt.show()
This loop iterates over each image in image_list and displays it using Matplotlib:
Conclusion
Congratulations! You’ve successfully set up an Atlantic.Net Cloud GPU server environment to generate AI-driven images using the OpenJourney model. This process involved installing essential tools like the NVIDIA CUDA Toolkit and cuDNN library, configuring a Python environment with Jupyter Notebook, and utilizing the OpenJourney model to create and save images based on textual prompts.
* This post is for informational purposes only and does not constitute professional, legal, financial, or technical advice. Each situation is unique and may require guidance from a qualified professional.
Readers should conduct their own due diligence before making any decisions.