Image manipulation has always been a cornerstone of creativity, enabling designers, artists, and hobbyists to bring their ideas to life. With the advent of AI, tools like Instruct Pix2Pix are revolutionizing this field by allowing users to edit images through simple text instructions. Instruct Pix2Pix leverages state-of-the-art deep learning models to perform detailed and accurate modifications to images based on prompts.
This guide provides a step-by-step walkthrough to set up and use Instruct Pix2Pix on an Ubuntu GPU server.
Prerequisites
Before we dive into the setup, ensure that your server meets the following requirements:
- An Ubuntu 22.04 Cloud GPU Server with at least 20 GB VRAM.
- CUDA Toolkit and cuDNN Installed.
- A root or sudo privileges.
To confirm CUDA support, run:
nvidia-smiEnsure the output lists your GPU and available VRAM.
Step 1: Installing Python Dependencies
We’ll start by installing the required Python packages. Ensure Python 3 and pip are installed on your system.
apt install python3 python3-pipNext, install torch with Cuda support using the pip.
pip3 install torch --index-url https://download.pytorch.org/whl/cu124Step 2: Setting Up Jupyter Notebook
Jupyter Notebook provides an interactive environment to work with Instruct Pix2Pix.
You can install it using the following command.
pip3 install notebookNext, run the Jupyter notebook.
jupyter notebook --ip=your-server-ip --allow-rootYou will see the following output.
[I 2024-12-17 03:32:14.456 ServerApp] Jupyter Server 2.14.2 is running at:
[I 2024-12-17 03:32:14.456 ServerApp] http://your-server-ip:8888/tree?token=6b926e2169755fafadf0282b219f775b978c9f5e009bbe16
[I 2024-12-17 03:32:14.456 ServerApp]     http://127.0.0.1:8888/tree?token=6b926e2169755fafadf0282b219f775b978c9f5e009bbe16
[I 2024-12-17 03:32:14.456 ServerApp] Use Control-C to stop this server and shut down all kernels (twice to skip confirmation).
[W 2024-12-17 03:32:14.459 ServerApp] No web browser found: Error('could not locate runnable browser').
[C 2024-12-17 03:32:14.459 ServerApp]

    To access the server, open this file in a browser:
        file:///root/.local/share/jupyter/runtime/jpserver-2789-open.html
    Or copy and paste one of these URLs:
        http://your-server-ip:8888/tree?token=6b926e2169755fafadf0282b219f775b978c9f5e009bbe16
        http://127.0.0.1:8888/tree?token=6b926e2169755fafadf0282b219f775b978c9f5e009bbe16
Note down the Jupyter notebook URL in the above output.
Step 3: Access Jupyter Notebook
In this section, we will access the Notebook and run the Model via web-based interface.
1. Access Jupyter Notebook
Open the URL provided in the output (e.g., http://your-server-ip:8888/tree?token=6b926e2169755fafadf0282b219f775b978c9f5e009bbe16) in a web browser to access the Jupyter Notebook interface.
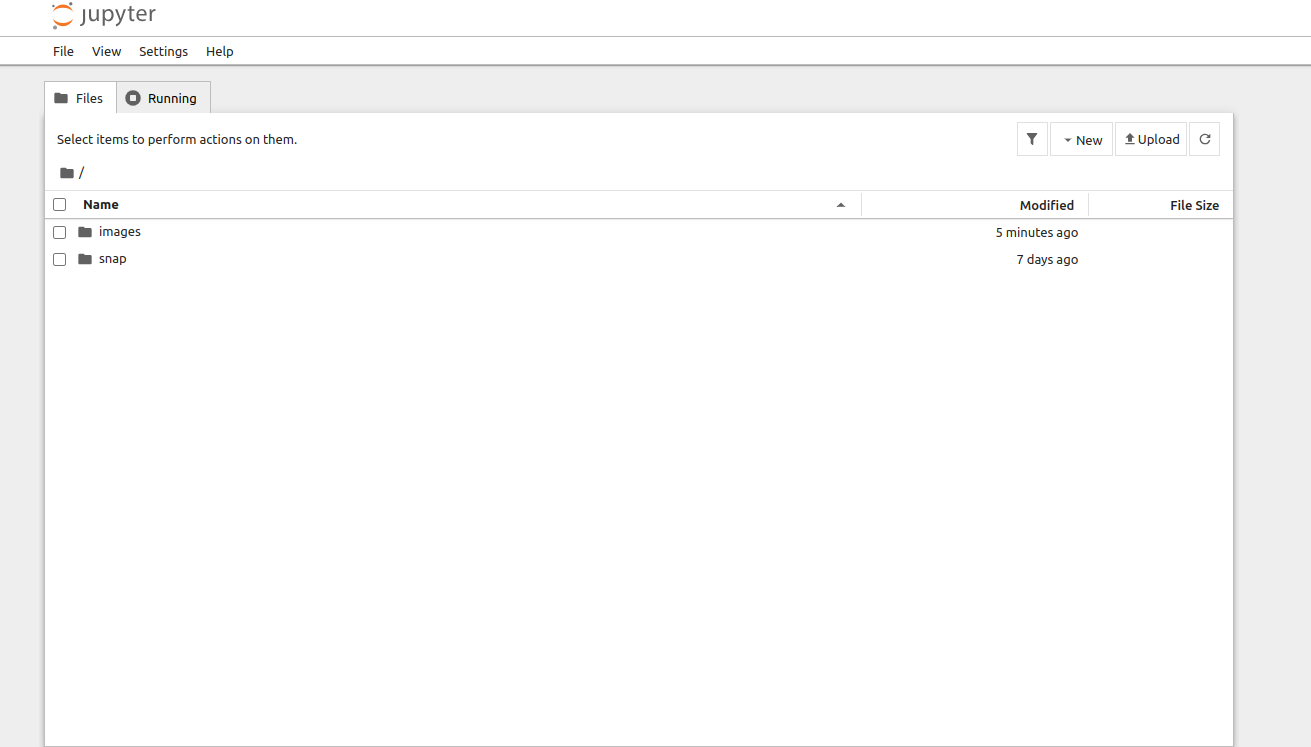
Click on File => New => Notebook to create a new Notebook. You will be asked to select a kernel.
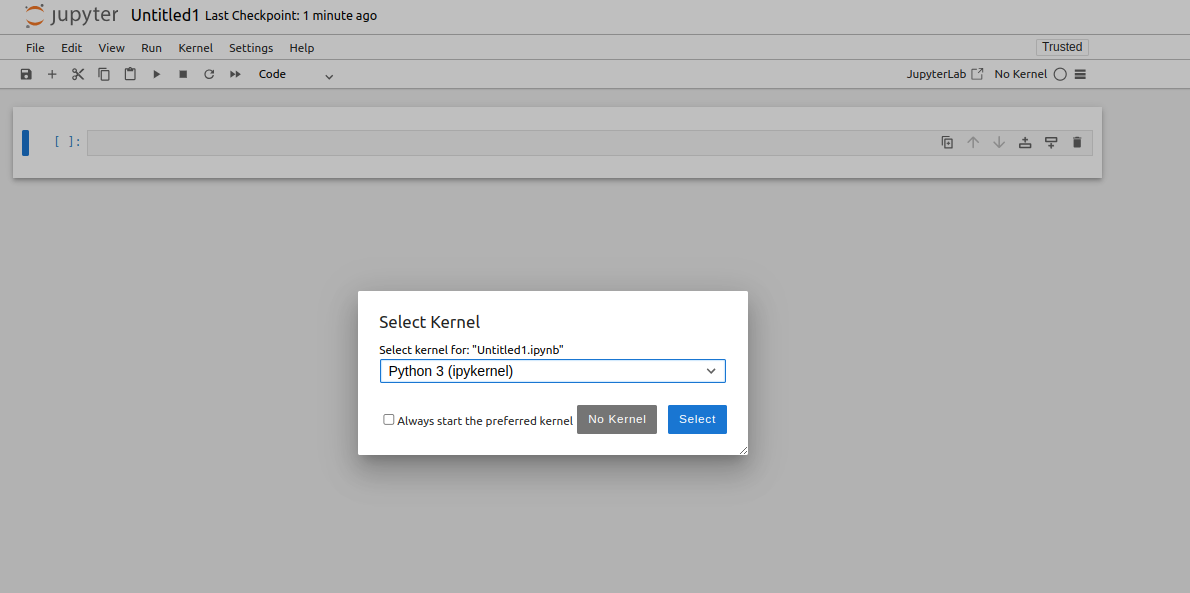
Select a Python kernel and click on Select. You will see the new Notebook page.
2. Install Required Dependencies
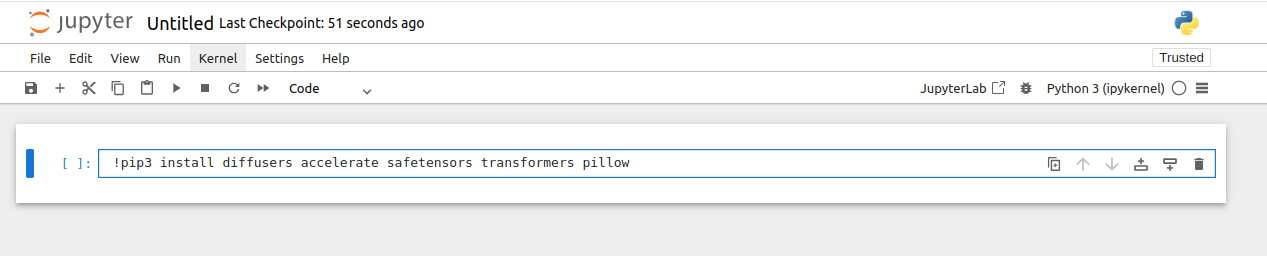
In the new Notebook window, install the required model libraries.
!pip3 install diffusers accelerate safetensors transformers pillowClick on run or press Control + Enter to install the above libraries.
Upgrade Jupyter Notebook and the ipywidgets package.
!pip3 install --upgrade jupyter ipywidgets3. Import Necessary Libraries
In the Notebook window, add the below code to import the necessary library.
from PIL import Image, ImageOps
import requests
import torch
from diffusers import StableDiffusionInstructPix2PixPipeline, EulerAncestralDiscreteScheduler
4. Download an Image
Add this function to download and prepare an image:
def download_image(url):
    image = Image.open(requests.get(url, stream=True).raw)
    image = ImageOps.exif_transpose(image)
    image = image.convert("RGB")
    return image

# Example
url = "https://i.postimg.cc/gkGpRjsp/image1.png"
image = download_image(url)
Note: replace https://i.postimg.cc/gkGpRjsp/image1.png with your image URL.
5. Load the Instruct Pix2Pix Model
Define and configure the model pipeline:
model_id = "timbrooks/instruct-pix2pix"
pipe = StableDiffusionInstructPix2PixPipeline.from_pretrained(model_id, torch_dtype=torch.float16, safety_checker=None)
pipe.to("cuda")
pipe.scheduler = EulerAncestralDiscreteScheduler.from_config(pipe.scheduler.config)
6. Running the Pipeline
Once the model is loaded, you can use it to edit images based on text prompts:
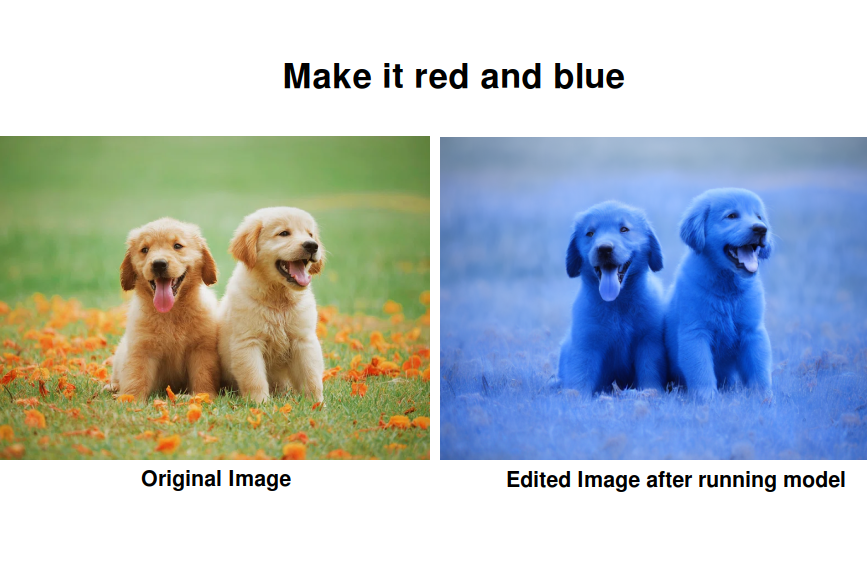
prompt = "Make it red and blue"
images = pipe(prompt, image=image, num_inference_steps=10, image_guidance_scale=1).images

# Save or display the result
images[0].save("output.png")
images[0].show()
Note: Replace the prompt with your desired modification description. For example, “Turn it into a sketch” or “Add a sunset background.”
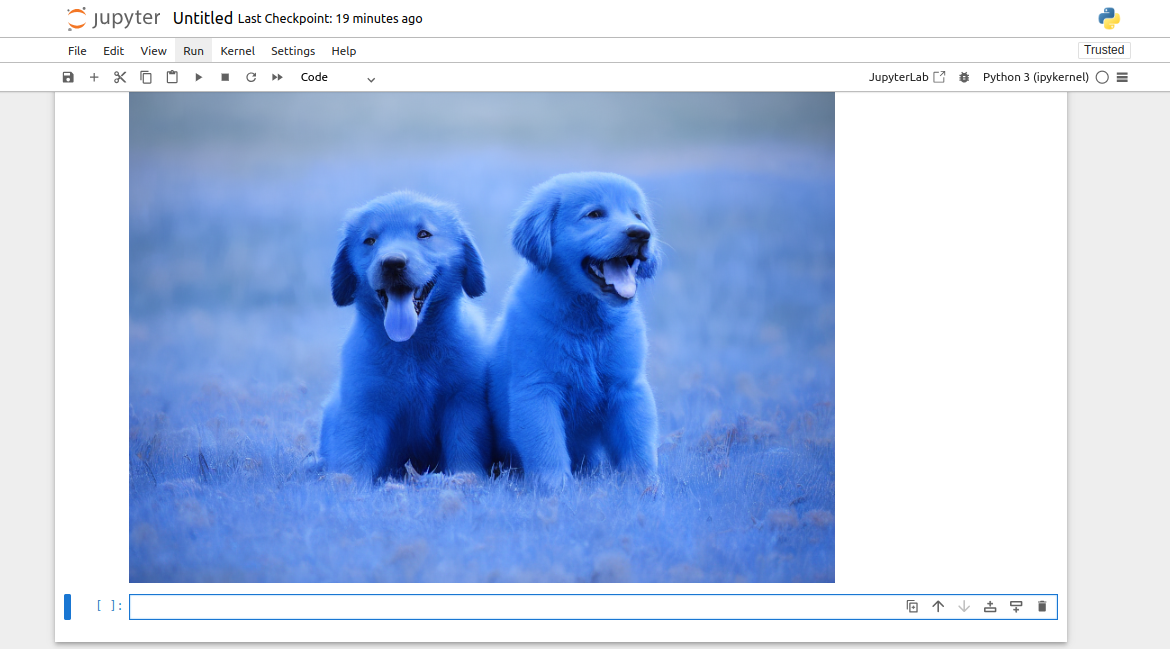
After adding all the code to the Notebook window, Click on run or press Control + Enter to run the Notebook. You will see the generated image in the Notebook window.
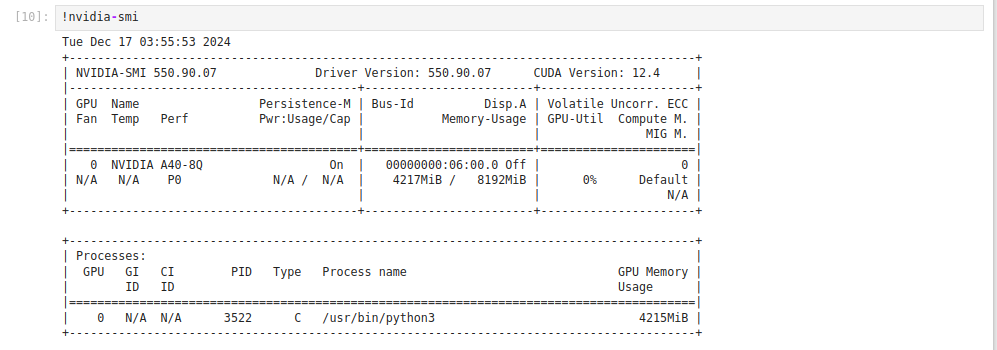
7. Verifying GPU Utilization
Ensure the GPU is utilized efficiently by running the following command in Notebook window:
!nvidia-smiThe output should show the GPU memory being used by Python processes.
Conclusion
Instruct Pix2Pix enables flexible and precise image editing using simple text prompts. With an Ubuntu GPU server, you can leverage this powerful AI tool for creative projects or experimentation. Follow this guide to set up your environment and start exploring the possibilities of AI-driven image manipulation.
* This post is for informational purposes only and does not constitute professional, legal, financial, or technical advice. Each situation is unique and may require guidance from a qualified professional.
Readers should conduct their own due diligence before making any decisions.