Data preprocessing is a critical step in the machine learning pipeline. Automating this process ensures consistency, efficiency, and scalability. Apache Airflow is a powerful orchestration tool that allows you to schedule and monitor data preprocessing tasks programmatically.
This guide walks through setting up Apache Airflow on an Ubuntu cloud GPU server and automating data preprocessing using Airflow DAGs.
Prerequisites
Before proceeding, ensure you have the following:
- An Atlantic.Net Cloud GPU server running Ubuntu 24.04.
- CUDA Toolkit and cuDNN Installed.
- A root or sudo privileges.
Step 1: Install Python and Required Libraries
1. Ensure your system has Python and necessary dependencies installed.
apt install python3 python3-pip python3-venv2. Create and activate a virtual environment:
python3 -m venv dag-env
source dag-env/bin/activate
3. Install required Python libraries:
pip install numpy pandas scikit-learn tensorflow torch graphvizStep 2: Install Apache Airflow
Apache Airflow is a powerful platform to programmatically author, schedule, and monitor workflows.
1. Install Airflow.
pip install apache-airflow2. Initialize the Airflow database.
airflow db init3. Create a user for the Airflow web interface.
airflow users create --username admin --password admin --firstname Admin --lastname User --role Admin --email [email protected]4. Start the Airflow web server and scheduler.
airflow webserver --port 8080 &
airflow scheduler &
5. Access the Airflow UI at http://your-server-ip:8080.
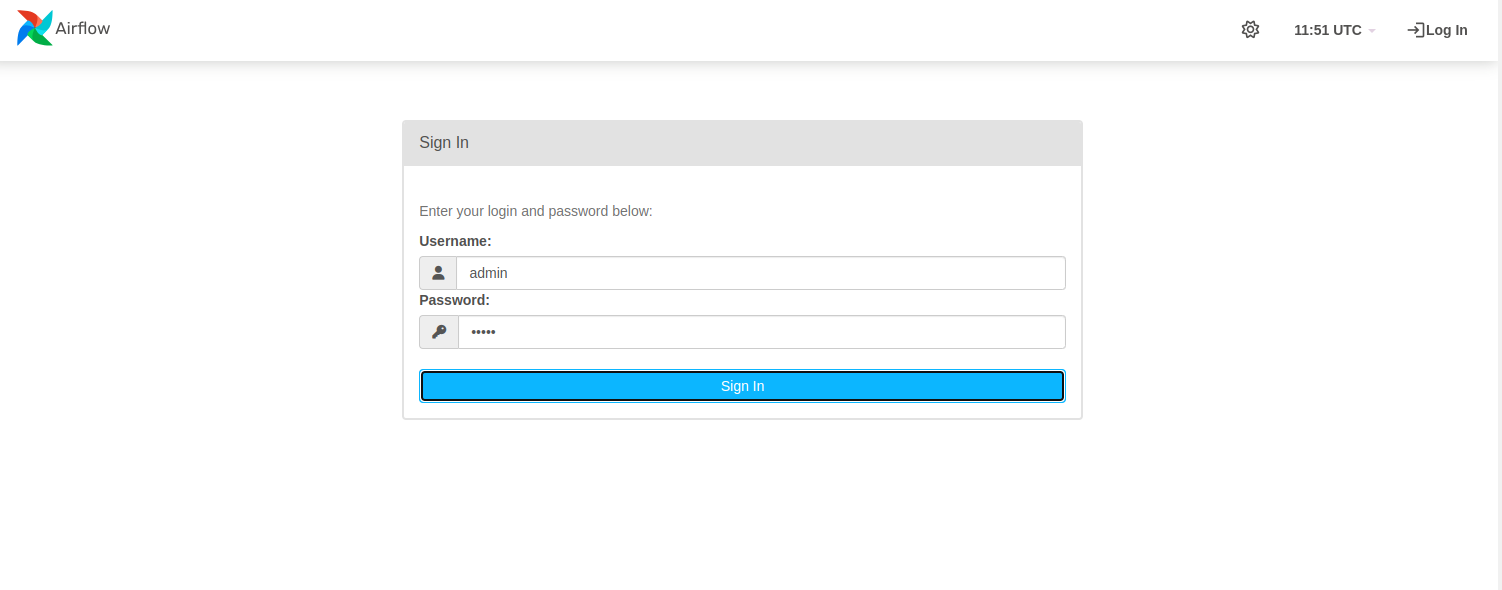
6. Log in with the username and password you created.
Step 3: Create the DAG Directory
Apache Airflow looks for DAGs in a specific directory. By default, this directory is ~/airflow/dags. If it doesn’t exist, create it:
mkdir -p ~/airflow/dagsThis is where you’ll place your Python scripts defining the workflows (DAGs).
Step 4: Create Sample Data Files
Before defining the DAG, let’s create a sample dataset (raw_data.csv) to use in the preprocessing pipeline.
Create a directory for your data:
mkdir -p ~/airflow/dataCreate a Python script to generate sample data:
nano ~/airflow/data/generate_sample_data.pyAdd the following code to generate a sample CSV file:
import pandas as pd
import numpy as np

# Create a sample dataset
data = {
    'feature1': np.random.rand(100),
    'feature2': np.random.rand(100),
    'target': np.random.randint(0, 2, 100)
}

# Introduce some missing values and duplicates
data['feature1'][10:15] = np.nan
data['feature2'][20:25] = np.nan
df = pd.DataFrame(data)
df = pd.concat([df, df.iloc[:5]])  # Add duplicates

# Save to CSV
df.to_csv('~/airflow/data/raw_data.csv', index=False)
print("Sample data saved to ~/airflow/data/raw_data.csv")
Run the script to generate the sample data:
python3 ~/airflow/data/generate_sample_data.pyStep 5: Define Your Data Preprocessing Pipeline
Create a Python script (data_preprocessing_dag.py) in the ~/airflow/dags directory to define your data preprocessing workflow.
nano ~/airflow/dags/data_preprocessing_dag.pyAdd the following code to define the data preprocessing pipeline:
from airflow import DAG
from airflow.operators.python_operator import PythonOperator
from datetime import datetime
import pandas as pd
from sklearn.preprocessing import StandardScaler

# Define file paths
RAW_DATA_PATH = '/root/airflow/data/raw_data.csv'
CLEANED_DATA_PATH = '/root/airflow/data/cleaned_data.pkl'
TRANSFORMED_DATA_PATH = '/root/airflow/data/transformed_data.pkl'
PROCESSED_DATA_PATH = '/root/airflow/data/processed_data.csv'

# Define Python functions for each preprocessing step
def load_data():
    data = pd.read_csv(RAW_DATA_PATH)
    print("Data loaded successfully!")
    data.to_pickle(CLEANED_DATA_PATH)  # Save as pickle for the next step

def clean_data():
    data = pd.read_pickle(CLEANED_DATA_PATH)
    data.dropna(inplace=True)  # Remove missing values
    data.drop_duplicates(inplace=True)  # Remove duplicates
    print("Data cleaned successfully!")
    data.to_pickle(TRANSFORMED_DATA_PATH)  # Save as pickle for the next step

def transform_data():
    data = pd.read_pickle(TRANSFORMED_DATA_PATH)
    scaler = StandardScaler()
    data[["feature1", "feature2"]] = scaler.fit_transform(data[["feature1", "feature2"]])
    print("Data transformed successfully!")
    data.to_pickle(PROCESSED_DATA_PATH)  # Save as pickle for the next step

def save_data():
    data = pd.read_pickle(PROCESSED_DATA_PATH)
    data.to_csv(PROCESSED_DATA_PATH, index=False)
    print("Processed data saved successfully!")

# Define the DAG
default_args = {
    'owner': 'admin',
    'start_date': datetime(2023, 10, 1),
    'retries': 1,
}

dag = DAG(
    'data_preprocessing_pipeline',
    default_args=default_args,
    description='Automated Data Preprocessing Pipeline',
    schedule_interval='@daily',  # Run daily
)

# Define tasks
load_task = PythonOperator(
    task_id='load_data',
    python_callable=load_data,
    dag=dag,
)

clean_task = PythonOperator(
    task_id='clean_data',
    python_callable=clean_data,
    dag=dag,
)

transform_task = PythonOperator(
    task_id='transform_data',
    python_callable=transform_data,
    dag=dag,
)

save_task = PythonOperator(
    task_id='save_data',
    python_callable=save_data,
    dag=dag,
)

# Set task dependencies
load_task >> clean_task >> transform_task >> save_task
Step 6: Run the Pipeline
1. Trigger the DAG.
airflow dags trigger data_preprocessing_pipeline2. Check the status of the DAG run.
airflow dags list-runs --dag-id data_preprocessing_pipelineOutput.
dag_id | run_id | state | execution_date | start_date | end_date
============================+======================================+=========+===========================+==================================+=========
data_preprocessing_pipeline | manual__2025-03-09T12:08:01+00:00 | running | 2025-03-09T12:08:01+00:00 | 2025-03-09T12:11:25.601992+00:00 |
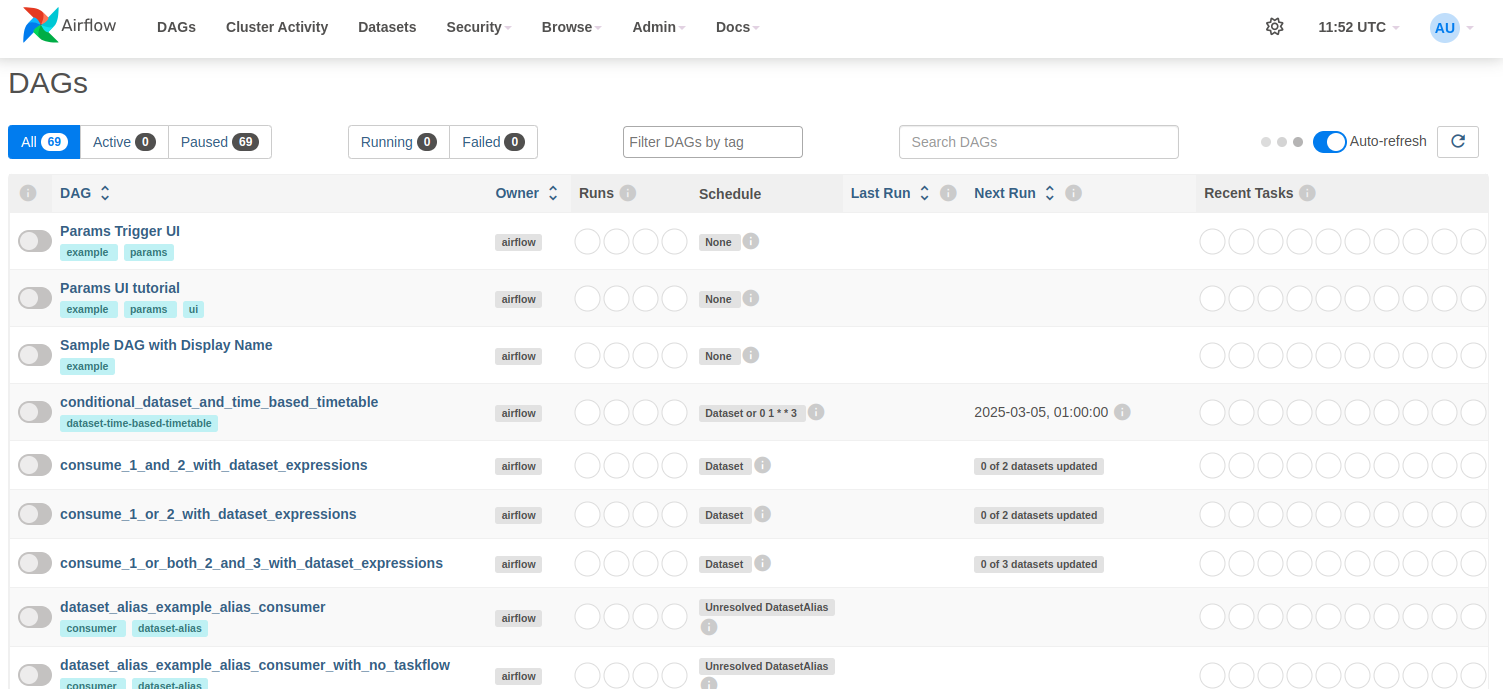
data_preprocessing_pipeline | scheduled__2023-10-15T00:00:00+00:00 | running | 2023-10-15T00:00:00+00:00 | 2025-03-09T12:12:11.941213+00:00 | 3. Refresh the Airflow UI to see your new DAG (data_preprocessing_pipeline).
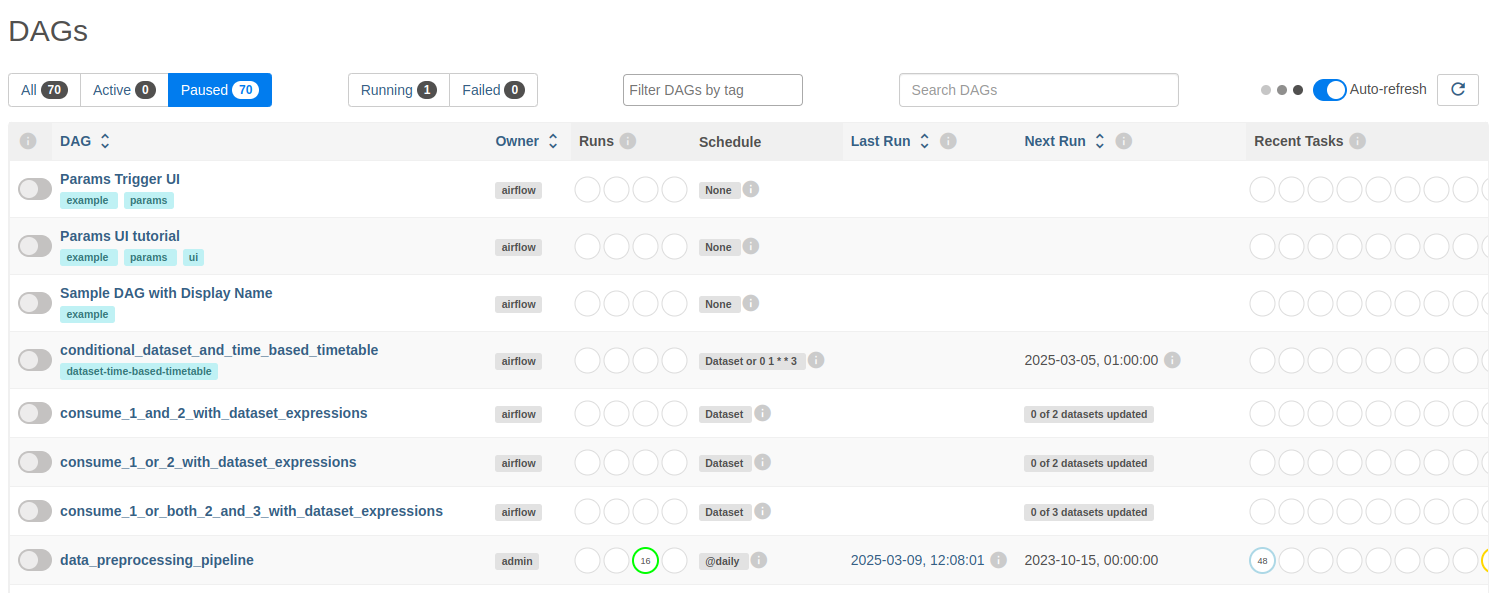
4. Double click on the data_preprocessing_pipeline.
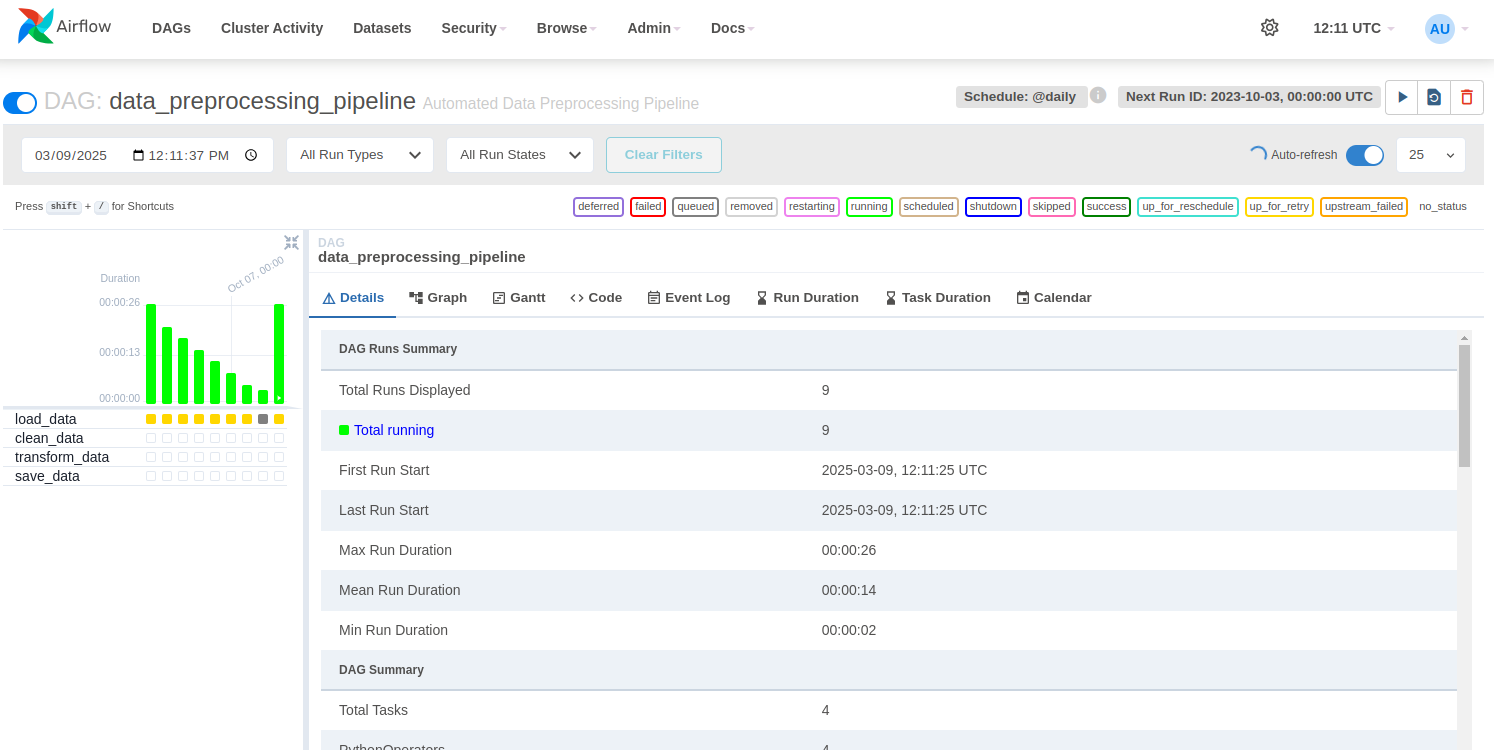
Step 7: Verify the Output
After the DAG runs successfully, check the output files in the ~/airflow/data directory:
- Cleaned Data: cleaned_data.pkl
- Transformed Data: transformed_data.pkl
- Processed Data: processed_data.csv
Conclusion
You have successfully set up an automated data preprocessing pipeline using Apache Airflow on an Ubuntu cloud GPU server. This pipeline loads, cleans, transforms, and saves data for further machine learning tasks, ensuring a streamlined and reproducible preprocessing workflow.
* This post is for informational purposes only and does not constitute professional, legal, financial, or technical advice. Each situation is unique and may require guidance from a qualified professional.
Readers should conduct their own due diligence before making any decisions.