Style transfer is a cool deep learning technique that allows you to mix one image’s content with another’s style. PyTorch is a great choice for style transfer because of its flexibility and efficiency in handling dynamic computational graphs. This makes it very suitable for the iterative and experimental nature of adjusting and applying artistic styles to images.
In this article, we will describe the process of creating a style transfer model using PyTorch in a Jupyter Notebook on an Ubuntu GPU server.
Prerequisites
Before starting, ensure you have the following:
- An Ubuntu 24.04 Cloud GPU Server.
- CUDA Toolkit and cuDNN Installed.
- A root or sudo privileges.
Step 1: Setting Up the Environment
First, let’s set up the environment by installing the necessary packages.
1. Install Python3 and pip
apt install python3 python3-venv python3-dev2. Create a Python virtual environment.
python3 -m venv venv
source venv/bin/activate
3. Upgrade pip to the latest version.
pip install --upgrade pip4. Install PyTorch with CUDA support.
pip3 install torch torchvision torchaudio --extra-index-url https://download.pytorch.org/whl/cu1185. Install additional dependencies.
pip3 install jupyter numpy matplotlib pillowStep 2: Run Jupyter Notebook
1. Open your terminal and run the Jupyter Notebook.
jupyter notebook --no-browser --port=8888 --ip=your-server-ip --allow-rootOutput.
    To access the server, open this file in a browser:
        file:///root/.local/share/jupyter/runtime/jpserver-6071-open.html
    Or copy and paste one of these URLs:
        http://your-server-ip:8888/tree?token=eab31988f685c20a6809e4c18033037d0c318a7ac97e4033
        http://127.0.0.1:8888/tree?token=eab31988f685c20a6809e4c18033037d0c318a7ac97e4033
2. Open your web browser and access your Jupyter Notebook using the URL as shown in the above output.
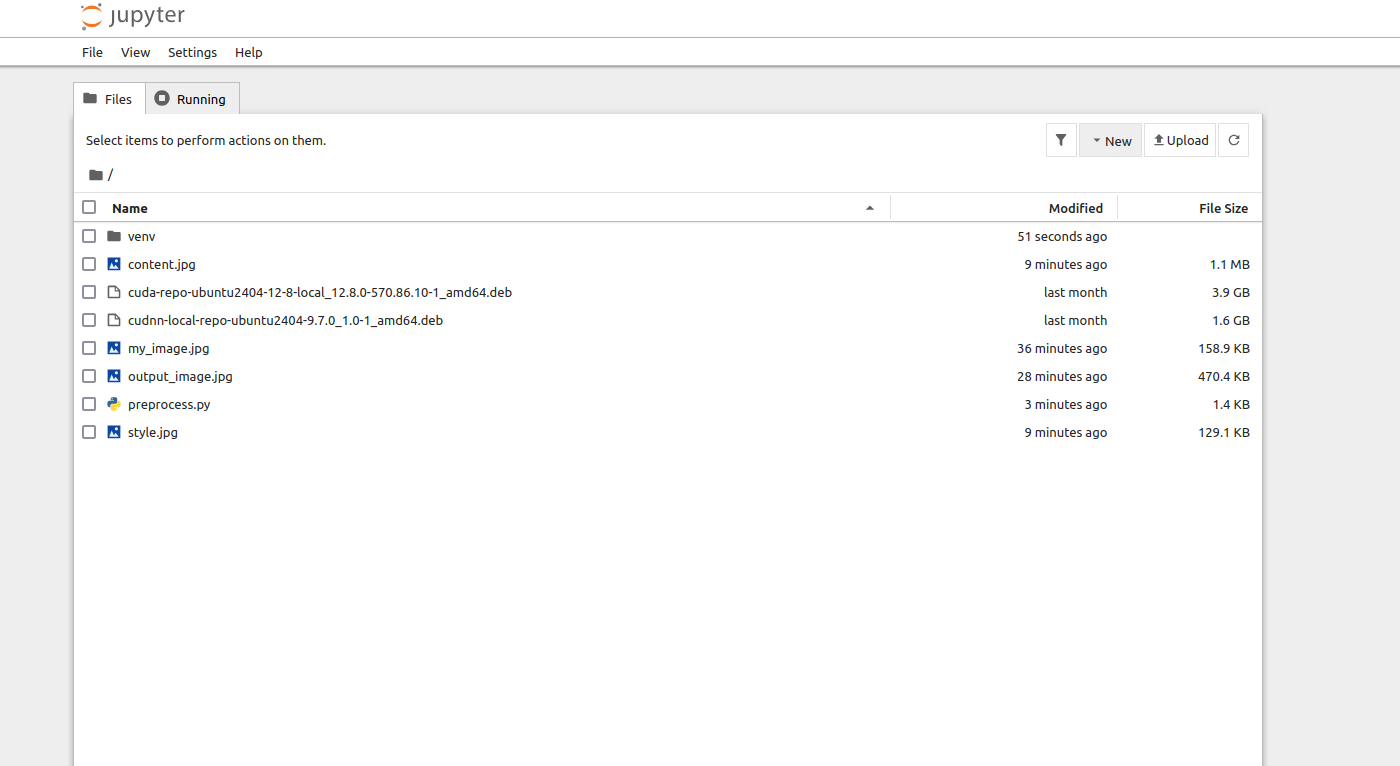
3. Click on File and New to create a new notebook.
Step 3: Load and Preprocess Images
We’ll start by loading and preprocessing the content and style images. Run the following code in a Jupyter Notebook cell.
import torch
import torchvision.transforms as transforms
from PIL import Image
import matplotlib.pyplot as plt
import numpy as np
# Load image function
def load_image(image_path, max_size=400, shape=None):
image = Image.open(image_path).convert('RGB')
if max(image.size) > max_size:
size = max_size
else:
size = max(image.size)
if shape is not None:
size = shape
in_transform = transforms.Compose([
transforms.Resize(size),
transforms.ToTensor(),
transforms.Normalize((0.485, 0.456, 0.406),
(0.229, 0.224, 0.225))])
image = in_transform(image).unsqueeze(0)
return image
# Function to convert tensor to image
def tensor_to_image(tensor):
image = tensor.to("cpu").clone().detach()
image = image.numpy().squeeze()
image = image.transpose(1, 2, 0)
image = image * np.array((0.229, 0.224, 0.225)) + np.array((0.485, 0.456, 0.406))
image = image.clip(0, 1)
return image
# Load content and style images
content = load_image("content.jpg")
style = load_image("style.jpg", shape=content.shape[-2:])
# Display the images
plt.figure()
plt.imshow(tensor_to_image(content))
plt.title("Content Image")
plt.show()
plt.figure()
plt.imshow(tensor_to_image(style))
plt.title("Style Image")
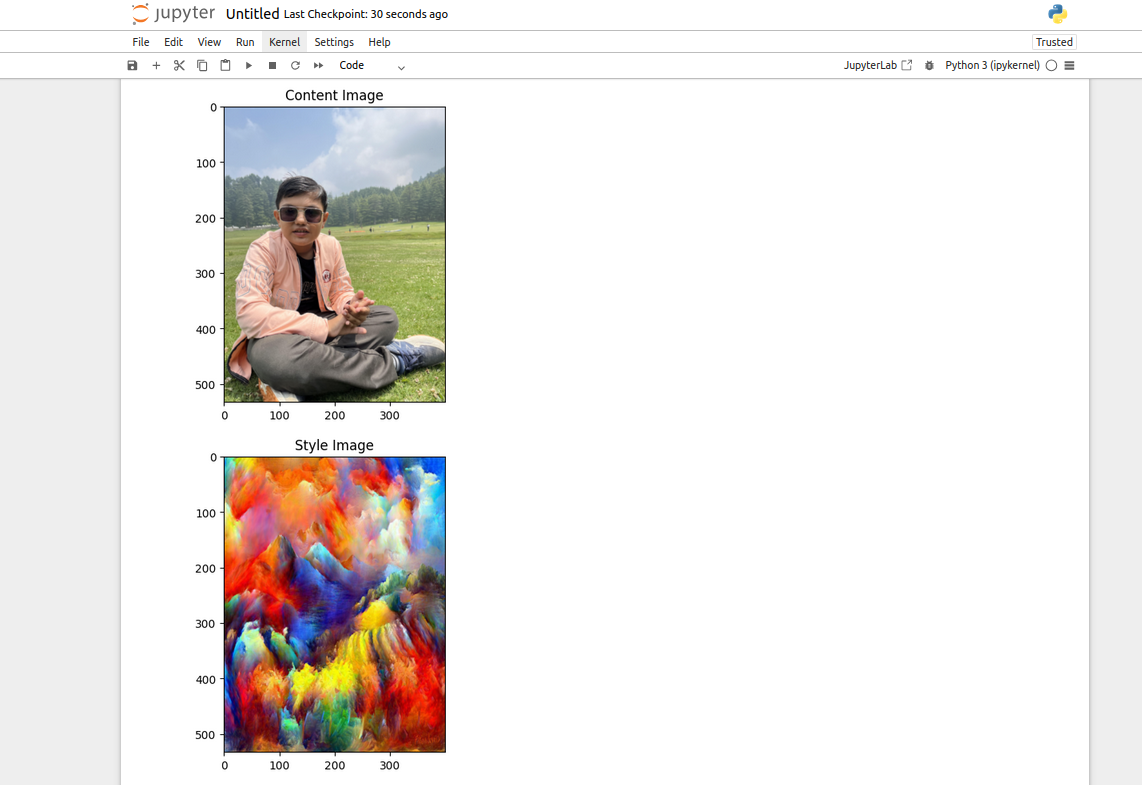
plt.show()You should see two images displayed: the content image and the style image.
Explanation:
- load_image: This function loads an image, resizes it, and converts it to a tensor. The image is also normalized using the mean and standard deviation of the ImageNet dataset.
- tensor_to_image: This function converts a tensor back to an image format that can be displayed using matplotlib.
Step 4: Define the Model
Next, we’ll define the model for style transfer. Run the following code in a new cell.
import torch.nn as nn
import torchvision.models as models

# Load a pre-trained VGG19 model
vgg = models.vgg19(pretrained=True).features

# Freeze all VGG parameters since we're only optimizing the target image
for param in vgg.parameters():
    param.requires_grad_(False)

# Move the model to GPU if available
device = torch.device("cuda" if torch.cuda.is_available() else "cpu")
vgg.to(device)

# Define the layers for content and style features
content_layers = ['conv_4']
style_layers = ['conv_1', 'conv_2', 'conv_3', 'conv_4', 'conv_5']

# Function to get the features from the model
def get_features(image, model, layers=None):
    if layers is None:
        layers = {'0': 'conv_1',
                  '5': 'conv_2',
                  '10': 'conv_3',
                  '19': 'conv_4',
                  '21': 'conv_5'}
    features = {}
    x = image
    for name, layer in model._modules.items():
        x = layer(x)
        if name in layers:
            features[layers[name]] = x
    return features
Explanation:
- VGG19: We use a pre-trained VGG19 model, which is well-suited for style transfer due to its deep architecture.
- get_features: This function extracts features from specific layers of the VGG19 model, which will be used to compute the content and style losses.
Step 5: Define Loss Functions
Now, let’s define the loss functions for style transfer. Run the following code in a new cell.
import torch.nn.functional as F

# Content Loss
def content_loss(target_features, content_features):
    return F.mse_loss(target_features['conv_4'], content_features['conv_4'])

# Style Loss
def gram_matrix(tensor):
    _, d, h, w = tensor.size()
    tensor = tensor.view(d, h * w)
    gram = torch.mm(tensor, tensor.t())
    return gram

def style_loss(target_features, style_features):
    loss = 0
    for layer in style_features:
        target_feature = target_features[layer]
        style_feature = style_features[layer]
        target_gram = gram_matrix(target_feature)
        style_gram = gram_matrix(style_feature)
        loss += F.mse_loss(target_gram, style_gram)
    return loss

# Total Loss
def total_loss(content_loss, style_loss, alpha=1, beta=1e6):
    return alpha * content_loss + beta * style_loss
Explanation:
- content_loss: This function computes the mean squared error between the content features of the target image and the content image.
- style_loss: This function computes the style loss using the Gram matrix, which captures the style information.
- total_loss: This function combines the content and style losses with weights alpha and beta.
Step 6: Perform Style Transfer
Finally, let’s put everything together and perform the style transfer. Run the following code in a new cell.
# Perform style transfer
import torch.optim as optim

# Load content and style images
content = load_image("content.jpg").to(device)
style = load_image("style.jpg", shape=content.shape[-2:]).to(device)

# Initialize the target image as the content image
target = content.clone().requires_grad_(True).to(device)

# Get features for content and style images
content_features = get_features(content, vgg)
style_features = get_features(style, vgg)

# Optimizer
optimizer = optim.Adam([target], lr=0.003)

# Style transfer loop
epochs = 3000
for epoch in range(epochs):
    target_features = get_features(target, vgg)
    c_loss = content_loss(target_features, content_features)
    s_loss = style_loss(target_features, style_features)
    t_loss = total_loss(c_loss, s_loss)

    optimizer.zero_grad()
    t_loss.backward()
    optimizer.step()

    if epoch % 100 == 0:
        print(f"Epoch {epoch}, Loss: {t_loss.item()}")
        plt.imshow(tensor_to_image(target))
        plt.title(f"Epoch {epoch}")
        plt.show()

# Save the final image
final_image = tensor_to_image(target)
plt.imshow(final_image)
plt.title("Final Image")
plt.show()

# Convert the NumPy array to a PIL image and save it
final_image_pil = Image.fromarray((final_image * 255).astype(np.uint8))
final_image_pil.save("final_output.jpg")
Explanation:
- Optimizer: We use the Adam optimizer to minimize the total loss.
- Style Transfer Loop: We iteratively update the target image to minimize the content and style losses.
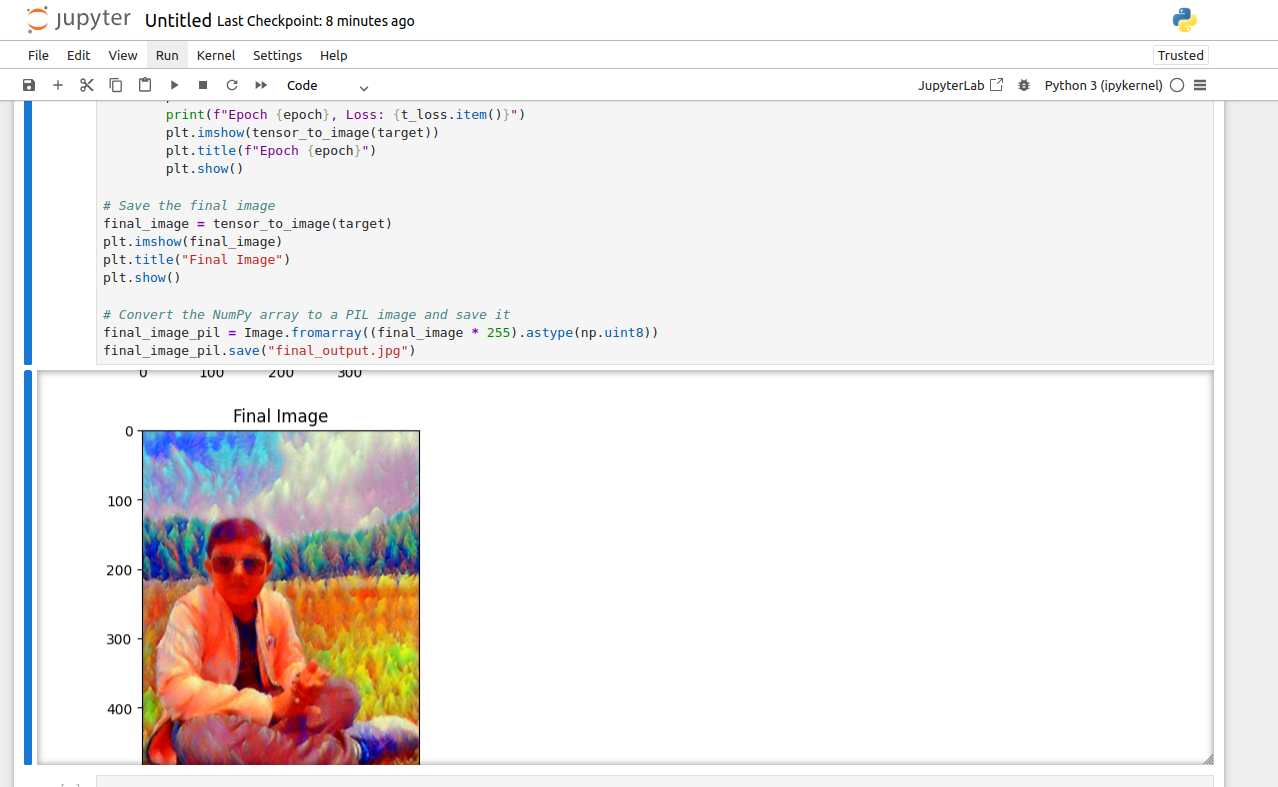
- Final Image: After the optimization process, the final image is saved as final_output.jpg.
You should see the target image being updated over epochs, gradually blending the content of the content image with the style of the style image. The final output will be saved as final_output.jpg.
Conclusion
In this article, we created a style transfer model using PyTorch in a Jupyter Notebook. We covered image preprocessing, model definition, loss functions, and the style transfer process. Now, you can create your own style transfer models and experiment with different content and style images.
* This post is for informational purposes only and does not constitute professional, legal, financial, or technical advice. Each situation is unique and may require guidance from a qualified professional.
Readers should conduct their own due diligence before making any decisions.