TensorBoard is a visualization tool provided by TensorFlow that monitors and analyzes the training process of machine learning models. It shows loss, accuracy, and other custom values, as well as model graphs, histograms, and embeddings. Deploying TensorBoard on an Ubuntu GPU server lets you use the power of GPUs to visualize and debug your machine learning workflows.
In this guide, we’ll go through the steps to deploy TensorBoard on an Ubuntu GPU server.
Prerequisites
Before starting, ensure you have the following:
- An Ubuntu 24.04 Cloud GPU Server.
- CUDA Toolkit and cuDNN Installed.
- A root or sudo privileges.
Step 1: Set Up a Python Virtual Environment
1. Install Python and the required dependencies.
apt install python3-venv python3-pip2. Create a virtual environment for your project.
python3 -m venv tensor-env3. Activate the virtual environment.
source tensor-env/bin/activateStep 2: Install TensorFlow with GPU Support
1. Install TensorFlow.
pip install tensorflow numpy2. Log in to the Python shell.
python33. Run the following Python code to ensure TensorFlow uses the GPU.
>>> import tensorflow as tf
>>> print("Num GPUs Available: ", len(tf.config.experimental.list_physical_devices('GPU')))
Output.
Num GPUs Available: 14. Press CTRL+D to exit from the Python shell.
Step 3: Install TensorBoard
TensorBoard is included with TensorFlow, so no additional installation is required. However, you can ensure it’s available by running:
pip install tensorboardStep 4: Launch TensorBoard
1. Create a Python script file, for example, train_model.py.
nano train_model.pyAdd the following code.
import tensorflow as tf

# Define a simple model
model = tf.keras.models.Sequential([
    tf.keras.layers.Dense(10, activation='relu'),
    tf.keras.layers.Dense(1, activation='sigmoid')
])

# Compile the model
model.compile(optimizer='adam', loss='binary_crossentropy', metrics=['accuracy'])

# Generate dummy data for demonstration
import numpy as np
x_train = np.random.random((1000, 10))
y_train = np.random.randint(2, size=(1000, 1))

# Create a TensorBoard callback
tensorboard_callback = tf.keras.callbacks.TensorBoard(log_dir="./logs")

# Train the model
model.fit(x_train, y_train, epochs=10, callbacks=[tensorboard_callback])
2. To train the model and generate logs, run the script using Python:
python3 train_model.pyThe above command will:
- Train the model for 10 epochs.
- Save the training logs (including loss, accuracy, and other metrics) to the ./logs directory.
3. Once the training is complete, launch TensorBoard to visualize the logs:
tensorboard --logdir=./logs --bind_allOutput.
TensorBoard 2.19.0 at http://ubuntu:6006/ (Press CTRL+C to quit)Step 5: Access TensorBoard
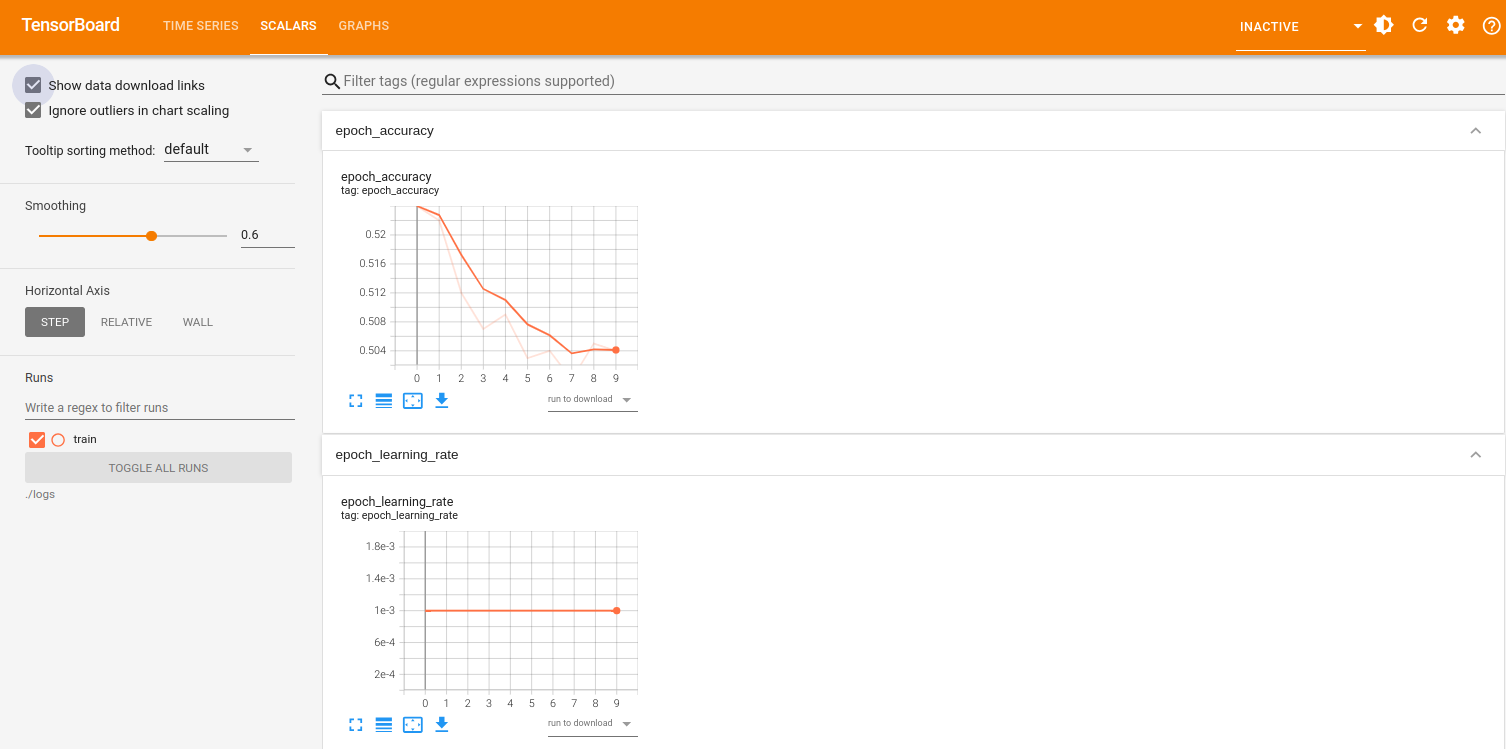
1. Open your browser and navigate to http://your-server-ip:6006. You should see the TensorBoard dashboard with tabs like Scalars, Graphs, Distributions, Histograms, etc.
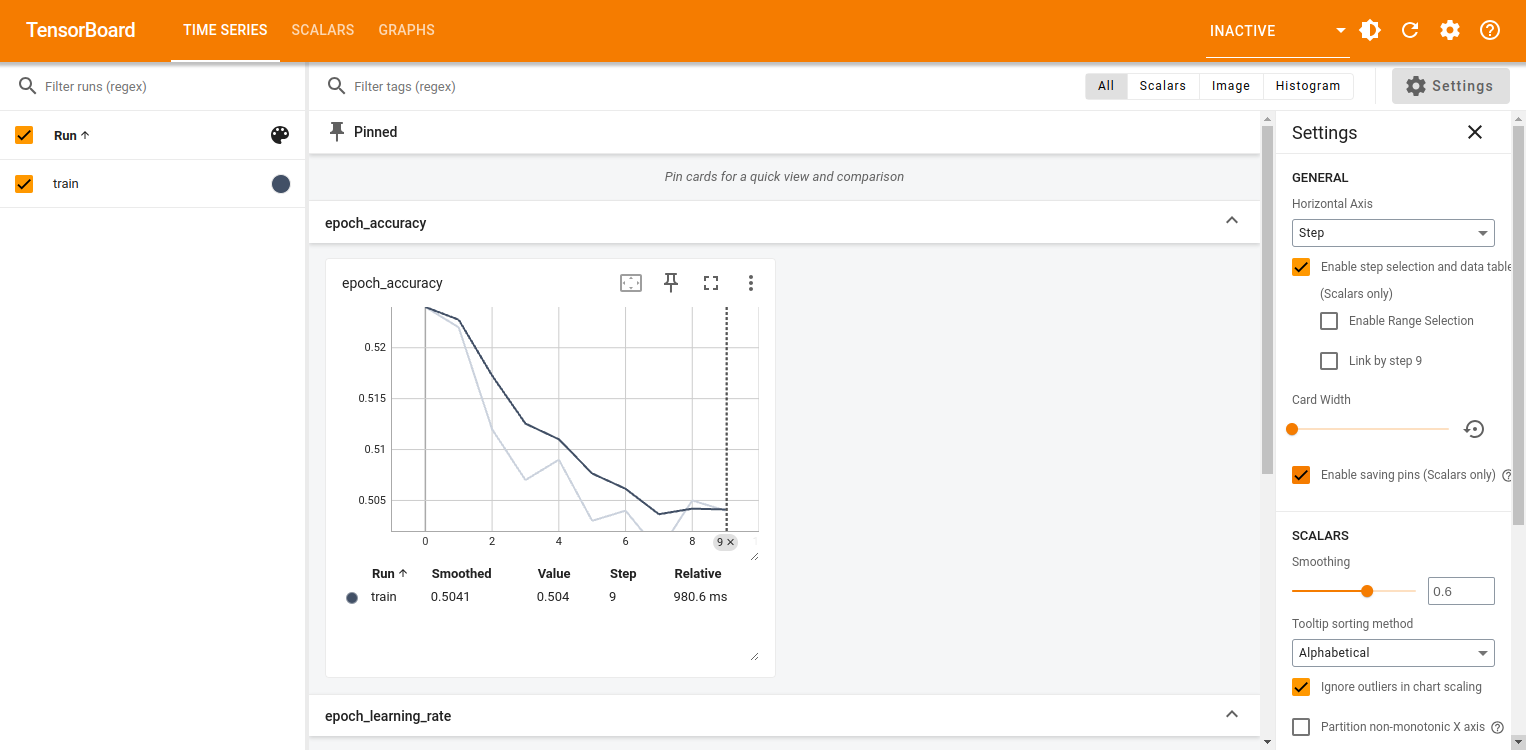
2. Click on the Scalars tab to check for training metrics like loss and accuracy.
Conclusion
Deploying TensorBoard on an Ubuntu GPU server lets you visualize and monitor your machine learning workflows. This is great for teams working on machine learning projects or researchers who need to monitor long running training sessions.
* This post is for informational purposes only and does not constitute professional, legal, financial, or technical advice. Each situation is unique and may require guidance from a qualified professional.
Readers should conduct their own due diligence before making any decisions.