The NVIDIA CUDA Deep Neural Network library (cuDNN) is a GPU-accelerated library designed to optimize deep learning operations. cuDNN serves as a key component for training and deploying neural networks efficiently on NVIDIA GPUs. It is widely used in frameworks such as TensorFlow, PyTorch, and Caffe to accelerate operations like convolution, pooling, and activation functions.
This guide will help you install and verify cuDNN on an Ubuntu 22.04 GPU server.
Prerequisites
- An Ubuntu 22.04 GPU Server
- CUDA Toolkit installed
- A root or sudo privileges
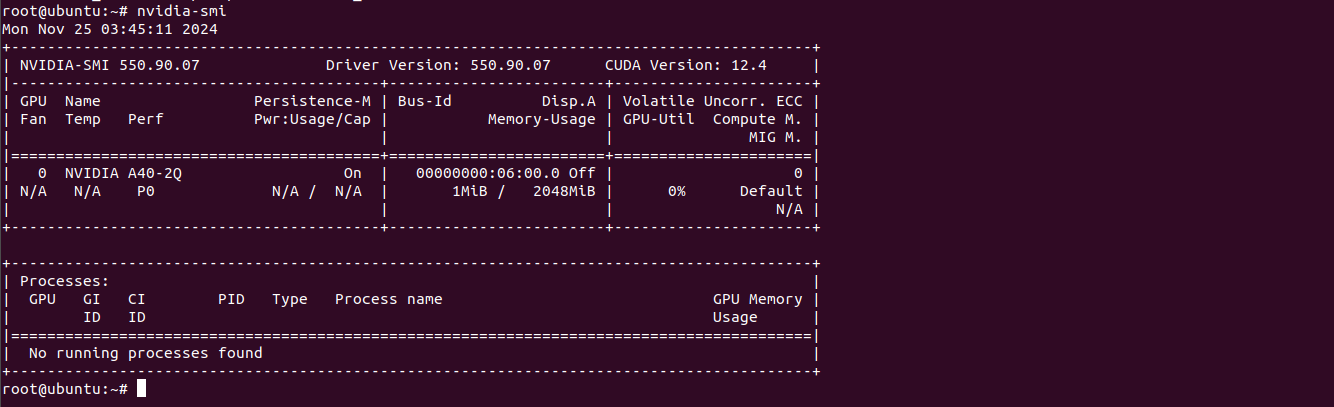
Step 1: Verify NVIDIA GPU Drivers
Before proceeding with cuDNN installation, verify that your NVIDIA GPU drivers are correctly installed and functioning.
nvidia-smiThis command displays the status of your GPU and driver installation. Example output:
Mon Nov 25 08:18:16 2024
+-----------------------------------------------------------------------------------------+
| NVIDIA-SMI 550.90.07              Driver Version: 550.90.07      CUDA Version: 12.4     |
|-----------------------------------------+------------------------+----------------------+
| GPU  Name                 Persistence-M | Bus-Id          Disp.A | Volatile Uncorr. ECC |
| Fan  Temp   Perf          Pwr:Usage/Cap |           Memory-Usage | GPU-Util  Compute M. |
|                                         |                        |               MIG M. |
|=========================================+========================+======================|
|   0  NVIDIA A16-2Q                  On  |   00000000:06:00.0 Off |                    0 |
| N/A   N/A    P0             N/A /  N/A  |    1398MiB /   2048MiB |      0%      Default |
|                                         |                        |                  N/A |
+-----------------------------------------+------------------------+----------------------+

+-----------------------------------------------------------------------------------------+
| Processes:                                                                              |
|  GPU   GI   CI        PID   Type   Process name                              GPU Memory |
|        ID   ID                                                               Usage      |
|=========================================================================================|
Step 2: Add NVIDIA Package Repository
NVIDIA distributes cuDNN through its package repository. Adding this repository ensures you install the latest and most secure version.
Visit the cuDNN download page and download the NVIDIA keyring with the following command.
wget https://developer.download.nvidia.com/compute/cuda/repos/ubuntu2204/x86_64/cuda-keyring_1.1-1_all.debInstall the downloaded keyring package using:
dpkg -i cuda-keyring_1.1-1_all.debRefresh your system’s package list to include NVIDIA’s repository:
apt-get updateAdding the repository ensures you’re downloading official, trusted packages directly from NVIDIA, reducing the risk of compatibility issues.
Step 3: Install NVIDIA cuDNN
cuDNN is available in different versions depending on the installed CUDA version. Make sure to choose the correct package.
Install the cuDNN package using the following command.
apt-get -y install cudnnThis command installs the standard cuDNN package, which works with most CUDA installations.
For systems running CUDA 12, install the version-specific cuDNN package:
apt-get -y install cudnn-cuda-12Step 4: Verify cuDNN Installation
After installation, it’s important to confirm that cuDNN is correctly set up on your system.
Check the installed version of cuDNN by reading the version header file:
cat /usr/include/cudnn_version.h | grep CUDNN_MAJOR -A 2Output.
#define CUDNN_MAJOR 9
#define CUDNN_MINOR 5
#define CUDNN_PATCHLEVEL 1
--
#define CUDNN_VERSION (CUDNN_MAJOR * 10000 + CUDNN_MINOR * 100 + CUDNN_PATCHLEVEL)

/* cannot use constexpr here since this is a C-only file */
This output confirms the installed version of cuDNN (in this example, 9.5.1). The CUDNN_VERSION macro calculates the complete version number.
Step 5: Verify NVIDIA Drivers (Post Installation)
Re-check your GPU drivers to ensure they are functioning correctly after installing cuDNN:
nvidia-smiThe output should remain consistent with your earlier results, confirming that cuDNN installation did not affect the drivers.
Conclusion
Installing NVIDIA cuDNN on Ubuntu 22.04 empowers your system for efficient GPU-based deep learning tasks. With the steps above, you’ve added the NVIDIA repository, installed cuDNN, and verified its setup. Your system is now ready to accelerate neural network training and inference tasks. Explore the possibilities of cuDNN and take your deep learning workflows to the next level using GPU Hosting from Atlantic.Net.
* This post is for informational purposes only and does not constitute professional, legal, financial, or technical advice. Each situation is unique and may require guidance from a qualified professional.
Readers should conduct their own due diligence before making any decisions.