Introduction
This tutorial will walk you through adding an additional IP address to your WHM/cPanel server. Additional IP addresses can be used for services such as additional sites, mail handling, or DNS, to name a few.
Prerequisites
– A server with cPanel installed. If you do not have a server, try our one-click cPanel Hosting.
– Administrator-level credentials to the Web Hosting Management (WHM) interface.
– An additional IP address to assign (see your network administrator if you’re not sure).
Adding an Additional IP Address to an Existing WHM/cPanel Installation
Open up your WHM administration interface (e.g., https://mysite.com:2087) from your web browser of choice.
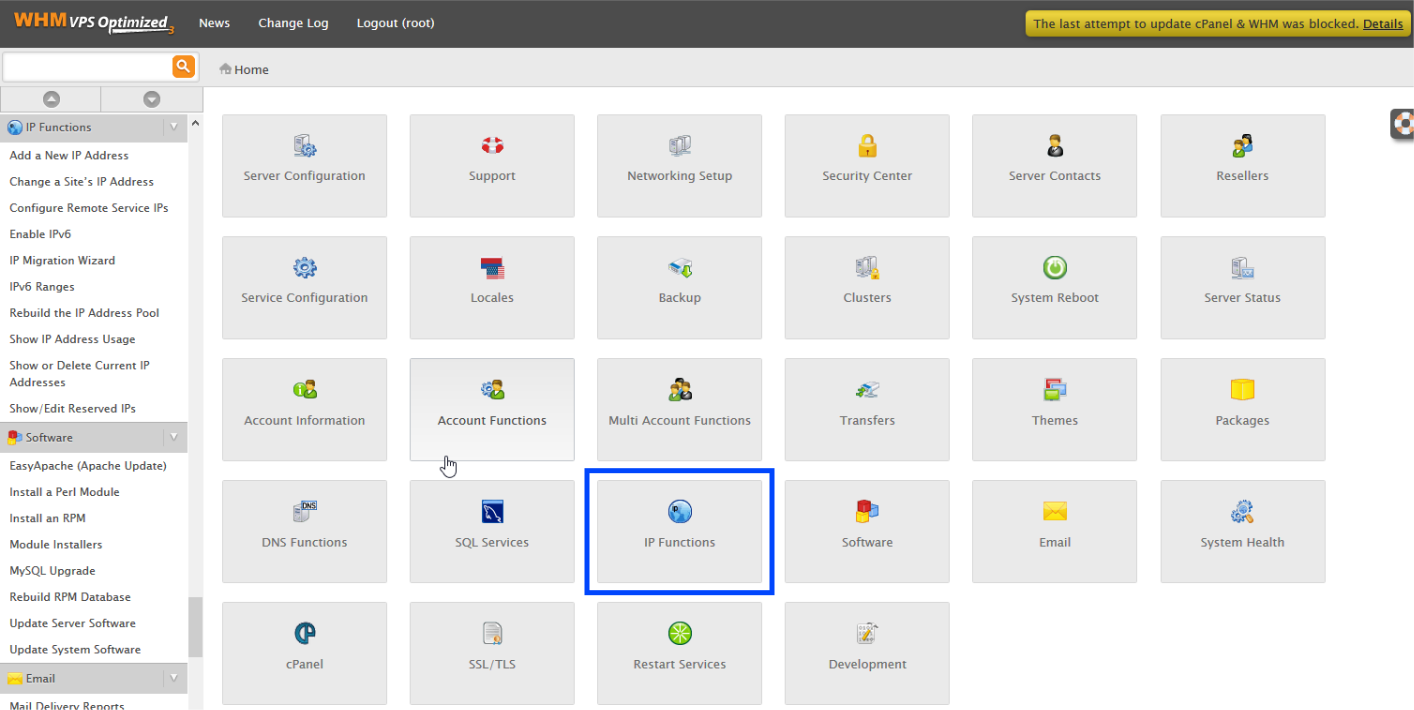
From the WHM home page, select “IP Functions”. (Alternatively, you could search “New” in the search bar in the upper left and select “Add a New IP Address” in the filtered menu options on the left.)
 WHM IP Options selection
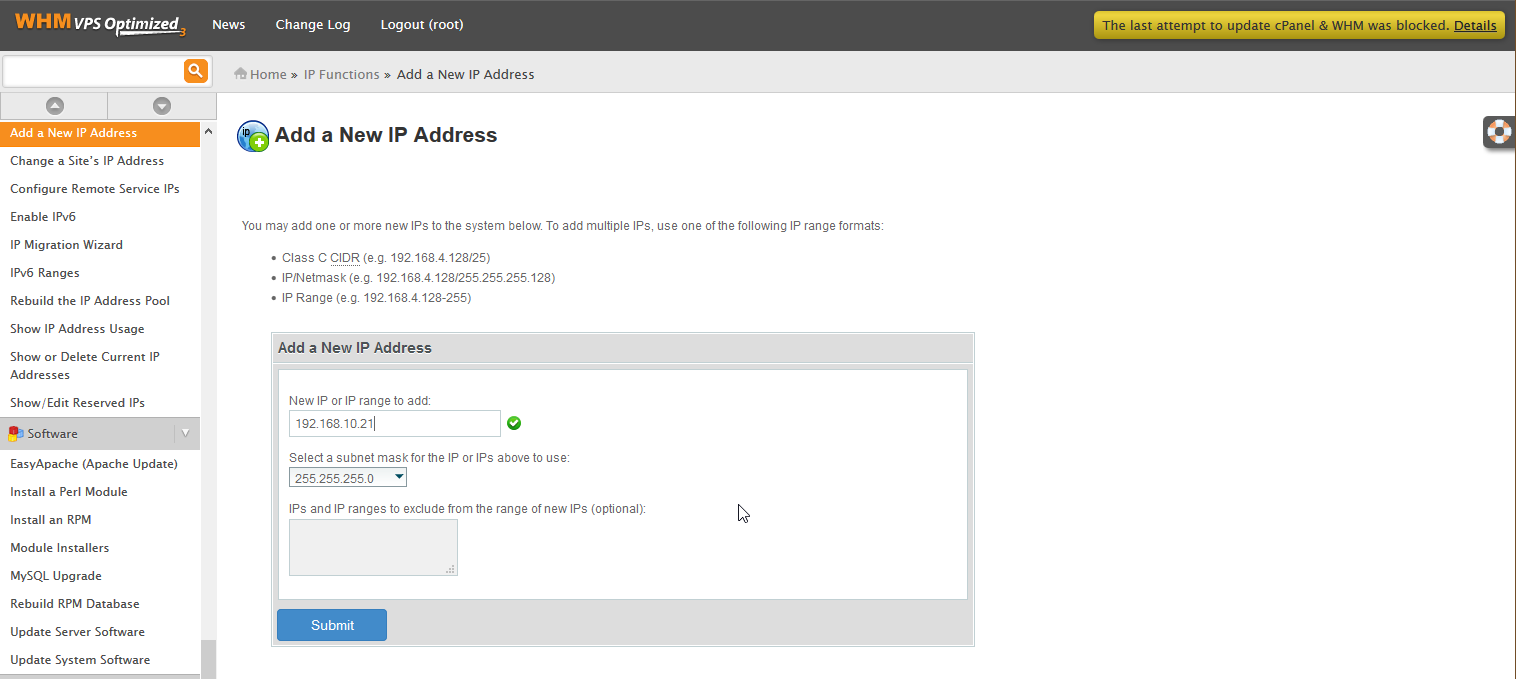
Choose “Add a New IP Address”.

This page will allow you to add a single IP or a range of IPs. If you have just one IP to add, enter it in the box for “New IP or IP range to add:” and select the subnet mask for this IP. For example, we might enter the IP 192.168.10.21 as our additional IP, and if this IP is a part of the 192.168.10.0/24 subnet, then we would use the 255.255.255.0 subnet mask. If you’re not sure, please see your network administrator.

If you have a range of IPs to add, you may also do so via CIDR notation or by hyphenating the range as indicated on this WHM page.
Note: as you enter the IP, you’ll see a red indicator warning you the IP or IP range is invalid. This indicator will turn into a green check when it recognizes a valid entry.
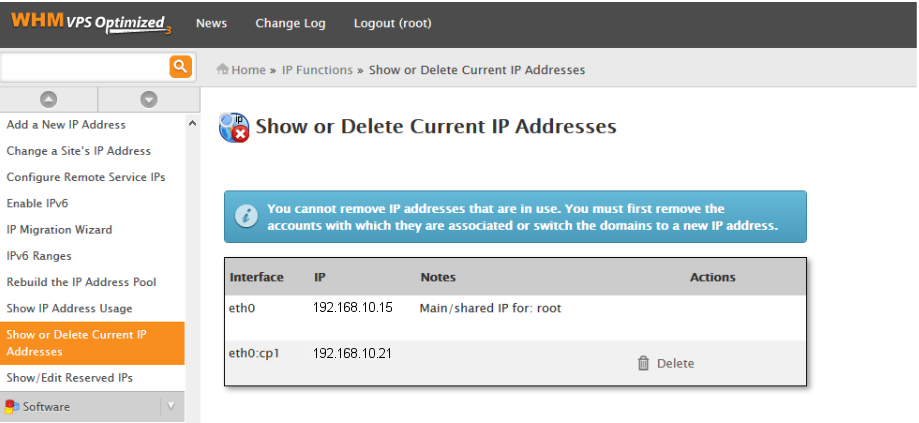
When you click “Submit”, you will receive a green “Success” box float up from the lower right of the page. If you’d like to confirm that success (or that you entered the correct IP), you can select the “Show or Delete Current IP Addresses” menu option on the left side of this page to see what is currently assigned.

Now the new IP address is ready to be used. Congratulations on installing an additional IP on WHM/cPanel. Thank you for following this how-to, please be sure to check back here for more updates.