The LAMP stack is one of the most popular and reliable web development environments used to host dynamic websites and web applications. The term LAMP stands for Linux, Apache, MySQL, and PHP, four open-source components that work together to deliver content-driven websites.
Here’s what each component does:
- Linux acts as the operating system that runs the server.
- Apache is the web server that handles HTTP requests and serves web pages.
- MySQL stores and manages application data.
- PHP processes dynamic content and connects your website to the database.
You often use a LAMP stack to run applications like WordPress, Drupal, Laravel, custom PHP websites, and internal business tools. It offers flexibility, strong community support, and long-term stability.
In this guide, you will learn how to install and configure Linux, Apache, MySQL, and PHP on Ubuntu. This procedure is compatible with Ubuntu 18.04, Ubuntu 20.04, and Ubuntu 22.04.
Step 1 – Updated System Packages
It’s a good practice to start with an updated system. You will update all packages in the next section, but confirm your system boots and works normally.
Start by refreshing the local package index.
apt update -y
This command fetches the latest package information from Ubuntu repositories.
Next, upgrade all installed packages to their latest versions.
apt upgrade -y
If your server is new or hasn’t been updated in a long time, you can run a full upgrade.
apt full-upgrade -y
This handles dependency changes and kernel updates more effectively.
If the upgrade installs a new kernel or core system components, reboot the server.
reboot
Step 2 – Install Apache Web Server
Apache is the web server that handles incoming HTTP requests and serves web pages to users. It is one of the most widely used web servers and works reliably on Ubuntu.
Install Apache using the APT package manager.
apt install apache2 -y
Once the installation finishes, Apache is installed on your system.
Apache usually starts automatically after installation. You should still verify and enable it to start on boot.
systemctl start apache2
systemctl enable apache2
Confirm that Apache is running without errors.
systemctl status apache2
You should see an active (running) status.
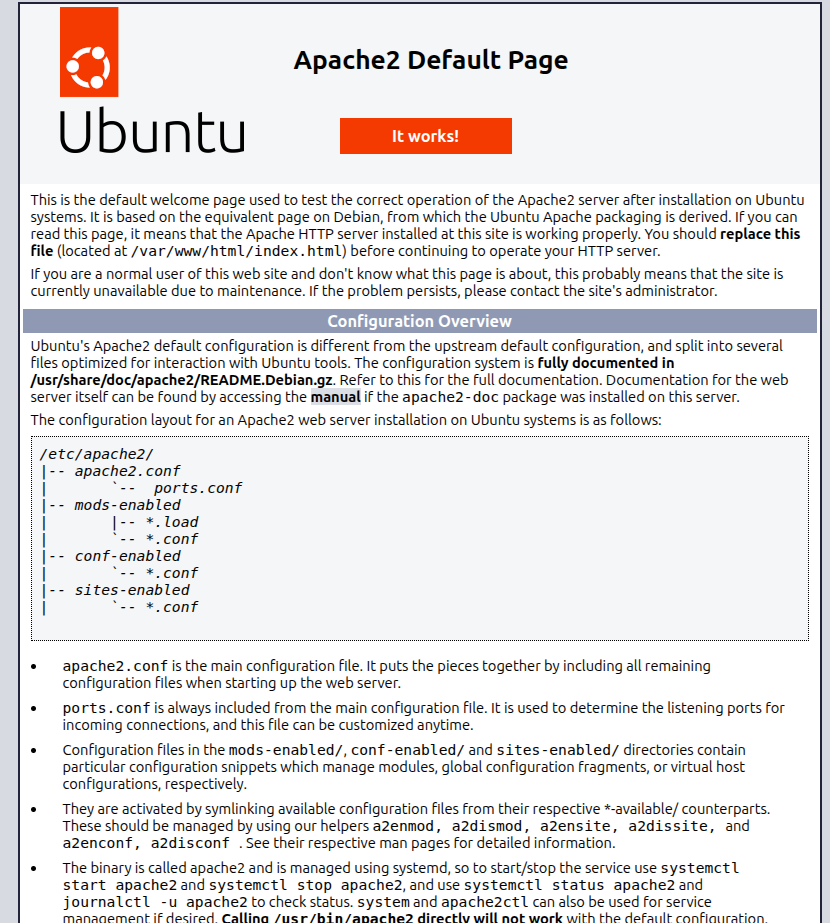
Now, open a web browser and enter your server’s IP address to verify the Apache installation.
http://your_server_ip
If Apache is working, you will see the Apache2 Ubuntu Default Page. This confirms that the web server is installed and serving content correctly.
Step 3 – Install MySQL Database Server
MySQL is the database component of the LAMP stack. It stores and manages data for your web applications, such as user accounts, posts, and settings. Most PHP applications, including WordPress and Laravel, rely on MySQL to function properly.
Install the MySQL server package using APT.
apt install mysql-server -y
After installation, MySQL is installed but may not be fully secured.
Now, start and enable the MySQL service.
systemctl start mysql
systemctl enable mysql
Verify that MySQL is active.
systemctl status mysql
Run the built-in security script to harden your MySQL setup.
mysql_secure_installation
During the setup:
- Set a root password (or confirm socket-based authentication)
- Remove anonymous users
- Disallow remote root login
- Remove the test database
- Reload privilege tables
Choose Y for recommended security options.
Step 4 – Install PHP and Required PHP Modules
PHP is the scripting language that processes dynamic content in the LAMP stack. It works with Apache to generate web pages and connects to MySQL to fetch and store data. Without PHP, your server can only serve static HTML files.
Install PHP and the Apache PHP module.
apt install php libapache2-mod-php -y
This installs PHP and allows Apache to process PHP files.
Install additional PHP extensions.
apt install php-mysql php-cli php-curl php-zip php-gd php-mbstring php-xml php-bcmath -y
These extensions support database connections, file uploads, APIs, and XML handling.
Verify that PHP is installed correctly.
php -v
You should see the installed PHP version.
PHP 8.1.2-1ubuntu2.22 (cli) (built: Jul 15 2025 12:11:22) (NTS)
Copyright (c) The PHP Group
Zend Engine v4.1.2, Copyright (c) Zend Technologies
    with Zend OPcache v8.1.2-1ubuntu2.22, Copyright (c), by Zend Technologies
Verify that the PHP module is enabled.
apache2ctl -M | grep php
If PHP is enabled, you will see output similar to:
php_module (shared)
Step 5 – Test PHP Processing
At this stage, Apache and PHP are installed and configured. Now you need to confirm that Apache can correctly process PHP files.
The easiest way to test this is by creating a simple PHP file and accessing it through your web browser.
Create a new PHP file inside the default Apache document root.
nano /var/www/html/phpinfo.php
Add the following content:
<?php
phpinfo();
?>
Now, open a web browser and access the PHP test page using the URL:
http://your_server_ip/phpinfo.php
If PHP is working, you will see the PHP information page.
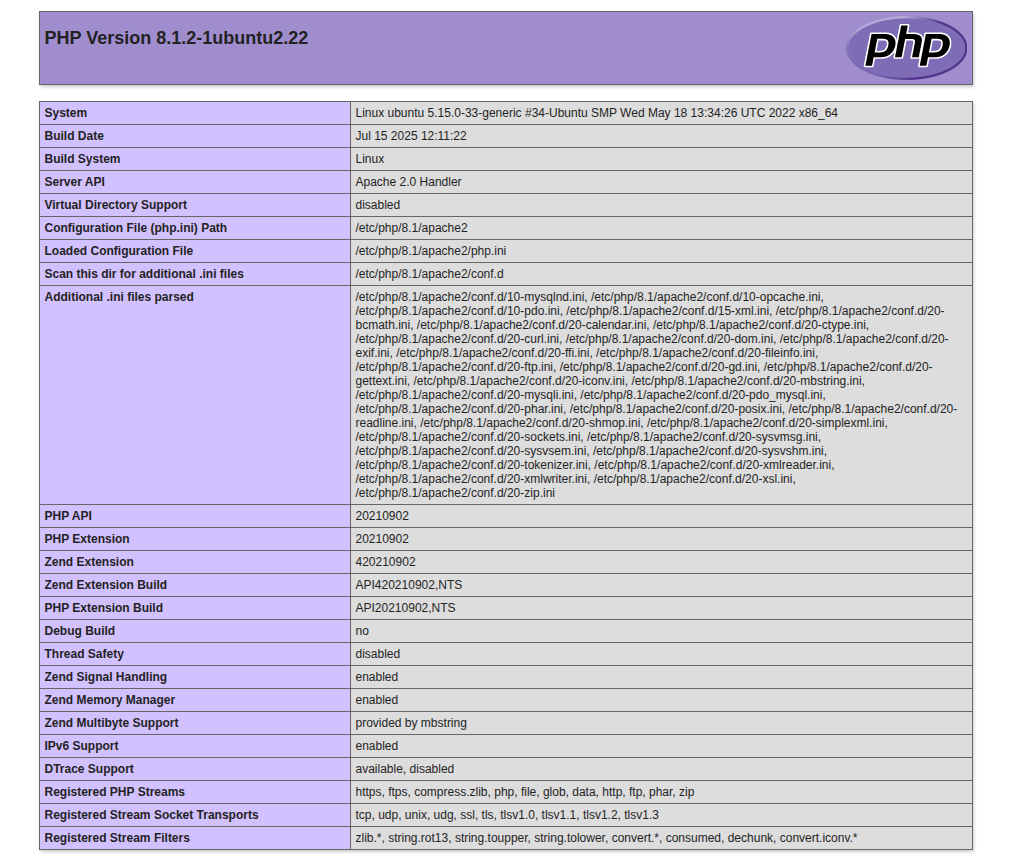
The phpinfo() page exposes sensitive server information. Remove it after testing.
rm -rf /var/www/html/phpinfo.php
Conclusion
You have successfully installed and configured the LAMP stack on Ubuntu. Your system is now running Apache to serve web pages, MySQL to store application data, and PHP to process dynamic content. Each component works together to create a stable and flexible environment for hosting modern web applications.
* This post is for informational purposes only and does not constitute professional, legal, financial, or technical advice. Each situation is unique and may require guidance from a qualified professional.
Readers should conduct their own due diligence before making any decisions.