Table of Contents
Verified and Tested 10/16/23
Introduction
Domain Name System (DNS) is a system that translates a Domain name to the IP address that is associated with it over the World Wide Web. Once the DNS Server role is installed, it needs to be configured for your domain. In this how-to, we will walk you through Configuring DNS in Windows Server 2012.
Prerequisites
– A Server with Windows Server 2012
– DNS Server Role installed on your server. See the following article, “Install DNS in Windows Server 2012,” if you do not have the DNS role installed.
Configuring DNS in Windows Server 2012
Open the Server Manager from the taskbar.
Click on DNS/ Right Click your server / select DNS Manager/ Click the Action Tab/ Select Configure a DNS Server.
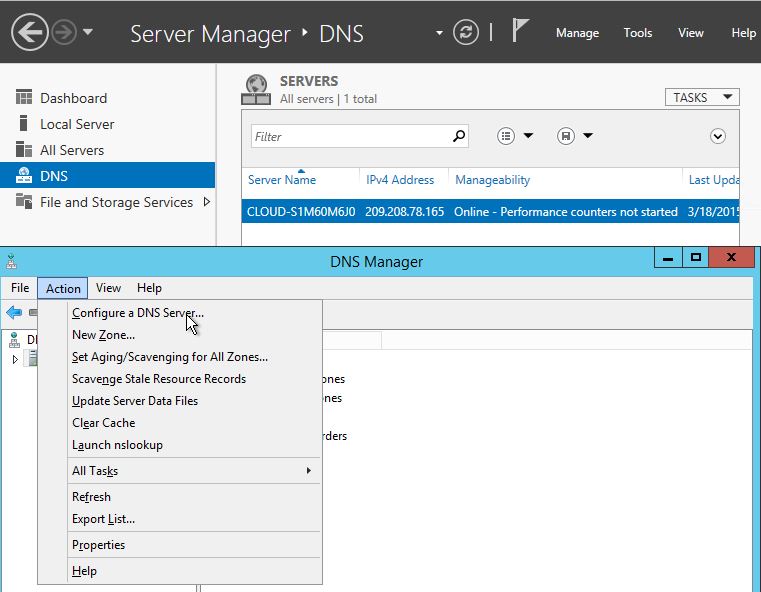
Select Configure a DNS Server in Windows Server 2012
The Configure DNS Server Wizard will come up. Click Next to continue and select one of the following actions:
– Create a forward lookup zone
A forward lookup zone is a DNS function that takes a domain name and resolves it to an IP address.
– Create forward and reverse lookup zones
A reverse lookup zone is a DNS function that takes an IP address and resolves it to a domain name.
– Configure root hints only
Root hints only Will have the IP addresses of DNS servers where records can be acquired.
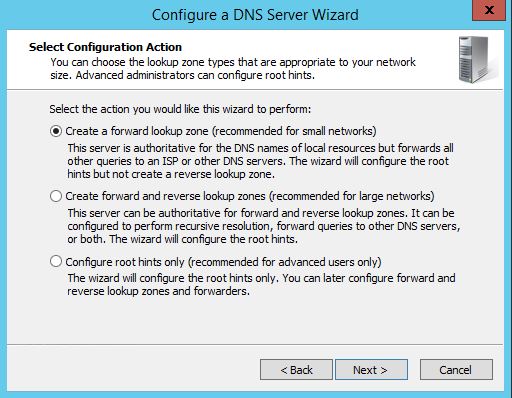
This is the Configure DNS Server Wizard screen output in Windows Server 2012
Select where the DNS data will be maintained for your network resources, and then click Next
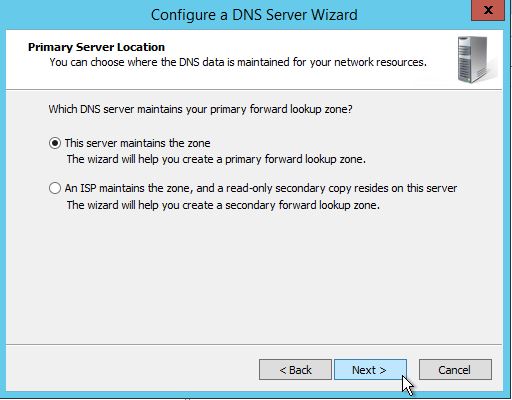
Selecting a Primary Server location in Windows Server 2012
Enter your new zone name, in this case, your domain, and click Next.
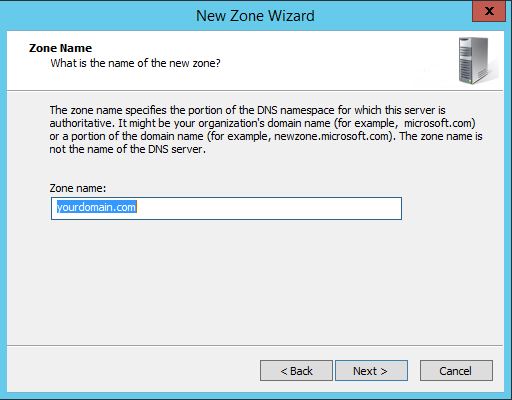
This is the zone name insert field when configuring DNS in Windows Server 2012
Create a new zone file or use an existing one from a different DNS server
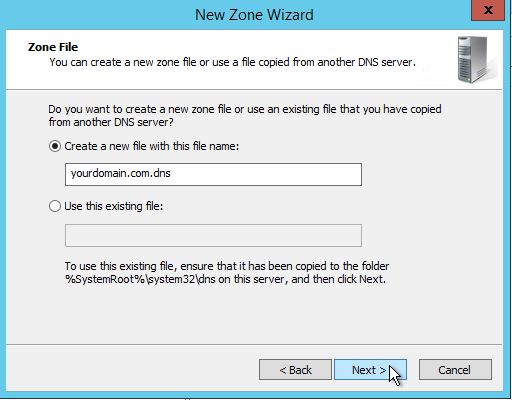
Creating a Zone file when configuring DNS in Windows Server 2012
Next, you select how your server will respond to Dynamic Updates.
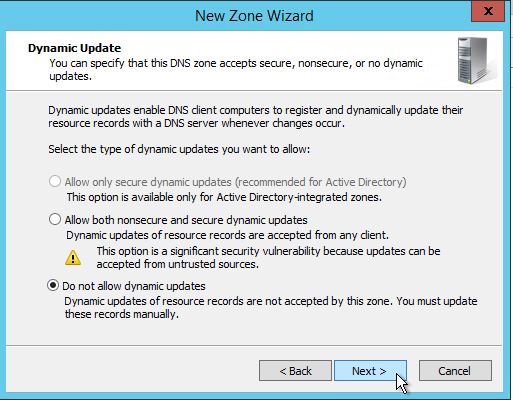
Select the do not allow Dynamic Updates option while Configuring DNS in Windows Server 2012
Select whether your DNS server should forward queries or not. If you choose YES, type the IP of the server and click Next. If NO, select No. It should not forward queries and Click Next.

Select one of the options to configure forwarders when Configuring DNS in Windows Server 2012
Click Finish, and you’re all set.
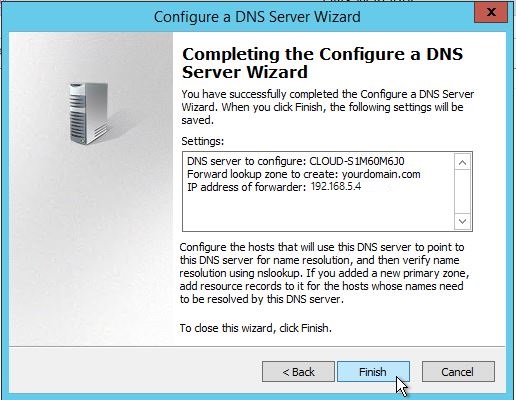
Completing the DNS configuration in Window Server 2012
Congratulations! You have just Configured DNS in Windows Server 2012. Thank you for following along in this How-To, and feel free to check back with us for any new updates on our VPS Hosting solutions.
Learn more about our VPS hosting services and VPS hosting price.