Table of Contents
CockroachDB is a distributed SQL database designed to handle large-scale, mission-critical applications with high availability and scalability requirements. One of its key features is its ability to create resilient clusters that can withstand failures and maintain data consistency across multiple nodes and data centers.
This post will show you how to deploy a three-node CockroachDB cluster on Ubuntu 22.04.
Prerequisites
We will use the following IP addresses to demonstrate this tutorial.
- server1: 172.16.0.10
- server2: 172.16.0.11
- server3: 172.16.0.12
Step 1 – Setup Time Synchronization
Before starting, you will need to set up time synchronization between all servers. You can achieve it by setting up Chrony on each server.
First, install the Chrony package on all servers.
apt update -y
apt -y install chrony
Once installed, edit the Chrony configuration file.
nano /etc/chrony/chrony.conf
Remove default pools and add the following pools:
pool 0.id.pool.ntp.org iburst maxsources 4
pool 1.id.pool.ntp.org iburst maxsources 1
pool 2.id.pool.ntp.org iburst maxsources 1
pool 3.id.pool.ntp.org iburst maxsources 2
Save and close the file, then restart the Chrony service to apply the changes.
systemctl restart chrony
Step 2 – Install CockroachDB
Next, you will need to install CockroachDB on all servers. Follow the below steps to install CockroachDB on all servers.
First, download the CockroachDB from their official website.
wget https://binaries.cockroachdb.com/cockroach-latest.linux-amd64.tgz
Next, extract the downloaded file.
tar -xvzf cockroach-latest.linux-amd64.tgz
Then, copy the extracted binary to the system location.
cp cockroach-*/cockroach /usr/local/bin/
Next, verify the CockroachDB version using the following command.
cockroach version
Output.
Build Tag:        v23.2.1
Build Time:       2024/02/15 22:46:26
Distribution:     CCL
Platform:         linux amd64 (x86_64-pc-linux-gnu)
Go Version:       go1.21.5 X:nocoverageredesign
C Compiler:       gcc 6.5.0
Build Commit ID:  898cd6a363fd47bb92a03bac216f9bed0f64bc08
Build Type:       release
Enabled Assertions: false
Step 3 – Create Certificates for CockroachDB
You will also need to generate server and client certificates for secure communication between all servers.
First, create a certificate directory on all servers.
mkdir ~/certs
On server1, create a CA certificate.
cockroach cert create-ca --certs-dir=certs --ca-key=certs/ca.key
Next, copy the generated certificate to server2 and server3.
scp ~/certs/ca.crt ~/certs/ca.key [email protected]:~/certs/
scp ~/certs/ca.crt ~/certs/ca.key [email protected]:~/certs/
Next, create a client certificate on all servers using the following command.
cockroach cert create-client root --certs-dir=certs --ca-key=certs/ca.key
On the server1, run the following command to generate the server certificate:
cockroach cert create-node localhost $(hostname) 172.16.0.10 --certs-dir=certs --ca-key=certs/ca.key
On the server2, run the following command to generate the server certificate:
cockroach cert create-node localhost $(hostname) 172.16.0.11 --certs-dir=certs --ca-key=certs/ca.key
On the server3, run the following command to generate the server certificate:
cockroach cert create-node localhost $(hostname) 172.16.0.12 --certs-dir=certs --ca-key=certs/ca.key
You can verify all generated certificates using the following command.
cockroach --certs-dir=certs cert list
Output.
Certificate directory: certs
  Usage  | Certificate File |    Key File     |  Expires   |                  Notes                   | Error
---------+------------------+-----------------+------------+------------------------------------------+--------
  CA     | ca.crt           |                 | 2034/03/12 | num certs: 1                             |
  Node   | node.crt         | node.key        | 2029/03/08 | addresses: localhost,node1,172.16.0.10 |
  Client | client.root.crt  | client.root.key | 2029/03/08 | user: root                               |
(3 rows)
Step 4 – Start CockroachDB Cluster
Now, CockroachDB is installed and ready to start. Run the following command on server1 to start the CockroachDB cluster.
cockroach start --background --certs-dir=certs --advertise-host=172.16.0.10 --join=172.16.0.10,172.16.0.11,172.16.0.12 --background
Output.
*
* WARNING: Running a server without --sql-addr, with a combined RPC/SQL listener, is deprecated.
* This feature will be removed in a later version of CockroachDB.
*
*
* INFO: initial startup completed.
* Node will now attempt to join a running cluster, or wait for `cockroach init`.
* Client connections will be accepted after this completes successfully.
* Check the log file(s) for progress.
*
Next, initialize the cluster with the following command.
cockroach init --certs-dir=certs --host=172.16.0.10
You can verify the cluster listening port using the following command.
ss -antpl | grep 26257
Output.
LISTEN 0 4096 *:26257 *:* users:(("cockroach",pid=15951,fd=27))
To check the status of the cluster, run the following command.
cockroach node status --certs-dir=certs --host=172.16.0.10
Output.
  id |       address       |     sql_address     |  build  |              started_at              |              updated_at              | locality | is_available | is_live
-----+---------------------+---------------------+---------+--------------------------------------+--------------------------------------+----------+--------------+----------
   1 | 172.16.0.10:26257 | 172.16.0.10:26257 | v23.2.1 | 2024-03-04 04:25:16.433259 +0000 UTC | 2024-03-04 04:25:31.579729 +0000 UTC |          | true         | true
(1 row)
Step 5 – Add Remaining Server to CockroachDB Cluster
On server2, run the following command to add server2 to the cluster.
cockroach start --background --certs-dir=certs --advertise-host=172.16.0.11 --listen-addr=172.16.0.11 --join=172.16.0.10:26257
On server3, run the following command to add server3 to the cluster.
cockroach start --background --certs-dir=certs --advertise-host=172.16.0.12 --listen-addr=172.16.0.12 --join=172.16.0.10:26257
Now, go to server1 and check the cluster status again.
cockroach node status --certs-dir=certs --host=172.16.0.10
You will see all servers added to the cluster.
  id |       address       |     sql_address     |  build  |              started_at              |              updated_at              | locality | is_available | is_live
-----+---------------------+---------------------+---------+--------------------------------------+--------------------------------------+----------+--------------+----------
   1 | 172.16.0.10:26257 | 172.16.0.10:26257 | v23.2.1 | 2024-03-04 04:25:16.433259 +0000 UTC | 2024-03-04 04:26:28.617658 +0000 UTC |          | true         | true
   2 | 172.16.0.11:26257  | 172.16.0.11:26257  | v23.2.1 | 2024-03-04 04:25:55.477023 +0000 UTC | 2024-03-04 04:26:28.735681 +0000 UTC |          | true         | true
   3 | 172.16.0.12:26257  | 172.16.0.12:26257  | v23.2.1 | 2024-03-04 04:26:19.050073 +0000 UTC | 2024-03-04 04:26:31.148184 +0000 UTC |          | true         | true
(3 rows)
Step 6 – Access CockroachDB Web UI
CockroachDB also offers a web interface to monitor the cluster.
First, go to server1 and log in to the CockroachDB shell.
cockroach sql --certs-dir=certs --host=172.16.0.10
Next, create an admin username and password.
CREATE USER hitesh WITH PASSWORD 'securepassword';
Then, exit from the CockroachDB shell.
exit;
Now, open your web browser and access the CockroachDB web interface using the URL https://server1-ip-address:8080. You will see the CockroachDB login page.
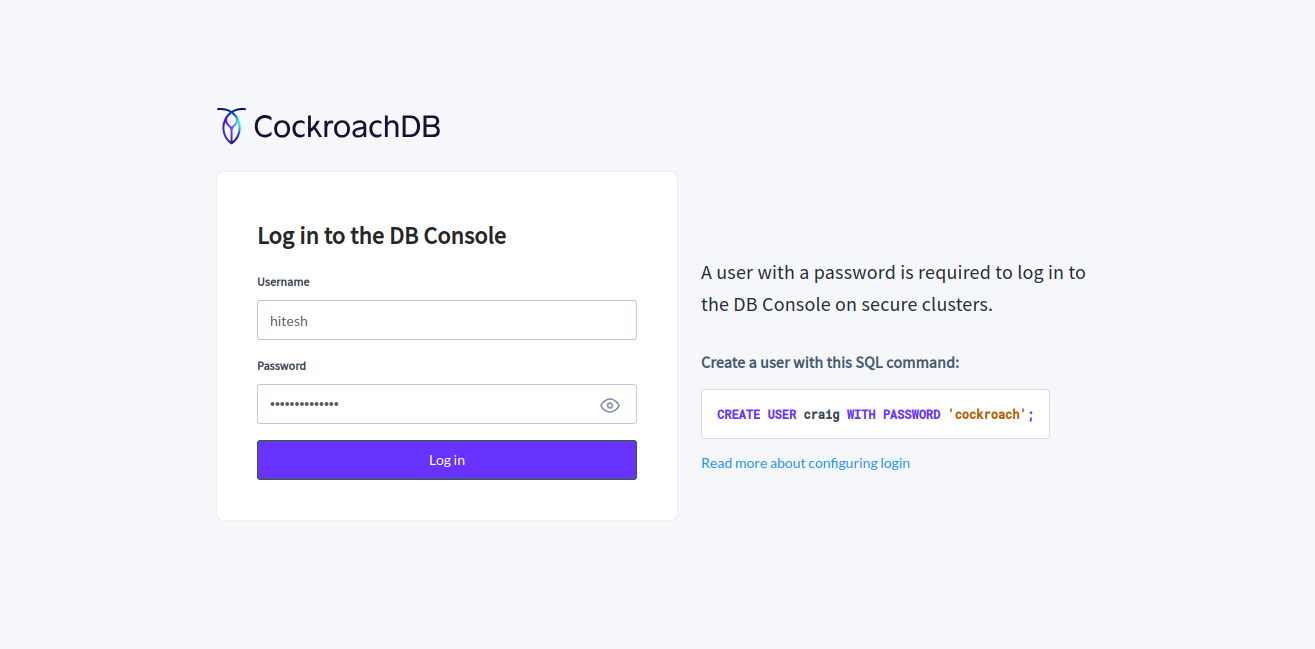
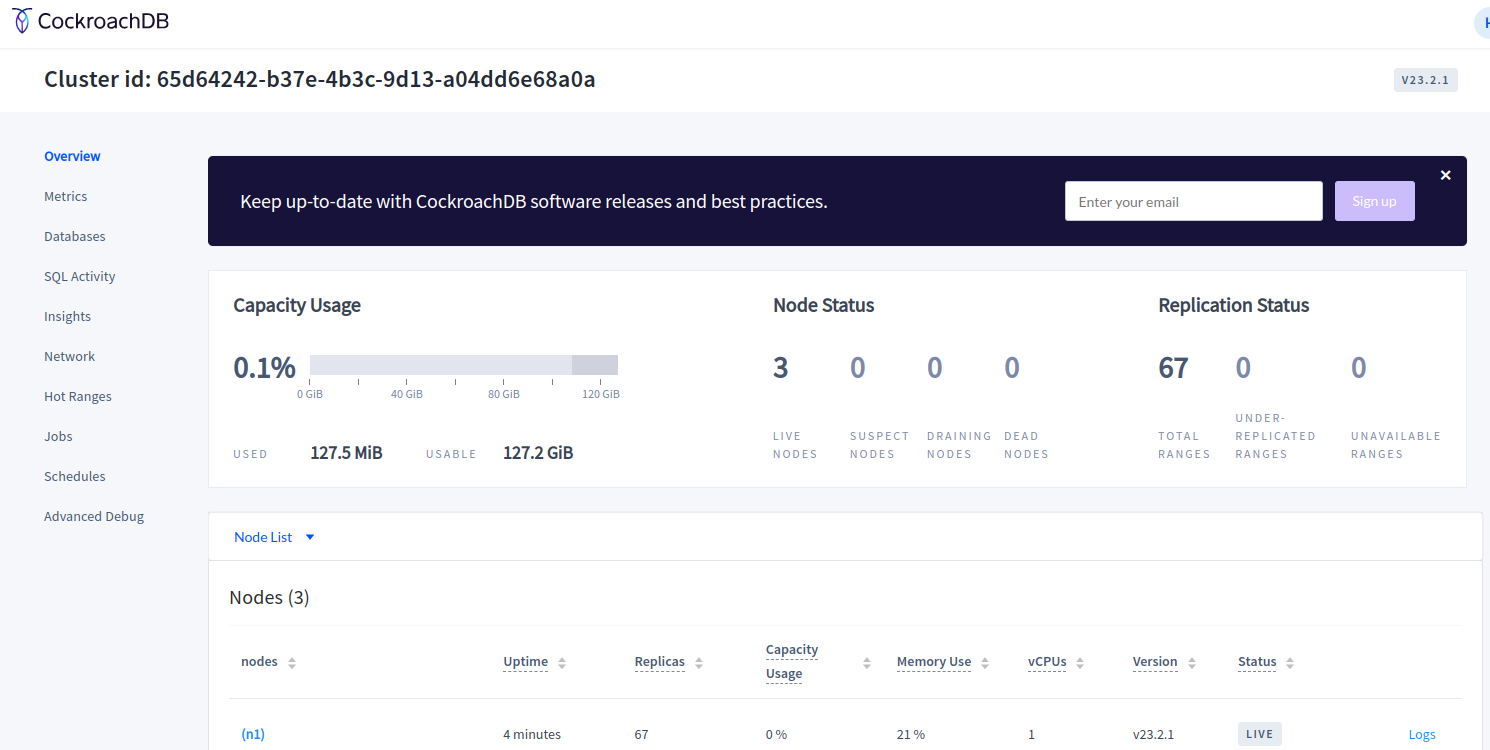
Provide your admin username and password and click on Log in. You will see the CockroachDB dashboard on the following page.
Step 7 – Test Database Replication
After setting up the CockroachDB cluster, you will need to check whether or not the database is replicated between all servers.
On Server1, log in to the CockroachDB shell.
cockroach sql --certs-dir=certs --host=172.16.0.10
Create some databases using the following command.
create database testdb1;
create database testdb2;
Now, verify the created databases.
show databases;
Output.
  database_name | owner | primary_region | secondary_region | regions | survival_goal
----------------+-------+----------------+------------------+---------+----------------
  defaultdb     | root  | NULL           | NULL             | {}      | NULL
  postgres      | root  | NULL           | NULL             | {}      | NULL
  system        | node  | NULL           | NULL             | {}      | NULL
  testdb1       | root  | NULL           | NULL             | {}      | NULL
  testdb2       | root  | NULL           | NULL             | {}      | NULL
Next, go to server2 and log in to the CockroachDB shell.
cockroach sql --certs-dir=certs --host=172.16.0.11
Now, verify whether the databases you created on server1 are replicated.
show databases;
You will see all databases in the following output.
  database_name | owner | primary_region | secondary_region | regions | survival_goal
----------------+-------+----------------+------------------+---------+----------------
  defaultdb     | root  | NULL           | NULL             | {}      | NULL
  postgres      | root  | NULL           | NULL             | {}      | NULL
  system        | node  | NULL           | NULL             | {}      | NULL
  testdb1       | root  | NULL           | NULL             | {}      | NULL
  testdb2       | root  | NULL           | NULL             | {}      | NULL
Conclusion
Overall, CockroachDB clusters offer a powerful and scalable solution for building highly available, distributed databases that can handle the demands of modern applications and workloads. Whether powering global-scale applications or providing real-time analytics, CockroachDB clusters provide the resilience, scalability, and performance required by today’s distributed systems. Try to deploy the CockroachDB cluster on VPS hosting from Atlantic.Net!
* This post is for informational purposes only and does not constitute professional, legal, financial, or technical advice. Each situation is unique and may require guidance from a qualified professional.
Readers should conduct their own due diligence before making any decisions.