Table of Contents
Verified and Tested 02/27/15
Introduction
In this How-To, we will walk you through the install of Apache in your Fedora 20 Cloud Server.
Apache is a web server that is very popular in Linux systems and over the Internet. It is used by many Web Hosting companies worldwide because of its popularity and efficiency in hosting sites over the World Wide Web.
Prerequisites
A cloud server with Fedora 20 already installed. If you don’t already have a server, please spin up a market-leading virtual private server in under 30 seconds.
Installing Apache in Fedora 20
Install Apache with the following command:
yum install httpd
Start Apache with the following command:
systemctl start httpd.service
You will want the Apache service to start on start-up/reboot with the following command:
systemctl enable httpd.service
Add the following commands in Apache to override in Firewall-cmd as follows:
firewall-cmd --set-default-zone=public
firewall-cmd --permanent --zone=public --add-service=http
firewall-cmd --permanent --zone=public --add-service=https
firewall-cmd --reload
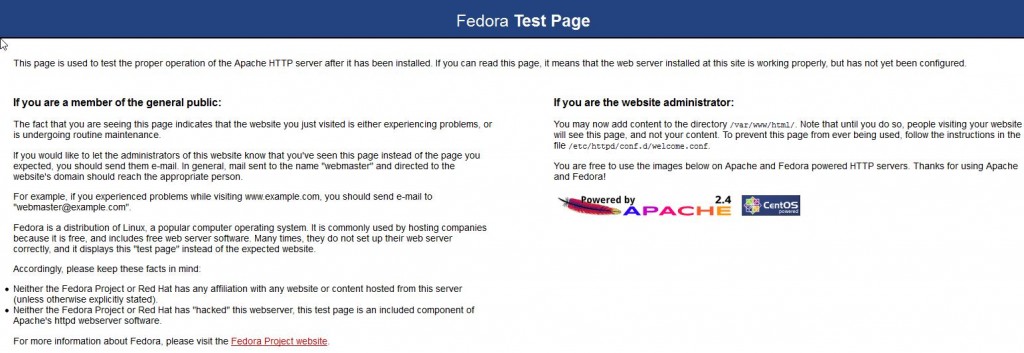
You can now verify that Apache is installed correctly by typing http:// and your IP on your browser.
HTTP: //YOUR.IP.ADD.RESS
You should see the following screenshot in your browser:

Fedora Test Page
Congratulations! You have just installed Apache on your Fedora 20 Cloud Server. Thank you for following along in this How-To, and check back with us for any new updates.
Learn more about our VPS hosting and VPS hosting price.