Table of Contents
Verified and Tested 06/22/16
Introduction
In this How-To, we install LAMP on an Ubuntu 16.04 Server. LAMP is a simple software bundle made of 4 components, Linux, Apache, MySQL, and PHP. Linux the core of the platform, in this case, we are using Ubuntu 16.04. Apache is the web server, majority of the web servers in the world are running Apache MySQL is a database management system, developed by Oracle. PHP is an extremely popular programming language that is widely used in web development. Altogether this forms LAMP or LAMP stack.

Installing LAMP
Before we begin the installation, it is important that your system is up to date, you can do so with the following command:
apt update
Once updating, we can get to the first step of making a LAMP stack by installing Apache.
Installing Apache
Install Apache by running the following command:
apt install apache2
Hit enter to when it asks “Do you want to continue?” during the install.
After the install, you can check to see if Apache is running by running the command:
service apache2 status
Also, you can verify if all is working by opening your browser and going to http://youripaddress
If you do not know your IP address, you can run the following command:
ifconfig
An example of ifconfig showing the IP address 172.20.6.154
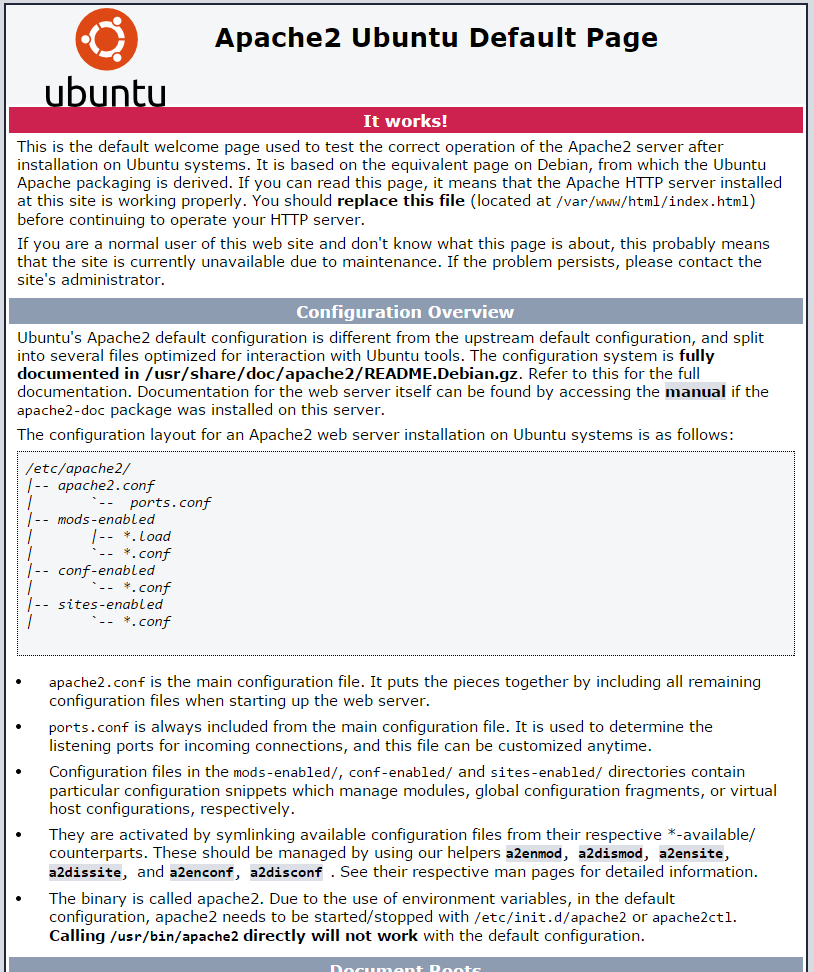
In our case, we would put http://172.20.6.154 in your browser’s address bar and get the following page:
The default page for Apache on Ubuntu 14.04
Installing MySQL
Install MySQL with the following command:
sudo apt install mysql-server php7.0-mysql
Hit enter to when it asks “Do you want to continue?” during the install.
During the install, it will prompt you to enter a MySQL root password. Set any password that you would like. It should be a strong password.
Enter a strong password of your choice.
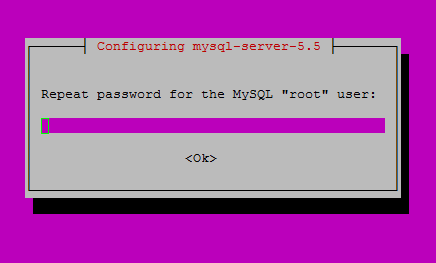
After you enter your MySQL root password, you will need to re-enter it.
Re-enter the password you set before
Continue with the MySQL Security installation with the following command:
mysql_secure_installation
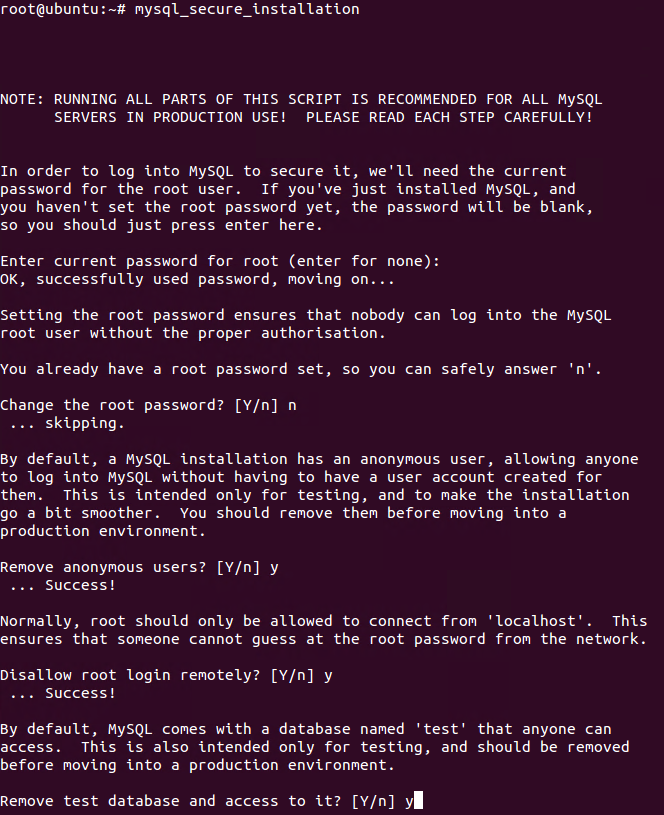
Note: You will be prompted with a series of questions. Just type N for the change root password and Y for yes on all of the rest, see the screen shot below:
An example of what mysql_secure_installation looks like
Verify that MySQL is running with the following command:
service mysql status
Installing PHP
Install PHP with the following command:
apt install php libapache2-mod-php
Hit enter to when it asks “Do you want to continue?” during the install.
Create a test PHP file called info.php in /var/www/html/. In this how-to, we will be using the text editor nano with the following command:
nano /var/www/html/info.php
Insert the following code in the text editor then save and exit:
<?php
phpinfo();
?>
Since we made changes, we need to restart Apache so that the changes take effect:
service apache2 restart
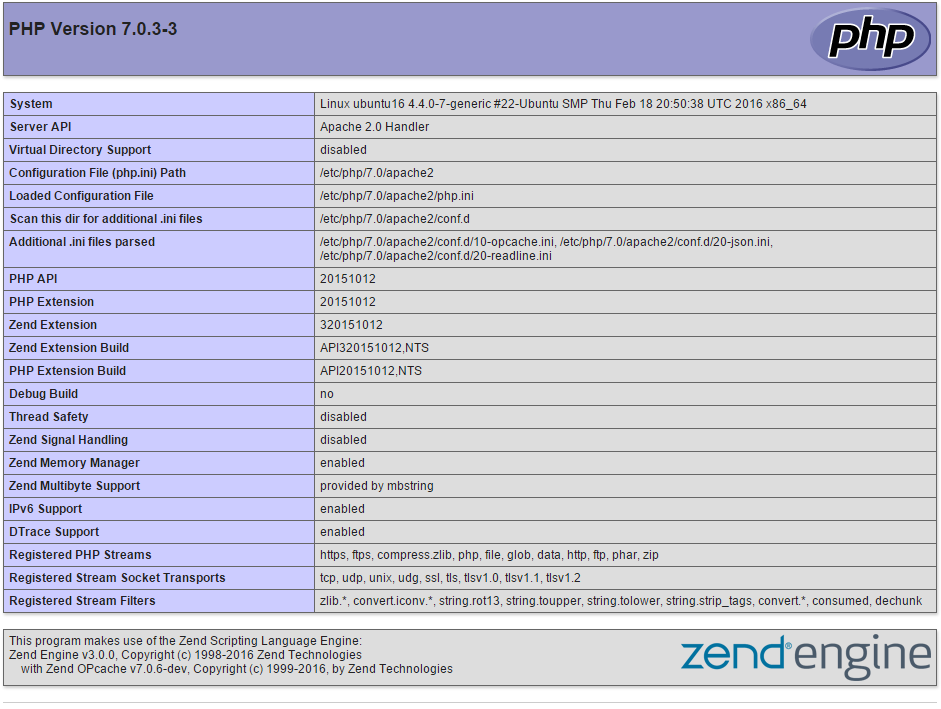
Test your page in your browser with the following hyperlink changed with your IP address:
http://youripaddress/info.php
The result of the php.info file you made.
Congratulations! You have just installed LAMP on your Ubuntu 16.04 Server. Thank you for following this How-To on installing LAMP, please check back for more updates or head over to our blog and check out useful articles like LAMP vs. WAMP: Why do Startups Prefer LAMP to WAMP?


