Craft is a user-friendly and flexible CMS platform used to build a website using customizable themes and templates. It is based on the Yii2 framework and differentiates itself by putting your content first and providing an adaptable experience to the user. You can connect Craft CMS to other marketing tools like Salesforce, Mailchimp, Hubspot, and countless more.
In this tutorial, we will explain how to install Craft CMS on Fedora Linux.
Step 1 – Install LEMP Server
First, install the Nginx and MariaDB server with the following command.
dnf install nginx mariadb-server -y
Once both packages are installed, add the PHP Remi repository to get the latest PHP version.
dnf install -y http://rpms.remirepo.net/fedora/remi-release-34.rpm
dnf module install php:remi-8.1
Next, install PHP and other required extensions using the following command.
dnf install php php-cli php-fpm php-common php-curl php-gd php-json php-mbstring php-mysqli php-pgsql php-xml php-pdo -y
yum --enablerepo=remi install php-intl php-zip
Next, edit the PHP configuration file.
nano /etc/php.ini
Change the following lines:
memory_limit = 256M
date.timezone = UTC
Next, edit the PHP-FPM configuration file.
nano /etc/php-fpm.d/www.conf
Change the user and group from apache to nginx.
user = nginx
group = nginx
Save and close the file then start and enable Nginx, MariaDB, and PHP-FPM services.
systemctl start nginx mariadb php-fpm
systemctl enable nginx mariadb php-fpm
Step 2 – Configure MariaDB
Craft CMS uses MariaDB to store its content, so you will need to create a database and user for MariaDB.
First, connect to the MariaDB shell using the following command.
mysql
Once you are connected, create a database and user for Craft CMS.
create database craftdb;
grant all on craftdb.* to craftuser@localhost identified by 'securepassword';
Next, flush the privileges and exit from MariaDB using the following command.
flush privileges;
exit;
Step 3 – Install Craft CMS
First, download the Composer setup file and run it to install the Composer using the following command.
php -r "copy('https://getcomposer.org/installer', 'composer-setup.php');"
HASH="$(wget -q -O - https://composer.github.io/installer.sig)"
php -r "if (hash_file('SHA384', 'composer-setup.php') === '$HASH') { echo 'Installer verified'; } else { echo 'Installer corrupt'; unlink('composer-setup.php'); } echo PHP_EOL;"
php composer-setup.php --install-dir=/usr/local/bin --filename=composer
Next, change the directory to the Nginx web root and install the Craft CMS using the following command.
cd /var/www/html/
composer create-project craftcms/craft craftcms
During the installation, you will be asked to set your admin username, password, and other information as shown below.
Proceed anyway? (yes|no) [no]:yes
Which database driver are you using? (mysql or pgsql) [mysql]
Database server name or IP address: [127.0.0.1]
Database port: [3306]
Database username: [root] craftuser
Database password:
Database name: craftdb
Database table prefix:
Testing database credentials ... success!
Saving database credentials to your .env file ... done

Install Craft now? (yes|no) [yes]:yes


Username: [admin]
Email: [email protected]

Password:
Invalid input.
Password:
Confirm:
Site name: MySite
Site URL: http://craftcms.example.com
Site language: [en-US]
Next, set proper permissions and ownership to the Craft CMS directory.
chown -R nginx:nginx /var/www/html/craftcms
chmod -R 777 /var/www/html/craftcms
chown -R nginx:nginx /var/lib/php/session
chmod 777 -R /var/lib/php/session
Step 4 – Configure Nginx for Craft CMS
Next, create an Nginx virtual host configuration file.
nano /etc/nginx/conf.d/craft.conf
Add the following configurations:
server {

  listen 80;
  server_name craftcms.example.com;
  root /var/www/html/craftcms/web;
  index index.php;


  location / {
    try_files $uri/index.html $uri $uri/ /index.php?$query_string;
  }

  location ~ [^/]\.php(/|$) {
    try_files $uri $uri/ /index.php?$query_string;
    fastcgi_split_path_info ^(.+\.php)(/.+)$;
    fastcgi_pass unix:/run/php-fpm/www.sock;
    fastcgi_index index.php;
    include fastcgi_params;
    fastcgi_param SCRIPT_FILENAME $document_root$fastcgi_script_name;
    fastcgi_param PATH_INFO $fastcgi_path_info;
    fastcgi_param HTTP_PROXY "";
  }

}
Save and close the file, then edit the Nginx configuration file.
nano /etc/nginx.nginx.conf
Add the following line after the line http{:
server_names_hash_bucket_size 64;
Save and close the file, then restart the Nginx service to apply the changes.
systemctl restart nginx
Step 5 – Access Craft CMS
Now, open your web browser and access the Craft CMS using the URL http://craftcms.example.com. You will see the Craft CMS welcome page.
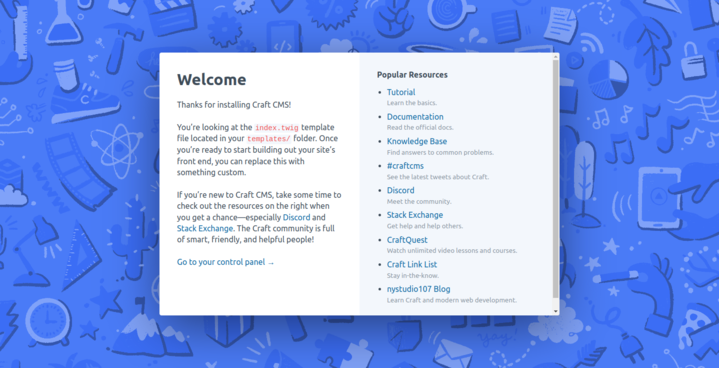
Click on Go to your control panel. You will see the Craft CMS login page.
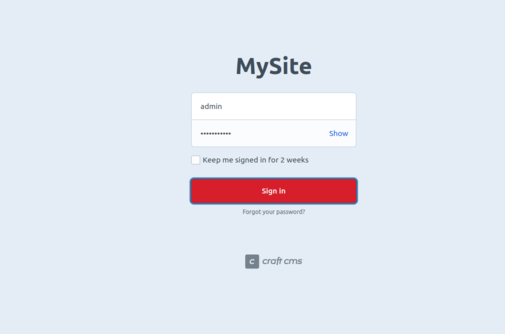
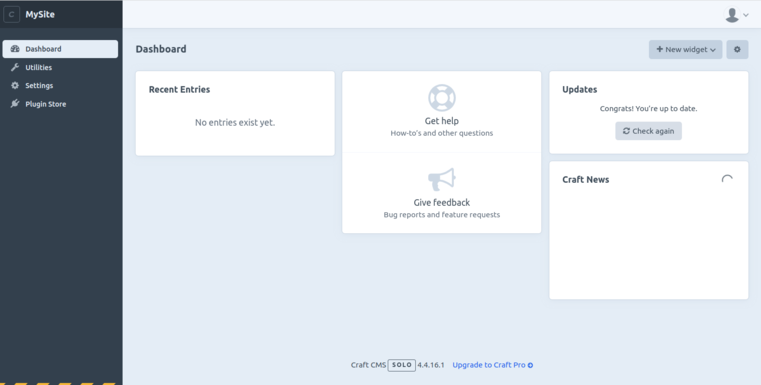
Provide your admin username and password and click on the Sign in button. You will be redirected to the Craft CMS dashboard on the following screen.
Conclusion
In this post, we explained how to install Craft CMS using the LEMP server. You can now easily design and build a beautiful website using the Craft CMS. You can now deploy Craft CMS on VPS hosting from Atlantic.Net!