Gatsby is an open-source framework based on React. It designed for performance, with scalability and security in mind. It helps you to build a fast, secure, and powerful website within minutes. Gatsby uses the most recent web technologies, such as React, GraphQL, and Webpack. This will help developers build blazing-fast websites and apps. It offers 2500+ plugins to create static sites based on sources such as Markdown documents, MDX, images, and numerous Content Management Systems such as WordPress, Drupal, and more.
In this post, we will show you how to install Gatsby.js framework on Fedora.
Step 1 – Install Node.js and NPM
First, install the required dependencies using the following command.
dnf update -y
dnf install -y gcc-c++ make
Gatsby requires Node.js version 18.0.0 or greater to be installed on your server. By default, Node.js latest version is not included in the Fedora repo, so you will need to install Node.js via NVM.
First, run the following script to install NVM.
curl https://raw.githubusercontent.com/creationix/nvm/master/install.sh | bash
Next, run the following command to load the environment variable.
source ~/.bashrc
Next, install Node.js with the following command.
nvm install v18.0.0
Output:
Downloading and installing node v18.0.0...
Downloading https://nodejs.org/dist/v18.0.0/node-v18.0.0-linux-x64.tar.xz...
################################################################################################################################################################# 100.0%
Computing checksum with sha256sum
Checksums matched!
Now using node v18.0.0 (npm v8.6.0)
Creating default alias: default -> v18.0.0
Next, verify the Node.js version with the following command.
node --version
Output:
v18.0.0
Step 2 – Install Gatsby CLI
Gatsby offers a command line tool to create a website easily via command line. You can install it with the NPM command.
npm -g install gatsby-cli
After successful installation, verify the Gatsby version with the following command.
gatsby --version
Output:
Gatsby CLI version: 5.10.0
Step 3 – Create a Website with Gatsby
First, install the Git package with the following command.
dnf install git
Next, create a new website using the following command.
gatsby new
You will be asked several questions to create a website. Once the website is created, you will see the following output.
create-gatsby version 3.10.0
                  Welcome to Gatsby!
This command will generate a new Gatsby site for you in /root with the setup you select. Let's answer some questions:

What would you like to call your site?
✔ · My Gatsby Site
What would you like to name the folder where your site will be created?
✔ root/ my-gatsby-site
✔ Will you be using JavaScript or TypeScript?
· JavaScript
✔ Will you be using a CMS?
· No (or I'll add it later)
✔ Would you like to install a styling system?
· No (or I'll add it later)
✔ Would you like to install additional features with other plugins?


Thanks! Here's what we'll now do:

    🛠  Create a new Gatsby site in the folder my-gatsby-site
    🔌 Install gatsby-transformer-remark


✔ Created site from template
▸ Installing Gatsby...
✔ Created site from template
✔ Installed Gatsby
✔ Installed plugins
✔ Created site in my-gatsby-site
🔌 Setting-up plugins...

info Adding gatsby-transformer-remark
info Adding gatsby-source-filesystem
info Installed gatsby-transformer-remark in gatsby-config
success Adding gatsby-transformer-remark to gatsby-config - 0.326s
info Installed gatsby-source-filesystem in gatsby-config
success Adding gatsby-source-filesystem (pages) to gatsby-config - 0.341s

Author identity unknown

*** Please tell me who you are.

Run

  git config --global user.email "[email protected]"
  git config --global user.name "Your Name"

to set your account's default identity.
Omit --global to set the identity only in this repository.

Initial git commit failed - removing git support

🎉  Your new Gatsby site My Gatsby Site has been successfully created
at /root/my-gatsby-site.
Start by going to the directory with

  cd my-gatsby-site

Start the local development server with

  npm run develop

See all commands at

  https://www.gatsbyjs.com/docs/reference/gatsby-cli/
Step 4 – Run a Gatsby Website
At this point, the Gatsby website is created in the my-gatsby-site directory. Now, it’s time to run it.
First, change the directory to the Gatsby website.
cd my-gatsby-site
Next, run the Gatsby website with the following command.
gatsby develop -H your-server-ip
You will see the following output.
⠀
  http://69.28.88.130:8000/
⠀
View GraphiQL, an in-browser IDE, to explore your site's data and schema
⠀
  http://69.28.88.130:8000/___graphql
⠀
Note that the development build is not optimized.
To create a production build, use gatsby build
⠀
success Building development bundle - 27.035s
success Writing page-data.json and slice-data.json files to public directory - 0.179s - 3/4 22.30/s
Step 5 – Access Gatsby Web UI
At this point, the Gatsby website is created and listens on port 8000.
Now, open your web browser and access the Gatsby website using the URL http://your-server-ip:8000. You should see the following screen.

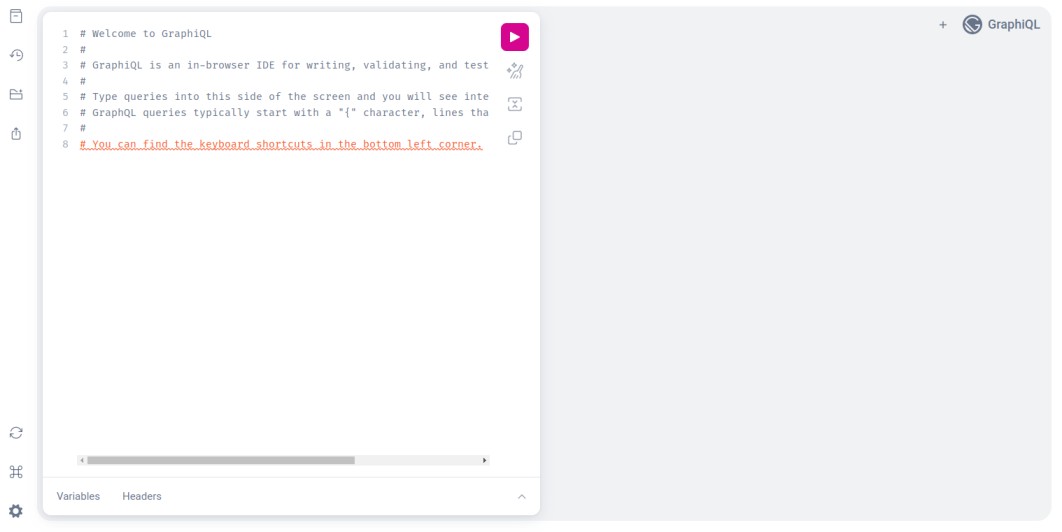
You can also access the Gatsby graph using the URL http://your-server-ip:8000/___graphql. You should see the following screen.
Step 6 – Create a Systemd Service for Gatsby
At this point, Gatsby is installed and running. However, you will need to run it manually after the system reboot, so you will need to create a systemd service file to manage the Gatsby website via systemctl.
First, create a symbolic link of the Node.js binary using the following command.
ln -s /root/.nvm/versions/node/v18.0.0/bin/node /usr/bin/
Next, create a systemd service file for Gatsby:
nano /etc/systemd/system/gatsby.service
Add the following configuration.
[Unit]
Description=Github webhook
After=network.target

[Service]
Environment=PATH=/root/my-gatsby-site
Type=simple
User=root
ExecStart=/usr/local/bin/gatsby develop -H your-server-ip
Restart=on-failure

[Install]
WantedBy=multi-user.target
Save and close the file, then reload the systemd service to apply the changes.
systemctl daemon-reload
Next, start and enable the Gatsby service.
systemctl start gatsby
systemctl enable gatsby
You can now verify the status of Gatsby with the following command.
systemctl status gatsby
Output:
● gatsby.service
     Loaded: loaded (/etc/systemd/system/gatsby.service; disabled; vendor preset: disabled)
     Active: active (running) since Tue 2023-06-06 04:42:30 EDT; 14s ago
   Main PID: 33717 (node)
      Tasks: 27 (limit: 4666)
     Memory: 489.5M
        CPU: 20.422s
     CGroup: /system.slice/gatsby.service
             ├─33717 node /usr/local/bin/gatsby develop -H 69.28.88.130
             ├─33728 /root/.nvm/versions/node/v18.0.0/bin/node /root/my-gatsby-site/.cache/tmp-33717-yOMn7pP7ifjY
             └─33761 /root/.nvm/versions/node/v18.0.0/bin/node /root/my-gatsby-site/node_modules/gatsby-worker/dist/child.js
Conclusion
Congratulations! You have successfully installed the Gatsby.js framework and created a sample website using the Gatsby.js. You can now build a fast and scalable website easily using the Gatsby framework. Try to install the Gatsby framework on VPS hosting from Atlantic.Net!
* This post is for informational purposes only and does not constitute professional, legal, financial, or technical advice. Each situation is unique and may require guidance from a qualified professional.
Readers should conduct their own due diligence before making any decisions.