Verified and Tested 03/10/21
Introduction
We will walk you through the LAMP install on your Fedora 32 Server in this How-To. With the many changes of Fedora 32, a typical LAMP install is different than you may have seen in the past. Fedora 32 still uses Apache and MariaDB, PHP, although they are using slightly updated versions of each.
Install Lamp on Fedora 32
To start, we need to make sure the system is updated. To do that, run the command:
dnf update
We are now able to start the installation for Apache.
Install Apache on Fedora 32
Install Apache with the following command:
dnf install httpd
Now that Apache is installed, we need to start Apache with the following command:
systemctl start httpd.service
You will want the Apache service to start on start-up/reboot with the following command:
systemctl enable httpd.service
Add the following commands in Apache to override in Firewall-cmd as follows:
firewall-cmd --set-default-zone=public
firewall-cmd --permanent --zone=public --add-service=http
firewall-cmd --permanent --zone=public --add-service=https
firewall-cmd --reload
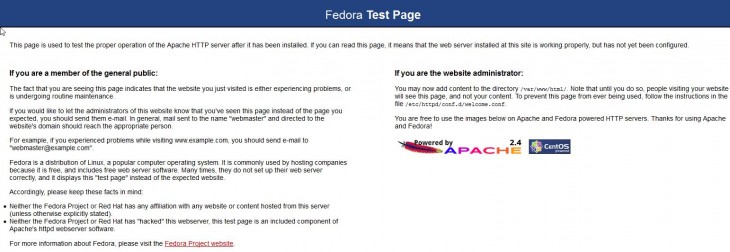
You can now verify that Apache is installed correctly by typing http:// and your IP or hostname on your browser.
Note: If you do not know your IP address, run the following command:
ip addr show eth0An example of ip addr showing the IP of 192.168.100.10
In our example we would put
http://192.168.100.10into our browser’s address bar.

The default Apache page for Fedora 32
Installing MariaDB on Fedora 32
Install MySQL with the following command to begin the install:
dnf install mariadb-server
Start the service with the following command
systemctl start mariadb
To have MariaDB start on boot, run the following command:
systemctl enable mariadb
You can then check the status of MariaDB to ensure it is running by using the command:
systemctl status mariadb
Set the MariaDB root password and secure MariaDB with the following command:
mysql_secure_installation
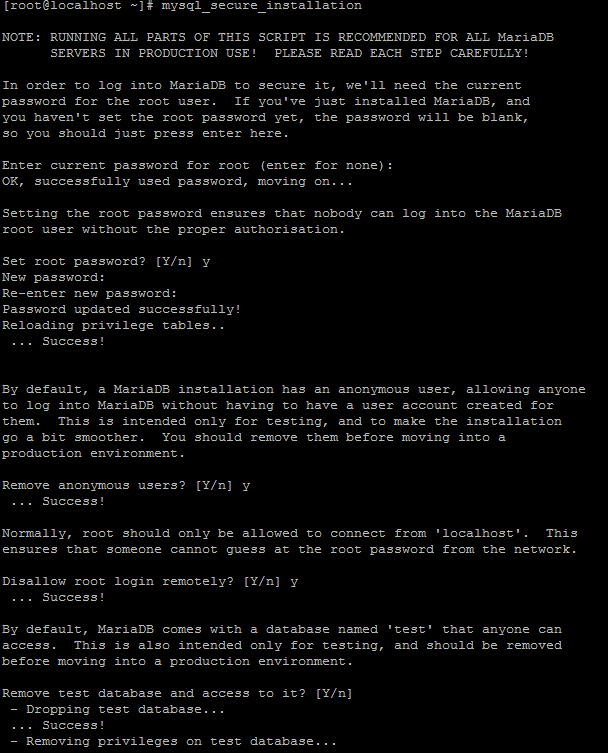
First, you will be prompted for the MariaDB root password. Since we installed MariaDB and did not set a root password, you would leave it blank and press Enter. You will then be asked if you would like to set the root password. Enter ‘Y’ for yes, and then create a password of your choice.
Note: Afterwards, you will be prompted with a series of questions. Just type Y for yes on all of them. See the screenshot below:

An example of the mysql_secure_installation for MariaDB on Fedora 32
Install PHP on Fedora 32
Finally, we will conclude the installing PHP with the following command:
dnf install php php-mysqli
Restart the Apache HTTP service, so the changes take effect.
systemctl restart httpd.service
To test and verify this installation, create a test PHP file in the directory below with the following command:
sudo nano /var/www/html/info.php
Insert the following PHP code in the space, then save and exit:
<?php
phpinfo();
?>
Restart the Apache HTTP service one last time, so all the changes take effect.
sudo systemctl enable httpd.service
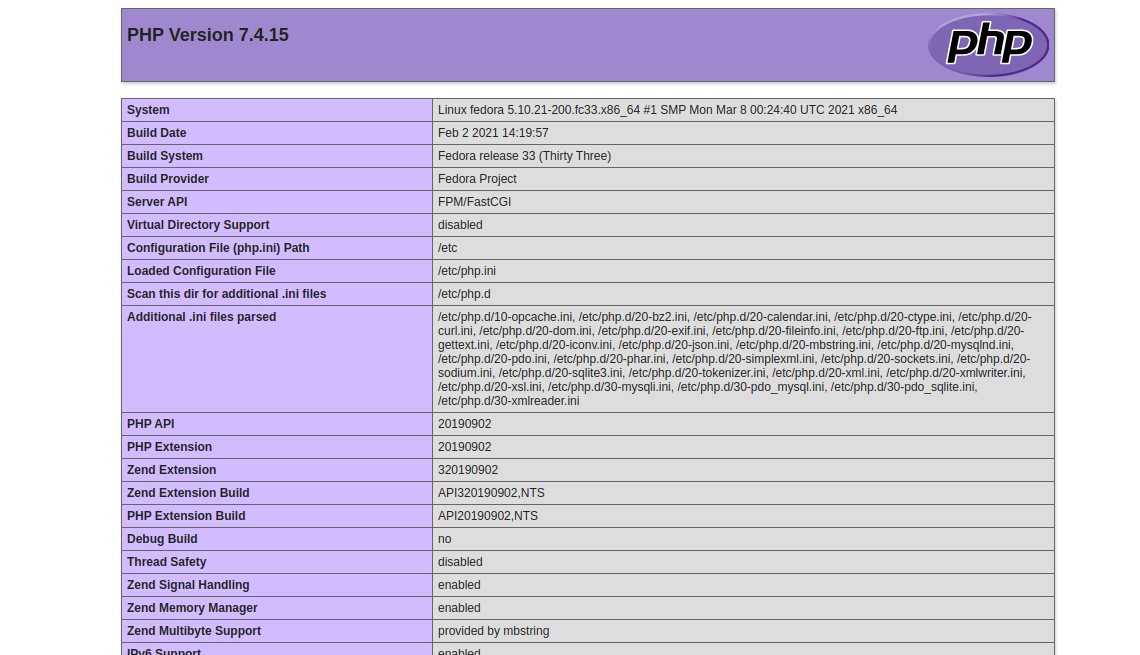
You can now verify that PHP is installed correctly by typing the following on your browser.
http: //ip.ad.dre.ss/info.php
What Next?
Congratulations! You now have a server with a LAMP platform for your web environment. Thank you for following along, and feel free to check back with us for further updates or check out our guide on installing WordPress.
Learn more about our VPS hosting services and VPS hosting price.

