A MEAN stack is one of the most popular JavaScript technology stacks. It is a free and open-source framework that helps you build fast, robust, and maintainable production-ready web applications using MongoDB, Express, Angular, and Node.js. A MEAN stack supports the same language for both the front-end and back-end, which will increase efficiency and reduces the confusion of developers.
In this guide, we will show you how to install MEAN.JS on Oracle Linux 10.
Step 1 – Install MongoDB
MongoDB is the first component of the MEAN stack. By default, MongoDB is not included in the Oracle Linux 8 default repository, so you will need to add the MongoDB repository to your server.
nano /etc/yum.repos.d/mongodb-org-7.0.repo
Add the following lines:
[mongodb-org-7.0]
name=MongoDB Repository
baseurl=https://repo.mongodb.org/yum/redhat/9/mongodb-org/7.0/x86_64/
enabled=1
gpgcheck=0
repo_gpgcheck=0
Next, install the MongoDB server with the following command:
dnf install mongodb-org
After installing MongoDB, start the MongoDB service and enable it to start at system reboot:
systemctl start mongod.service
systemctl enable mongod.service
You can now verify the MongoDB version using the following command:
mongod --version
You should see the following output:
db version v7.0.26
Build Info: {
    "version": "7.0.26",
    "gitVersion": "715b3bbc6c34cecc42ffc77ef77d24f71e240e94",
    "openSSLVersion": "OpenSSL 3.5.1 1 Jul 2025",
    "modules": [],
    "allocator": "tcmalloc",
    "environment": {
        "distmod": "rhel90",
        "distarch": "x86_64",
        "target_arch": "x86_64"
    }
}
Step 2 – Install Node.js
Next, you will need to install Node.js on your system. First, install all required dependencies using the following command:
dnf install curl git gcc-c++ make -y
Next, install the Node.js by running the following command:
dnf install nodejs -y
Once Node.js is installed, you can verify the Node.js version using the following command:
node --version
You will get the following output:
v22.19.0
Step 3 – Install Express
Express is a Node.js framework that supports MVC and helps to build more scalable, structured, and dynamic websites. You can install the Express using the NPM command:
npm install -g express-generator
Once Express is installed, create a directory for the Express project with the following command:
mkdir app
Next, navigate to the app directory and create an Express project with the following command:
cd app
express
You will get the following output:
   create : public/
   create : public/javascripts/
   create : public/images/
   create : public/stylesheets/
   create : public/stylesheets/style.css
   create : routes/
   create : routes/index.js
   create : routes/users.js
   create : views/
   create : views/error.jade
   create : views/index.jade
   create : views/layout.jade
   create : app.js
   create : package.json
   create : bin/
   create : bin/www

   install dependencies:
     $ npm install

   run the app:
     $ DEBUG=app:* npm start
Next, run the following command to install additional dependencies:
npm install
Next, run the Express app using the following command:
DEBUG=app:* npm start
You will get the following output:
> [email protected] start
> node ./bin/www

  app:server Listening on port 3000 +0ms
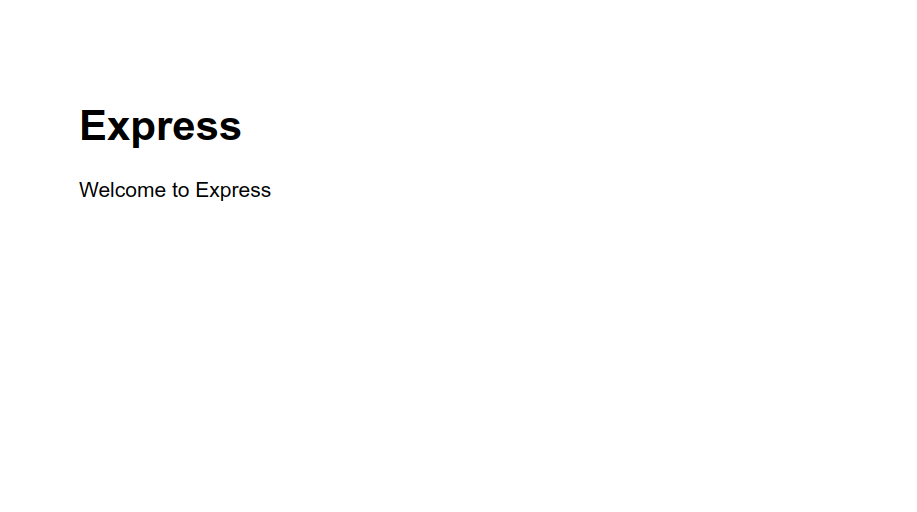
Now, open your web browser and access the Express app using the URL http://your-server-ip:3000. You should see the following screen:
Press the CTRL+C on your command line interface to stop the Express app.
Step 4 – Install Angular
Angular is an MVC framework used for both the client end and the front end. It allows you to create an interactive web or mobile application.
You can install the Angular CLI by running the following command:
npm install -g @angular/cli
Once installed, create a new Angular app using the following command:
ng new angular-app
You should see the following output:
? Would you like to add Angular routing? No
? Which stylesheet format would you like to use? CSS
Next, navigate to the angular-app directory and run your application using the following command:
cd angular-app
ng serve --host your-server-ip --port 8088
You should get the following output:
✔ Browser application bundle generation complete.

Initial Chunk Files   | Names         |  Raw Size
vendor.js             | vendor        |   1.73 MB |
polyfills.js          | polyfills     | 315.30 kB |
styles.css, styles.js | styles        | 207.37 kB |
main.js               | main          |  47.74 kB |
runtime.js            | runtime       |   6.52 kB |

                      | Initial Total |   2.29 MB

Build at: 2025-12-23T10:25:26.405Z - Hash: 50e206289757a698 - Time: 23713ms

** Angular Live Development Server is listening on 208.117.81.16:8088, open your browser on http://208.117.81.16:8088/ **


✔ Compiled successfully.
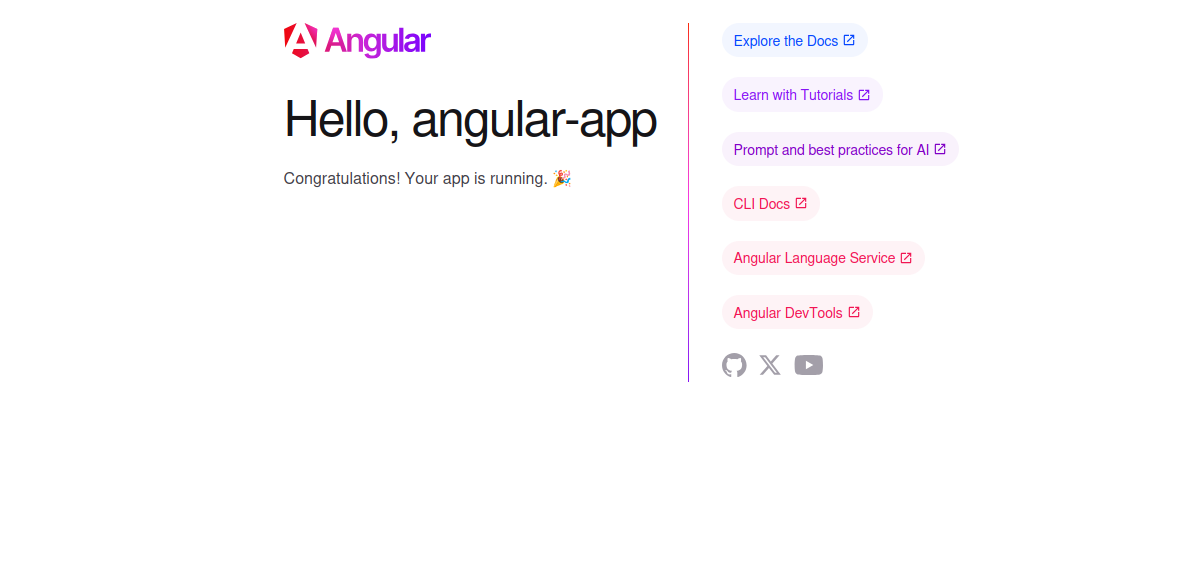
You can now access the Angular app using the URL http://your-server-ip:8088. You should see your Angular app on the following screen:
Conclusion
Congratulations! You have successfully installed the MEAN stack on Oracle Linux 10. You can now use the MEAN stack in your production environment to develop fast, secure, and scalable dynamic web applications. Get started with a MEAN stack on VPS Hosting from Atlantic.Net!

