Table of Contents
Verified and Tested 06/15/15
Introduction
In this how-to, we will be installing a Mumble VoIP server on Ubuntu 15.04. Mumble is an open-source, low-latency, high-quality voice chat software primarily used while gaming.
Install Mumble
Mumble may not be available in the default Ubuntu repository. To add the repository–
sudo add-apt-repository ppa:mumble/release
sudo apt-get update
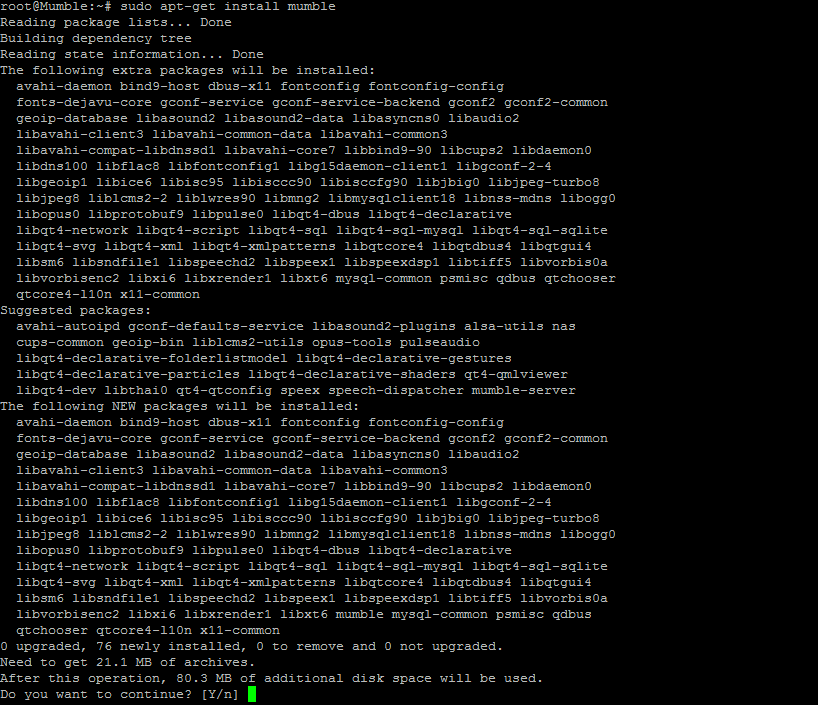
sudo apt-get install mumble
or if that command does not work, you may do the following. —
sudo apt-get install mumble
sudo dpkg-reconfigure mumble-server
Advanced Config
To configure, open up /etc/mumble-server.ini via nano or vi (user preference):
nano /etc/mumble-server.ini
To avoid users from affecting your Mumble server negatively, you may use Mumble’s global-ban system.
The below configuration is set so that if someone attempts to connect to the server (unsuccessfully) 5 times within 60 seconds, they will be banned for 150 seconds.
autobanAttempts, autobanTimeframe and autobanTime
#autobanAttempts = 5
#autobanTimeframe = 60
#autobanTime = 150
For these rules to occur, you must remove the # in front of each line.
Serverpassword
You will be able to choose a password for your server here. Be sure to use a strong password such as: f;Q=uS6/#BK5t<(9
# Password to join server.
serverpassword=
Welcometext
This setting displays a message to the users every time they log in to the server.
# Welcome message sent to clients when they connect.
welcometext="
Thank you for choosing Atlantic.Net! We hope you enjoy your stay
"
Port
The default port used by mumble is port 64738.
port=64738
Users
With this setting, you can limit the number of users allowed on the server at one time.
users=150
Allowhtml
Set Allowhtml to true to allow HTML to be used in messages.
allowhtml=true
Press Ctrl+X to exit /etc/mumble-server.ini
Perfect, now your Mumble server is installed and configured!
Learn more about our VPS hosting services and VPS hosting price.


