Table of Contents
Netbox is an IP address management and data center infrastructure management tool developed by the DigitalOcean team. It is built on the Django Python framework and designed to address the needs of network and infrastructure engineers. It has a simple and user-friendly interface where you can manage all devices, racks, and IP addresses from a central place.
This post will show you how to install Netbox on Fedora.
Step 1 – Install and Configure PostgreSQL
Netbox uses PostgreSQL as a database backend, so you will need to install and configure PostgreSQL on your server.
First, reset the default PostgreSQL repo and enable the PostgreSQL version 14 repo using the following command.
dnf update -y
dnf module reset postgresql -y
dnf module enable postgresql:14
Next, install the PostgreSQL server using the following command.
dnf install postgresql-server postgresql
After the installation, initialize the PostgreSQL database with the following command.
postgresql-setup --initdb
Next, start and enable the PostgreSQL service with the following command.
systemctl enable --now postgresql
Next, edit the PostgreSQL configuration file:
nano /var/lib/pgsql/data/pg_hba.conf
Change the following lines:
host    all             all             127.0.0.1/32            md5
host    all             all             ::1/128                 md5
Save the file, then restart the PostgreSQL using the following command.
systemctl restart postgresql
Next, log in to the PostgreSQL shell.
sudo -u postgres psql
Once logged in, set the Postgres password, and create a database and user with the following command.
ALTER USER postgres WITH PASSWORD 'securepassword';
CREATE DATABASE netboxdb;
CREATE USER netbox WITH ENCRYPTED PASSWORD 'securepassword';
GRANT ALL PRIVILEGES ON DATABASE netboxdb TO netbox;
\q
Step 2 – Install Redis Server
Netbox also requires Redis to be installed on your server. You can install it with the following command.
dnf install redis -y
Once installed, start and enable the Redis service to start at system reboot.
systemctl start redis
systemctl enable redis
Step 3 – Install and Configure Netbox
First, install all the required dependencies using the following command.
dnf -y groupinstall "Development Tools"
Next, add a user for Netbox.
useradd -r -d /opt/netbox -s /usr/sbin/nologin netbox
Next, create a Netbox directory and download the latest Netbox version inside that directory.
mkdir -p /opt/netbox
cd /opt/netbox
git clone -b master --depth 1 https://github.com/netbox-community/netbox.git .
Next, change the ownership of the Netbox directory.
chown -R netbox:netbox /opt/netbox
Next, rename the Netbox configuration file and generate a secret key.
cd /opt/netbox/netbox/netbox
sudo -u netbox cp configuration_example.py configuration.py
sudo -u netbox python3 ../generate_secret_key.py
Output:
%ACU8k^7fR6Uk+aZiYfXtYmS&7cTor+tv1XB74eN#gs$%lGRu(
Next, edit the Netbox configuration file and define your database settings, allowed hosts, and secret key.
nano configuration.py
Change the following lines:
# domain and IP address
ALLOWED_HOSTS = ['0.0.0.0', 'netbox.example.com']

# database configuration
DATABASE = {
    'NAME': 'netboxdb',               # Database name
    'USER': 'netbox',               # PostgreSQL username
    'PASSWORD': 'securepassword', # PostgreSQL password
    'HOST': 'localhost',            # Database server
    'PORT': '',                     # Database port (leave blank for default)
    'CONN_MAX_AGE': 300,            # Max database connection age (seconds)
}


SECRET_KEY = '%ACU8k^7fR6Uk+aZiYfXtYmS&7cTor+tv1XB74eN#gs$%lGRu('
Next, run the following command to create a virtual environment for Netbox.
sudo -u netbox /opt/netbox/upgrade.sh
Output:
WARNING: No existing virtual environment was detected. A new one has
been created. Update your systemd service files to reflect the new
Python and gunicorn executables. (If this is a new installation,
this warning can be ignored.)

netbox.service ExecStart:
  /opt/netbox/venv/bin/gunicorn

netbox-rq.service ExecStart:
  /opt/netbox/venv/bin/python

After modifying these files, reload the systemctl daemon:
  > systemctl daemon-reload
--------------------------------------------------------------------
Upgrade complete! Don't forget to restart the NetBox services:
  > sudo systemctl restart netbox netbox-rq
Step 4 – Create a Superuser for Netbox
Next, activate the Netbox virtual environment using the following command.
source /opt/netbox/venv/bin/activate
Next, create a superuser for Netbox.
cd /opt/netbox/netbox
python3 manage.py createsuperuser
Define your Netbox admin user and password.
Username (leave blank to use 'root'): admin
Email address: hitjethva@gmail.com
Password:
Password (again):
Superuser created successfully.
Next, create a symbolic link of Netbox housekeeping.
ln -s /opt/netbox/contrib/netbox-housekeeping.sh /etc/cron.daily/netbox-housekeeping
Finally, deactivate from the virtual environment.
deactivate
Step 5 – Create a Systemd Service File for Netbox
First, cop the Gunicorn configuration file.
cp /opt/netbox/contrib/gunicorn.py /opt/netbox/gunicorn.py
Next, copy all the service files from Netbox to the systemd directory.
cp -v /opt/netbox/contrib/*.service /etc/systemd/system/
Next, reload the systemd daemon to apply the changes.
systemctl daemon-reload
Next, start and enable the Netbox service using the following command.
systemctl start netbox netbox-rq
systemctl enable netbox netbox-rq
You can now verify the status of the Netbox service with the following command.
systemctl status netbox netbox-rq
Output:
● netbox.service - NetBox WSGI Service
     Loaded: loaded (/etc/systemd/system/netbox.service; disabled; vendor preset: disabled)
     Active: active (running) since Sun 2023-05-07 04:39:29 EDT; 11s ago
       Docs: https://docs.netbox.dev/
   Main PID: 51952 (gunicorn)
      Tasks: 6 (limit: 4666)
     Memory: 408.1M
        CPU: 13.030s
     CGroup: /system.slice/netbox.service
             ├─51952 /opt/netbox/venv/bin/python3 /opt/netbox/venv/bin/gunicorn --pid /var/tmp/netbox.pid --pythonpath /opt/netbox/netbox --config /opt/netbox/gunicorn>
             ├─51954 /opt/netbox/venv/bin/python3 /opt/netbox/venv/bin/gunicorn --pid /var/tmp/netbox.pid --pythonpath /opt/netbox/netbox --config /opt/netbox/gunicorn>
             ├─51955 /opt/netbox/venv/bin/python3 /opt/netbox/venv/bin/gunicorn --pid /var/tmp/netbox.pid --pythonpath /opt/netbox/netbox --config /opt/netbox/gunicorn>
             ├─51956 /opt/netbox/venv/bin/python3 /opt/netbox/venv/bin/gunicorn --pid /var/tmp/netbox.pid --pythonpath /opt/netbox/netbox --config /opt/netbox/gunicorn>
             ├─51957 /opt/netbox/venv/bin/python3 /opt/netbox/venv/bin/gunicorn --pid /var/tmp/netbox.pid --pythonpath /opt/netbox/netbox --config /opt/netbox/gunicorn>
             └─51958 /opt/netbox/venv/bin/python3 /opt/netbox/venv/bin/gunicorn --pid /var/tmp/netbox.pid --pythonpath /opt/netbox/netbox --config /opt/netbox/gunicorn>

May 07 04:39:29 fedora systemd[1]: Started NetBox WSGI Service.
May 07 04:39:29 fedora gunicorn[51952]: [2023-05-07 04:39:29 -0400] [51952] [INFO] Starting gunicorn 20.1.0
May 07 04:39:29 fedora gunicorn[51952]: [2023-05-07 04:39:29 -0400] [51952] [INFO] Listening at: http://127.0.0.1:8001 (51952)
May 07 04:39:29 fedora gunicorn[51952]: [2023-05-07 04:39:29 -0400] [51952] [INFO] Using worker: gthread
May 07 04:39:29 fedora gunicorn[51954]: [2023-05-07 04:39:29 -0400] [51954] [INFO] Booting worker with pid: 51954
May 07 04:39:29 fedora gunicorn[51955]: [2023-05-07 04:39:29 -0400] [51955] [INFO] Booting worker with pid: 51955
May 07 04:39:30 fedora gunicorn[51956]: [2023-05-07 04:39:30 -0400] [51956] [INFO] Booting worker with pid: 51956
May 07 04:39:30 fedora gunicorn[51957]: [2023-05-07 04:39:30 -0400] [51957] [INFO] Booting worker with pid: 51957
May 07 04:39:30 fedora gunicorn[51958]: [2023-05-07 04:39:30 -0400] [51958] [INFO] Booting worker with pid: 51958

● netbox-rq.service - NetBox Request Queue Worker
     Loaded: loaded (/etc/systemd/system/netbox-rq.service; disabled; vendor preset: disabled)
     Active: active (running) since Sun 2023-05-07 04:39:29 EDT; 11s ago
       Docs: https://docs.netbox.dev/
   Main PID: 51953 (python3)
      Tasks: 3 (limit: 4666)
     Memory: 137.0M
        CPU: 6.628s
     CGroup: /system.slice/netbox-rq.service
             ├─51953 /opt/netbox/venv/bin/python3 /opt/netbox/netbox/manage.py rqworker high default low
             └─51961 /opt/netbox/venv/bin/python3 /opt/netbox/netbox/manage.py rqworker high default low

May 07 04:39:29 fedora systemd[1]: Started NetBox Request Queue Worker.
May 07 04:39:36 fedora python3[51953]: 08:39:36 Worker rq:worker:31d3dacea44b473cb9a5be6e63ab6480 started with PID 51953, version 1.14.1
May 07 04:39:36 fedora python3[51953]: 08:39:36 Subscribing to channel rq:pubsub:31d3dacea44b473cb9a5be6e63ab6480
May 07 04:39:36 fedora python3[51953]: 08:39:36 *** Listening on high, default, low...
Step 6 – Configure Nginx as a Reverse Proxy for Netbox
Next, you must install and configure Nginx as a reverse proxy to access the Netbox from the remote machine.
First, install the Nginx package using the following command.
dnf install nginx -y
Next, start and enable the Nginx service.
systemctl start nginx
systemctl enable nginx
Next, create a Netbox virtual host configuration file.
nano /etc/nginx/conf.d/netbox.conf
Add the following configuration.
server {
    listen 80;

    server_name netbox.example.com;

    client_max_body_size 25m;

    location /static/ {
        alias /opt/netbox/netbox/static/;
    }

    location / {
        proxy_pass http://127.0.0.1:8001;
        proxy_set_header X-Forwarded-Host $http_host;
        proxy_set_header X-Real-IP $remote_addr;
        proxy_set_header X-Forwarded-Proto $scheme;
    }
}
Next, edit the Nginx main configuration file.
nano /etc/nginx/nginx.conf
Add the following line after http{:
server_names_hash_bucket_size 64;
Save and close the file, then restart the Nginx service to apply the changes.
systemctl restart nginx
Step 7 – Access Netbox Web Interface
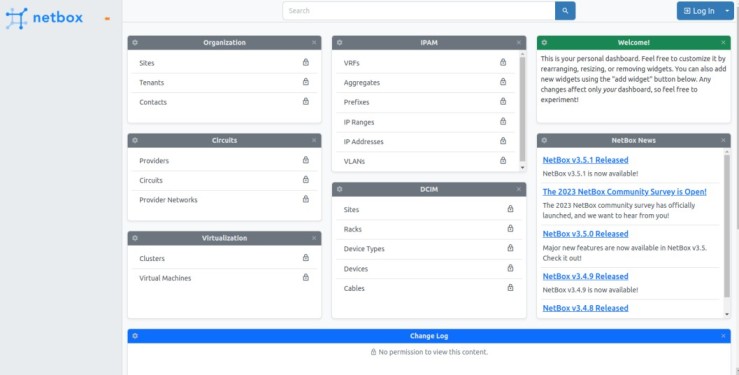
Now, open your web browser and access the Netbox admin interface using the URL http://netbox.example.com. You should see the following page.
Click on the login button. You should see the Netbox Login page.
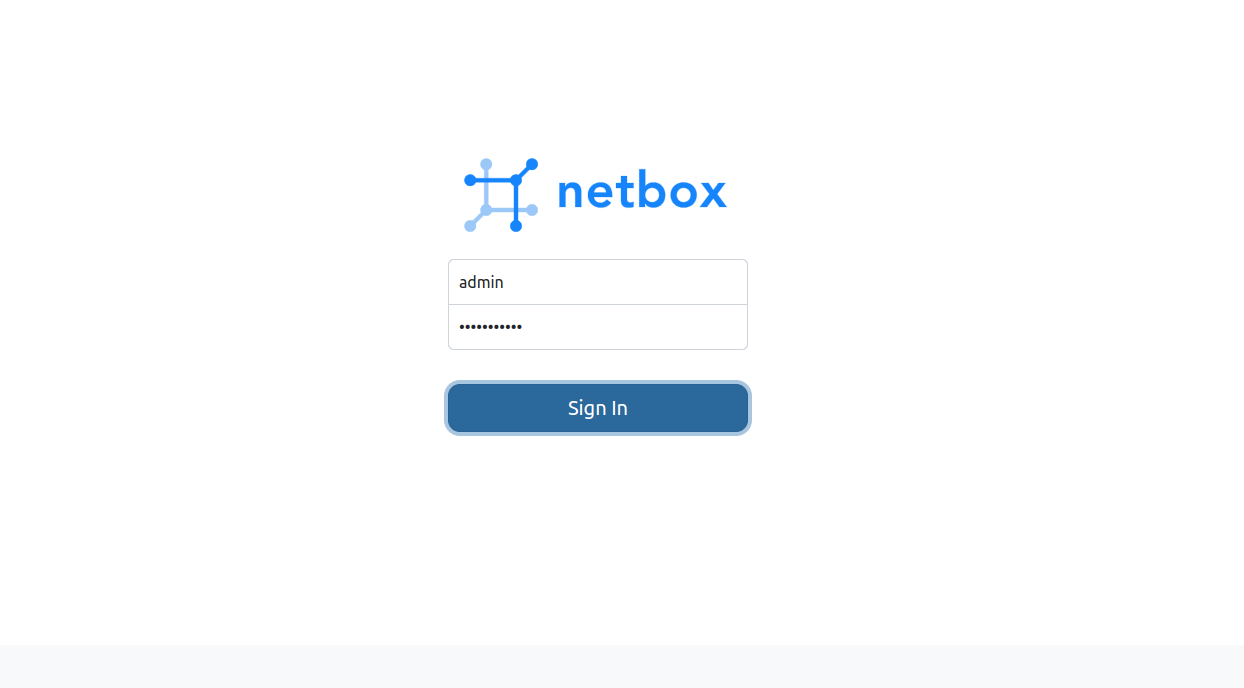
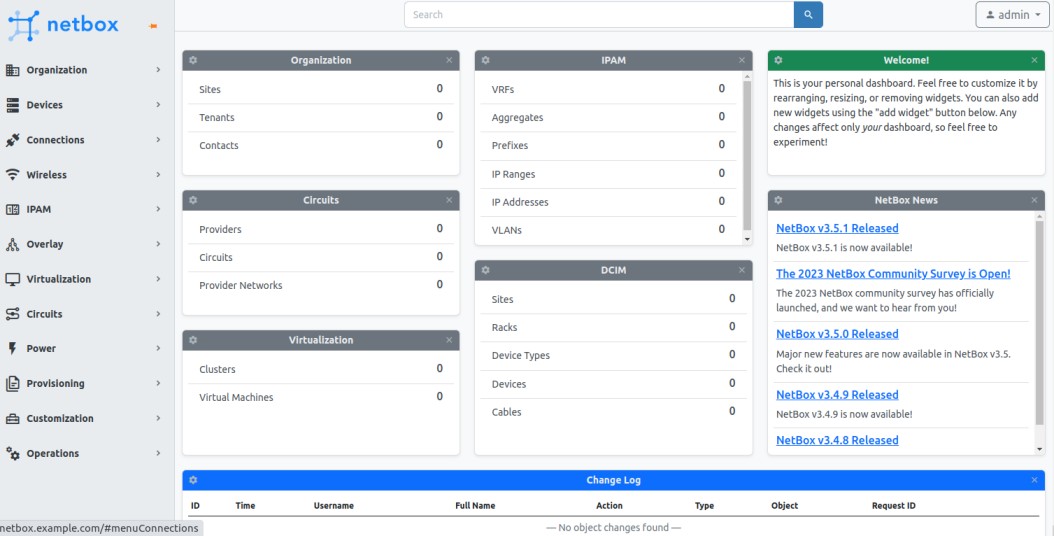
Provide your admin username, password and click on the Sign IN button. You should see the Netbox dashboard on the following screen.
Conclusion
In this tutorial, we learned how to install Netbox on Fedora. We also learned to use Nginx as a reverse proxy to access the Netbox outside the network. You can now use Netbox in your organization to manage all devices from the central place. You can now try Netbox on VPS hosting from Atlantic.Net!
* This post is for informational purposes only and does not constitute professional, legal, financial, or technical advice. Each situation is unique and may require guidance from a qualified professional.
Readers should conduct their own due diligence before making any decisions.