phpIPAM is a free, open-source, PHP-based IP Address management tool. Its aim is to provide lightweight, modern, and useful IP address management via a web-based console. It is written in PHP and uses MySQL as a database backend. phpIPAM provides real-time statistics of used and unused IP addresses with subnets, status, hostname, and more information. It also offers some advanced features such as PowerDNS integration, NAT support, VLAN management, REST API, AD, LDAP, Radius authentication, and more.
In this post, we will show you how to install and configure the phpIPAM IP address management tool on Fedora.
Step 1 – Install the LAMP Server
First, you will need to install Apache, MariaDB, and PHP on your server. You can install all of them with the following command.
dnf update -y
dnf install httpd mariadb-server php
Next, install other required PHP extensions with the following command.
dnf install php-{mysqlnd,curl,gd,intl,pear,xmlrpc,mbstring,gettext,gmp,json,xml,fpm}
Next, start and enable the Apache, MariaDB, and PHP-FPM services using the following command.
systemctl enable --now httpd php-fpm mariadb
Step 2 – Create a Database and User for phpIPAM
Next, you will need to create a database and user for phpIPAM.
First, log in to MySQL shell using the following command.
mysql
Once logged in, create a database and user with the following command.
CREATE DATABASE phpipam;
GRANT ALL ON phpipam.* TO phpipam@localhost IDENTIFIED BY 'securepassword';
Next, flush the privileges and exit from the MySQL shell with the following command.
FLUSH PRIVILEGES;
EXIT;
Step 3 – Download phpIPAM
First, install the GIT package with the following command.
dnf install git -y
Next, download the latest version of phpIPAM using the following command.
git clone --recursive https://github.com/phpipam/phpipam.git /var/www/html/phpipam
Next, navigate to the phpipam directory and copy the sample configuration file.
cd /var/www/html/phpipam
cp config.dist.php config.php
Next, edit the config.php file and define your database settings.
nano config.php
Change the following lines as per your database settings.
$db['host'] = 'localhost';
$db['user'] = 'phpipam';
$db['pass'] = 'securepassword';
$db['name'] = 'phpipam';
$db['port'] = 3306;
Save and close the file, then change the ownership of the phpIPAM directory.
chown -R apache:apache /var/www/html/phpipam
Step 4 – Create an Apache Virtual Host
Next, you will need to create an Apache virtual host configuration file to define your phpIPAM.
nano /etc/httpd/conf.d/phpipam.conf
Add the following configurations.
<VirtualHost *:80>
    ServerAdmin [email protected]
    DocumentRoot "/var/www/html/phpipam"
    ServerName phpipam.example.com
    <Directory "/var/www/html/phpipam">
        Options Indexes FollowSymLinks
        AllowOverride All
        Require all granted
    </Directory>
    ErrorLog "/var/log/httpd/phpipam-error_log"
    CustomLog "/var/log/httpd/phpipam-access_log" combined
</VirtualHost>
Save and close the file, then restart the Apache service to apply the changes.
systemctl restart httpd
Next, import the phpIPAM schema to the phpIPAM database.
mysql -u root -p phpipam < /var/www/html/phpipam/db/SCHEMA.sql
Step 5 – Access phpIPAM Web Interface
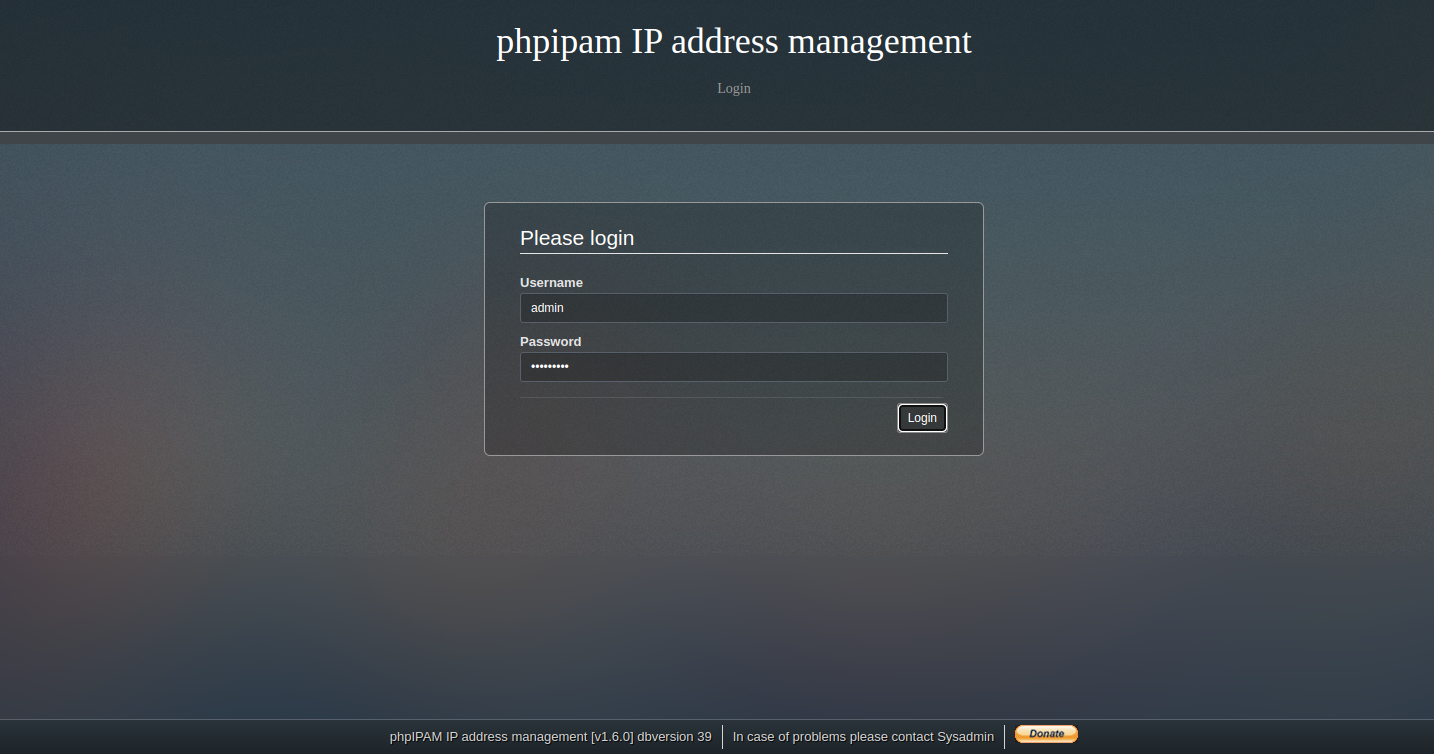
Now, open your web browser and access the phpIPAM web interface using the URL http://phpipam.example.com. You should see the phpIPAM login screen.
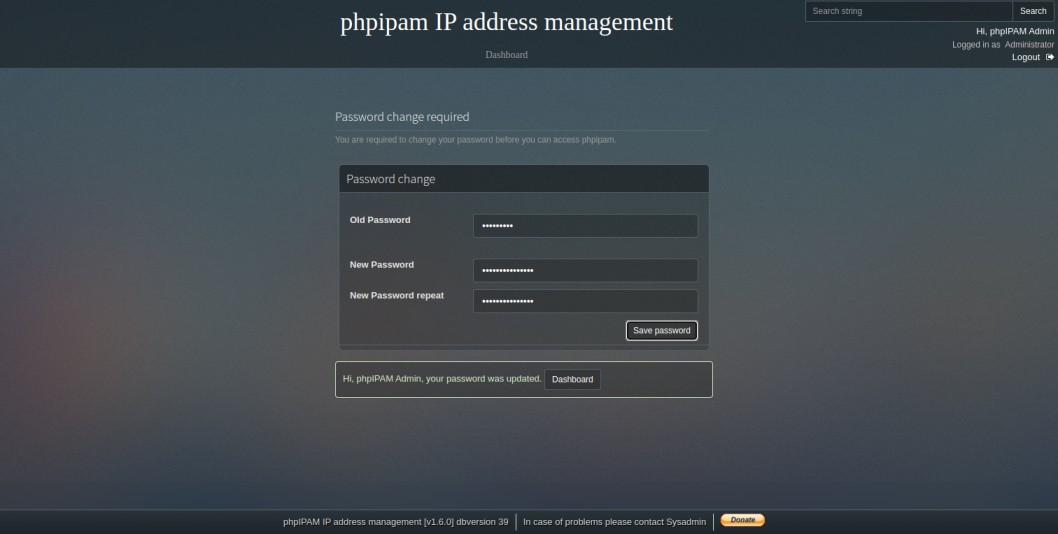
Provide the default username and password as admin/admin then click on the Login button. You should see the default password reset screen.
Define your new password and click on the Save password button. You should see the following screen.
Click on the Dashboard button. You should see the phpIPAM dashboard on the following screen.
Conclusion
In this guide, we explained how to install and configure the phpIPAM IP address management tool on Fedora. phpIPAM is a very useful tool for system administrators to manage the hardware inventory of the entire infrastructure from the central place. You can now deploy the phpIPAM solution on VPS hosting from Atlantic.Net!


