RainLoop is a free, open-source, web-based mail client written in PHP. It allows you to access your external mail server from a web browser. RainLoop is simple, fast, lightweight, and supports both SMTP and IMAP. It is an alternative to other web-based mail applications like RoundCube and SquirrelMail. It supports two-factor authentication and can be integrated with Facebook, Twitter, Google, and Dropbox.
In this tutorial, we will learn how to install RainLoop Webmail on Debian 12.
Step 1 – Install LEMP Server
First, you will need to install the Nginx web server, MariaDB, PHP and other required PHP extensions to your server. You can install all of them with the following command:
apt-get install nginx mariadb-server php php-cli php-fpm php-curl php-json php-mbstring php-
mysql php-common php-xml unzip -y
Once all the packages are installed, edit the php.ini file and make some changes:
nano /etc/php/7.3/fpm/php.ini
Change the following lines:
upload_max_filesize = 50M
post_max_size = 50M
date.timezone = Asia/Kolkata
Save and close the file,. then restart the PHP-FPM service to apply the changes:
systemctl restart php8.2-fpm
Step 2 – Create a Database for RainLoop
Next, you will need to create a database and user for RainLoop. First, log in to MariaDB shell with the following command:
mysql
Once logged in, create a database and user with the following command:
CREATE DATABASE raindb;
CREATE USER 'rainuser'@'localhost' IDENTIFIED BY 'password';
Next, grant all the privileges to the raindb with the following command:
GRANT ALL ON raindb.* TO 'rainuser'@'localhost';
Next, flush the privileges and exit from the MariaDB shell with the following command:
FLUSH PRIVILEGES;
EXIT;
At this point, MariaDB is configured for RainLoop.
Step 3 – Install RainLoop
First, create a directory for RainLoop inside the Nginx default root directory:
mkdir /var/www/rainloop
Next, download the latest version of RainLoop with the following command:
wget https://www.rainloop.net/repository/webmail/rainloop-latest.zip
Next, unzip the downloaded file to the /var/www/rainloop directory with the following command:
unzip rainloop-latest.zip -d /var/www/rainloop
Next, change the ownership and permission of the rainloop directory:
chown -R www-data:www-data /var/www/rainloop
chmod -R 775 /var/www/rainloop
Once you are finished, you can proceed to configure Nginx.
Step 4 – Configure Nginx for RainLoop
Next, you will need to create an Nginx virtual host configuration file for RainLoop. You can create it with the following command:
nano /etc/nginx/sites-available/rainloop.conf
Add the following lines:
server {

listen 80;

server_name rainloop.example.com;
root /var/www/rainloop;

index index.php;

location / {
try_files $uri $uri/ /index.php?$query_string;
}

location ~ \.php$ {
fastcgi_index index.php;
fastcgi_split_path_info ^(.+\.php)(.*)$;
fastcgi_keep_conn on;
include fastcgi_params;
fastcgi_pass unix:/var/run/php/php8.2-fpm.sock;
fastcgi_param SCRIPT_FILENAME $document_root$fastcgi_script_name;
}

location ~ /\.ht {
deny all;
}

location ^~ /data {
deny all;
}

}
Save and close the file, then activate the Nginx virtual host with the following command:
ln -s /etc/nginx/sites-available/rainloop.conf /etc/nginx/sites-enabled/
Next, verify the Nginx for any syntax errors with the following command:
nginx -t
You should get the following output:
nginx: the configuration file /etc/nginx/nginx.conf syntax is ok
nginx: configuration file /etc/nginx/nginx.conf test is successful
Next, restart the Nginx service to apply the changes.
systemctl reload nginx
If you get any errors, then you will need to edit the Nginx default server configuration file and set server_names_hash_bucket_size:
nano /etc/nginx/nginx.conf
Add the following line below http {:
server_names_hash_bucket_size 64;
Save and close the file, then restart the Nginx service to apply the changes:
systemctl restart nginx
Step 5 – Access RainLoop Dashboard
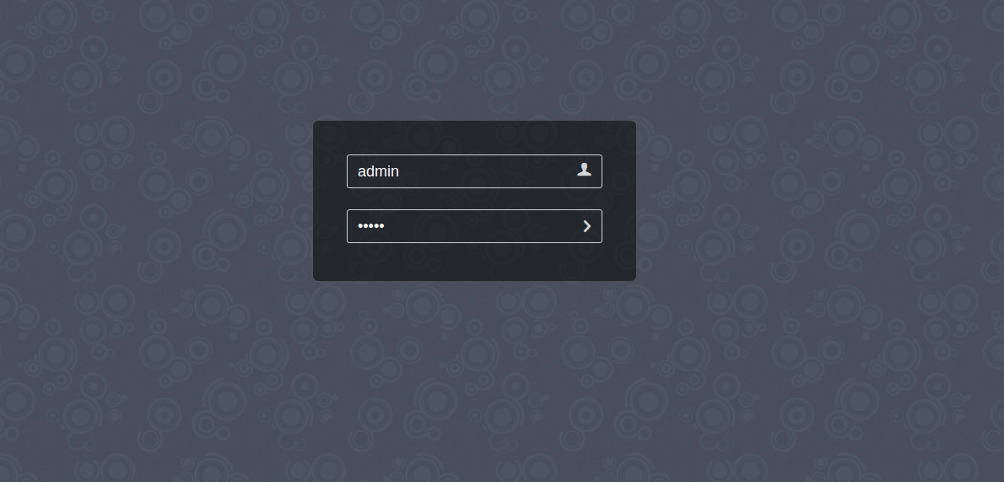
Now, open your web browser and access the RainLoop dashboard using the URL rainloop.example.com/?admin. You should see the following page:
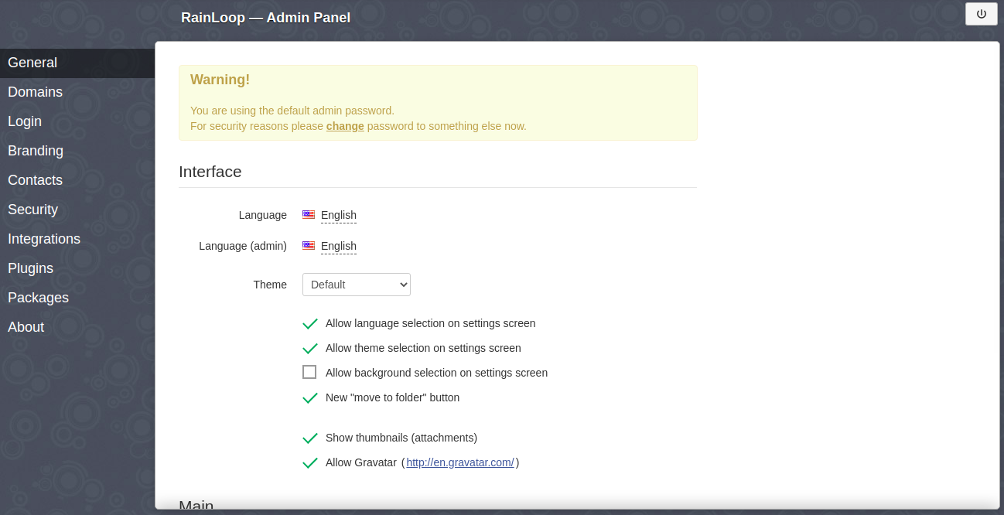
Provide the default username admin and password 12345 and click on the > button. You should see the RainLoop dashboard in the following screen:
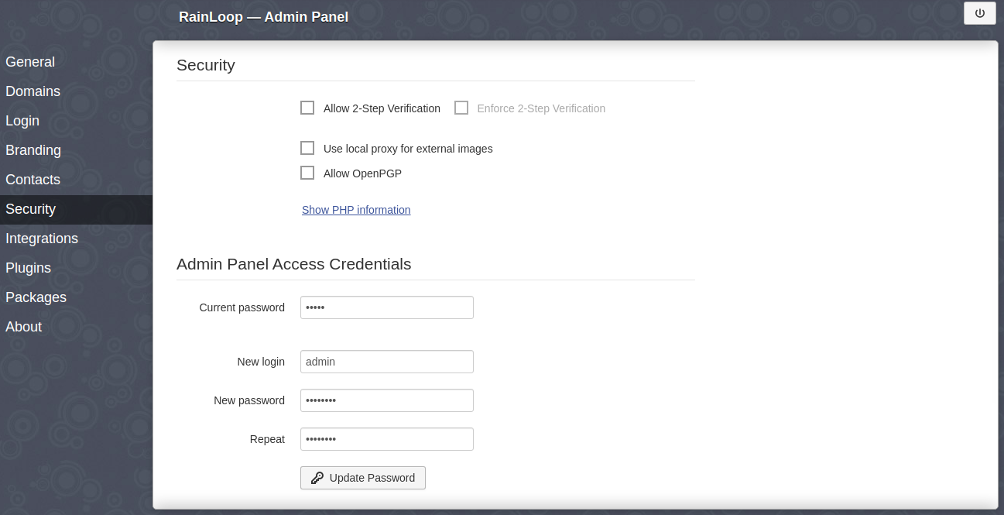
Next, click on the change password button to change the default admin password. You should see the following screen:
Provide your new password and click on the Update Password button to change the password.
Conclusion
Congratulations! You have successfully installed RainLoop mail client on Debian 12 server. You can now add your mail server from the RainLoop web interface and access your email through the web browser. For more information, visit the RainLoop documentation page. Get started with RainLoop on VPS Hosting from Atlantic.Net today!


