
iRedMail is a free, open-source and full-featured mail server solution that allows you to host your own mail server at no cost. iRedMail is a script that automatically installs and configures all necessary mail server components on your server, saving you lots of time. You can create unlimited mailboxes and unlimited mail domains through iRedMail’s web-based interface.
If you are looking for a free, full-fledged, headache-free mail server solution, then iRedMail is best choice for you. All components used in iRedMail are free and open source, including Postfix, Dovecot, Nginx, MariaDB, SpamAssassin, ClamAV, SOGo, Fail2ban, Roundcube and Netdata.
In this tutorial, we will learn how to install and configure iRedMail server on Ubuntu 18.04 VPS.
Prerequisites
- A fresh Ubuntu 18.04 VPS with minimum 2 GB RAM.
- A valid domain name pointed at your VPS IP address. In this tutorial, we will use mail.example.com.
- A & MX records for your Server.
Note: You can refer the Atlantic DNS Guide to manage the DNS records.
Step 1 – Set Up Hostname
Next, you will need to set the hostname of your server. In this case, we will set the hostname to mail.example.com, as shown below:
hostnamectl set-hostname mail.example.com
Next, open /etc/hosts file and bind your server IP address with hostname:
nano /etc/hosts
Add the following line:
your-server-ip mail.example.com mail
Save and close the file. Then, run the following command to apply the configuration changes:
hostname -f
Step 2 – Install iRedMail
First, you will need to download the latest version of iRedMail from their official download page. You can download it with the following command:
wget https://bitbucket.org/zhb/iredmail/downloads/iRedMail-0.9.9.tar.bz2
Once downloaded, extract the downloaded file with the following command:
tar xvf iRedMail-0.9.9.tar.bz2
Next, change the directory to the extracted directory with the following command:
cd iRedMail-0.9.9
Next, run the iRedMail installation script as shown below:
bash iRedMail.sh
During the installation, you will need to answer several questions to set up iRedMail mail server.
First, you will be redirected to the iRedMail welcome screen as shown below:
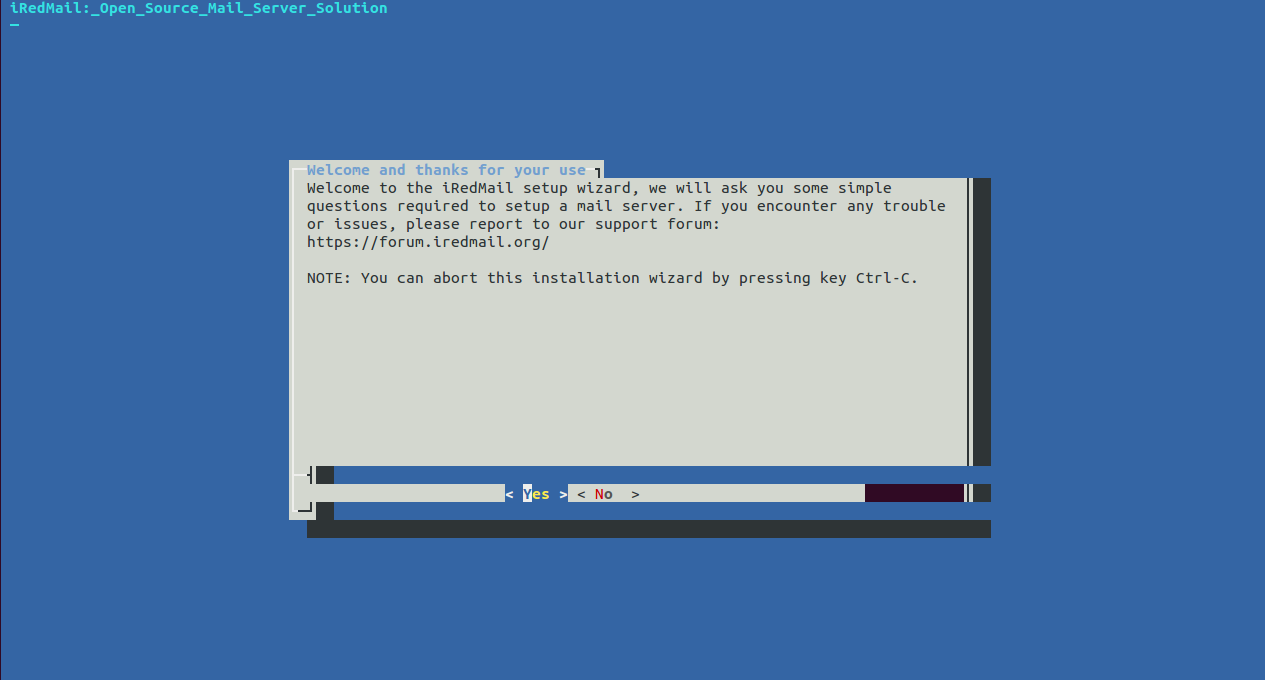
Select Yes and press Enter to proceed with the installation. You should see the following screen:
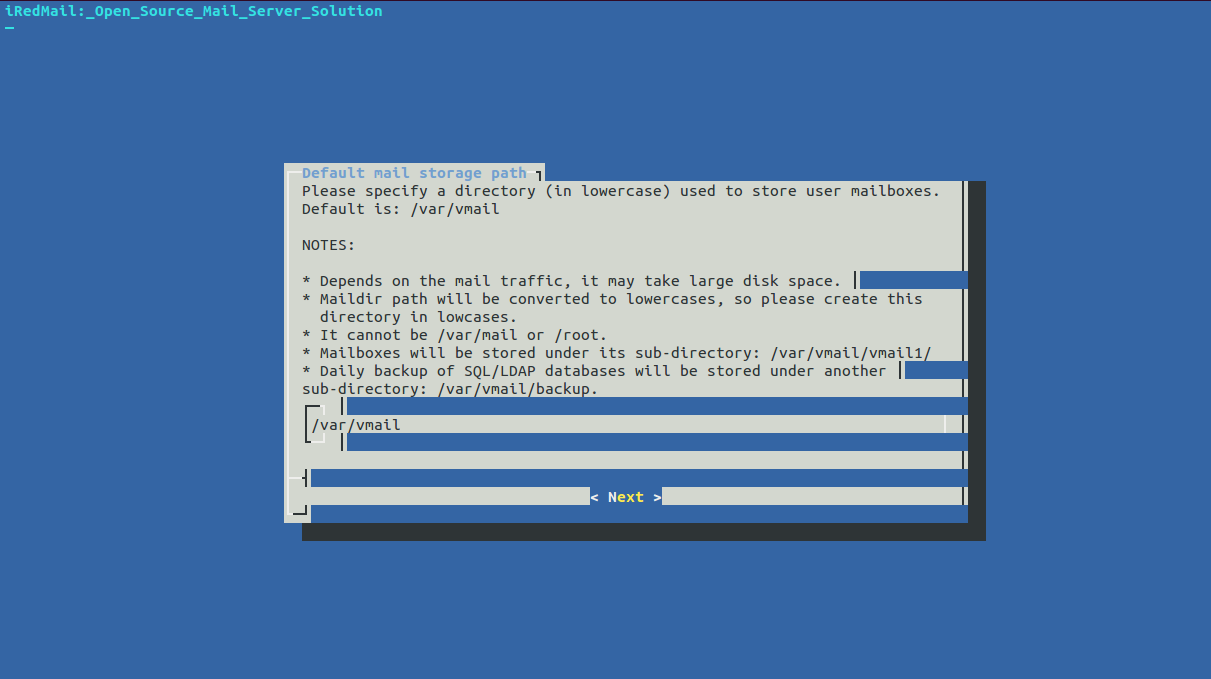
Here, specify a directory to store mailboxes and click on the Next button. You should see the following screen:
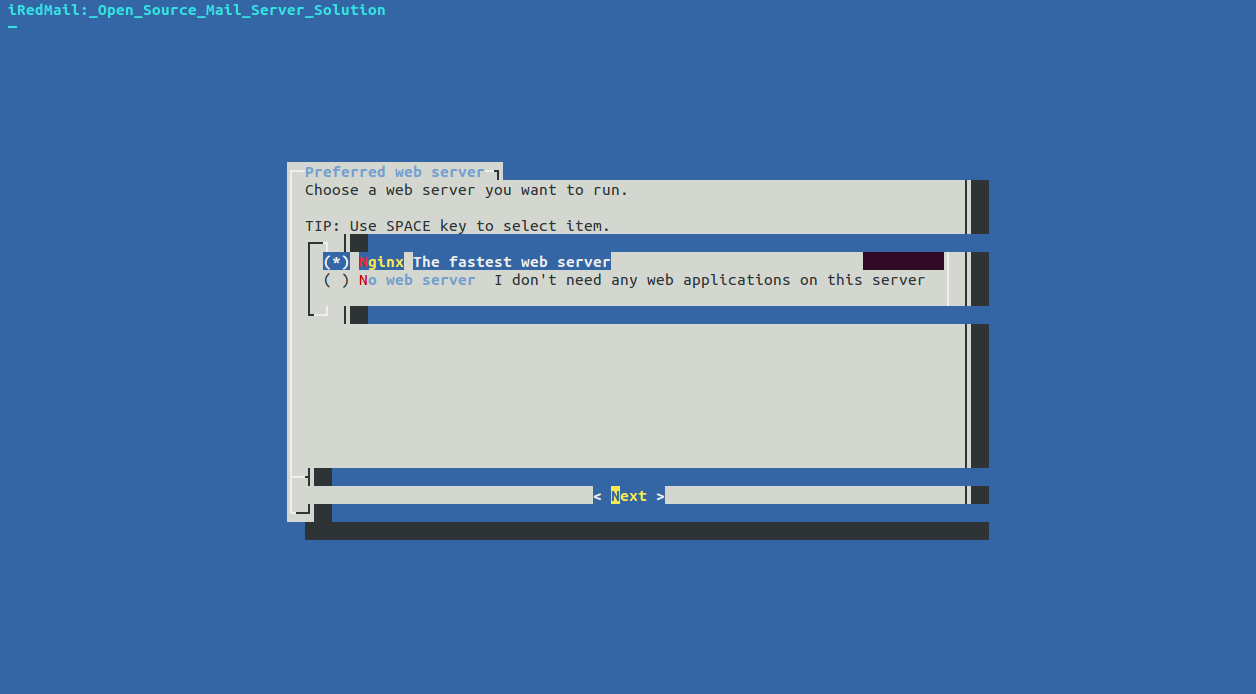
Select a web server and click on the Next button. You should see the following screen:
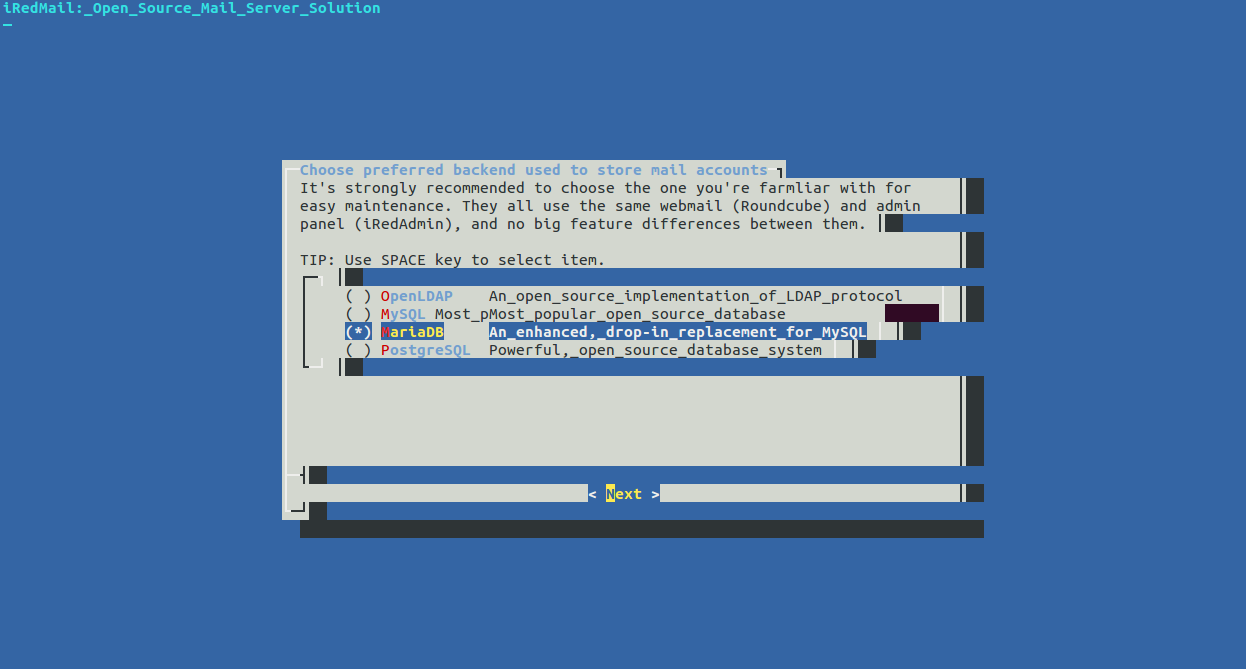
Select a database and click on the Next button. You should see the following screen:
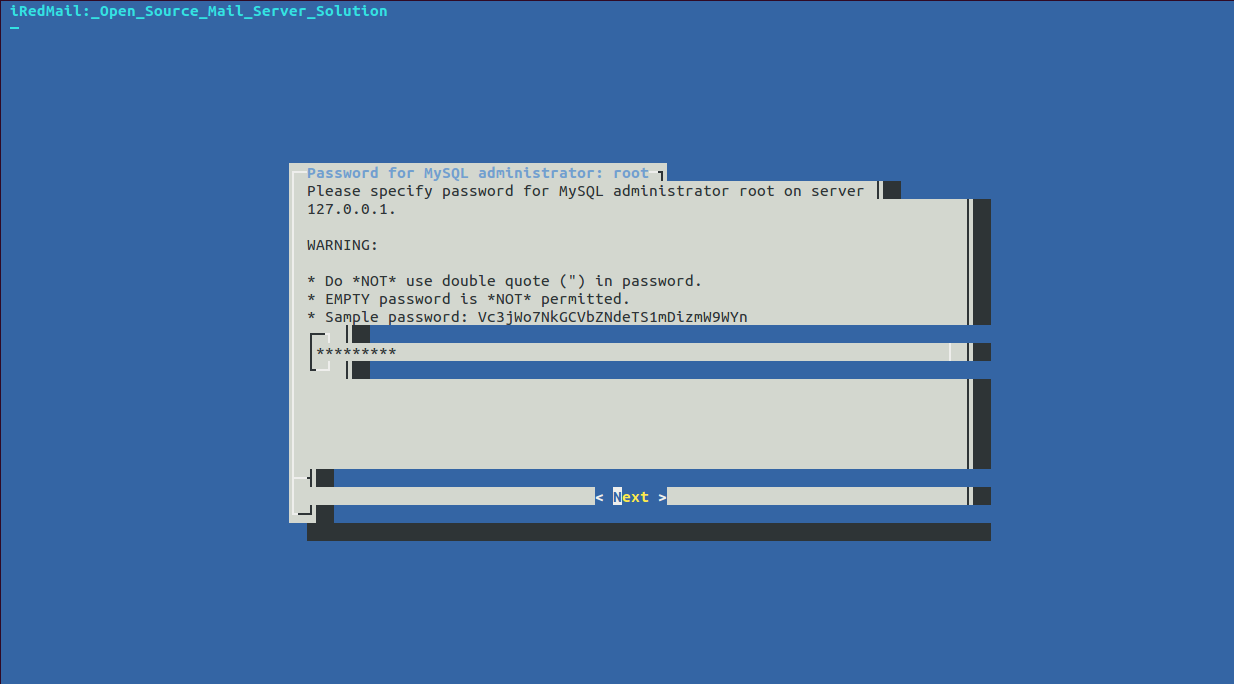
Specify a password for MySQL administrator and click on the Next button. You should see the following screen:
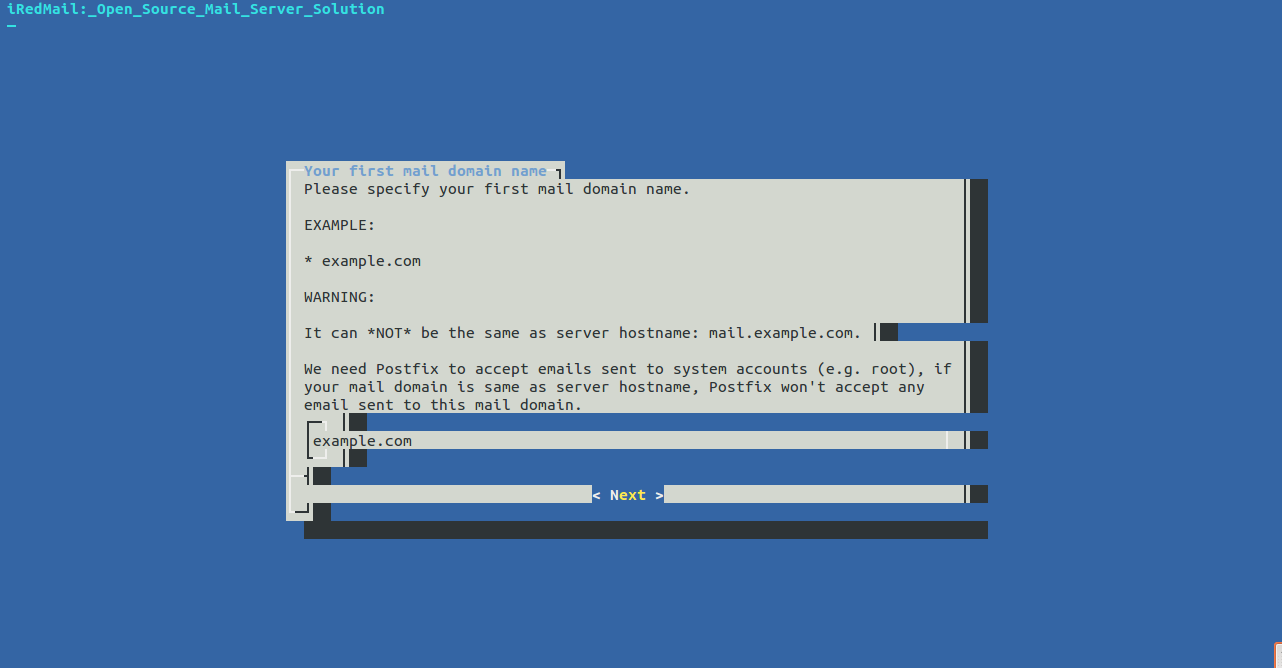
Specify a valid domain name and click on the Next button. You should see the following screen:
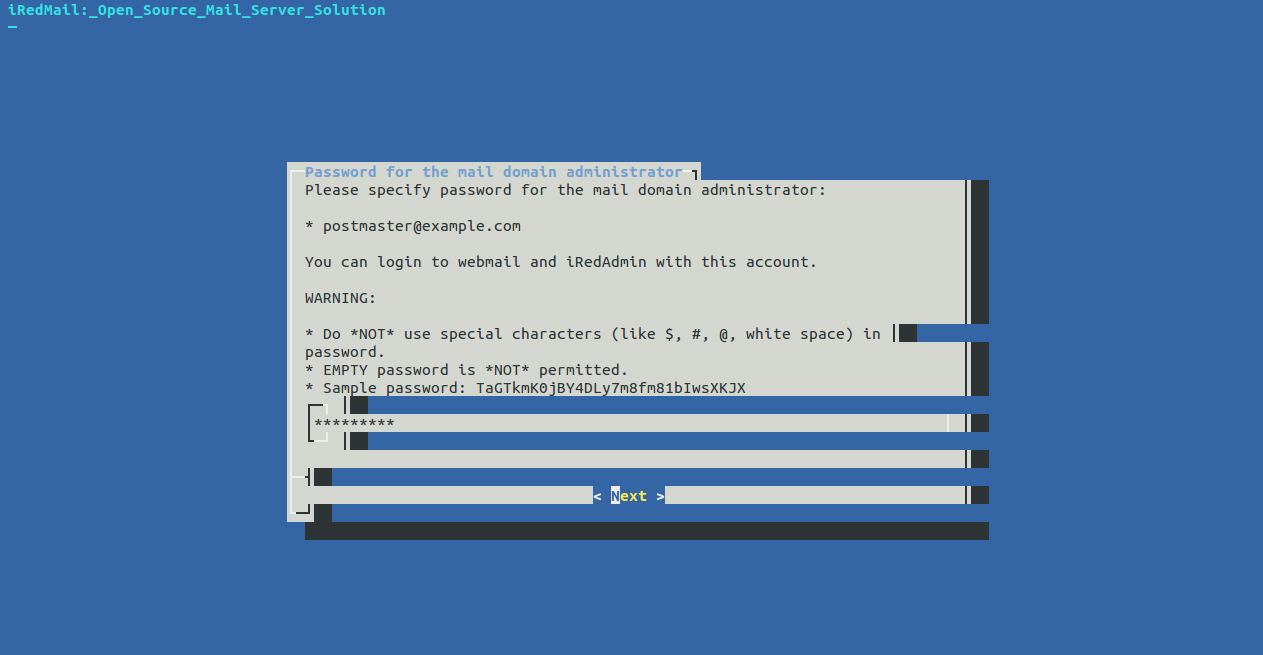
Specify a password for mail domain administrator. This will also be used to log in to webmail and iRedMail. Click on the Next button. You should see the following screen:
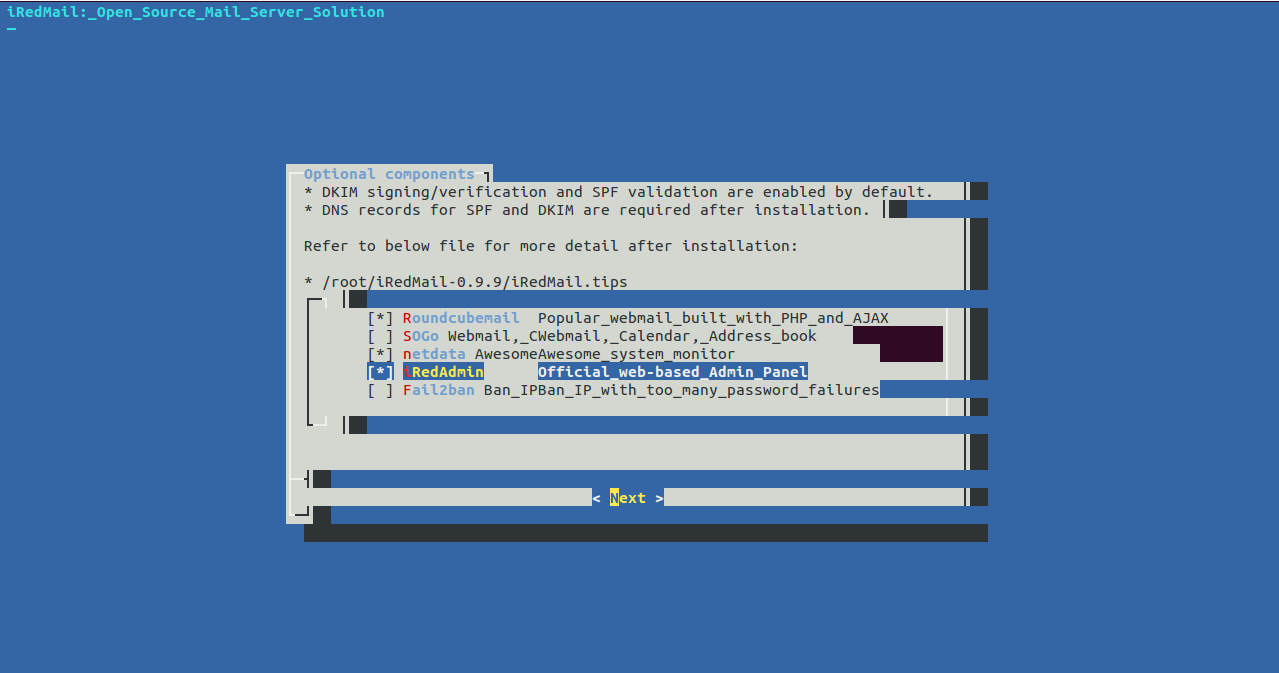
Select the different components you want to install with iRedMail and click on the Next button. You should see the following output:
*************************************************************************
***************************** WARNING ***********************************
*************************************************************************
*                                                                       *
* Below file contains sensitive infomation (username/password), please  *
* do remember to *MOVE* it to a safe place after installation.          *
*                                                                       *
*   * /root/iRedMail-0.9.9/config
*                                                                       *
*************************************************************************
********************** Review your settings *****************************
*************************************************************************

* Storage base directory:               /var/vmail
* Mailboxes:
* Daily backup of SQL/LDAP databases:
* Store mail accounts in:               MariaDB
* Web server:                           Nginx
* First mail domain name:               example.com
* Mail domain admin:                    postmaster@example.com
* Additional components:                Roundcubemail netdata iRedAdmin

< Question > Continue? [y|N]y
Now, review all the options you have chosen, type y, and press Enter to proceed with installation. Once the installation has been completed successfully, you should see the following output:
********************************************************************
* URLs of installed web applications:
*
* - Roundcube webmail: https://mail.example.com/mail/
* - netdata (monitor): https://mail.example.com/netdata/
*
* - Web admin panel (iRedAdmin): https://mail.example.com/iredadmin/
*
* You can login to above links with below credential:
*
* - Username: postmaster@example.com
* - Password: admin@123
*
*
********************************************************************
* Congratulations, mail server setup completed successfully. Please
* read below file for more information:
*
*   - /root/iRedMail-0.9.9/iRedMail.tips
*
* And it's sent to your mail account postmaster@example.com.
*
********************* WARNING **************************************
*
* Please reboot your system to enable all mail services.
*
********************************************************************
In the above output, you should see the URLs of all installed web applications.
Next, stop the freshclam service and update the ClamAV database with the following command:
systemctl stop clamav-freshclam
freshclam
Next, delete the iRedMail source directory with the following command:
rm -rf /root/iRedMail-0.9.9/
Finally, restart your server to enable all mail services.
Step 3 – Access iRedMail Web Interface
Now, open your web browser and type the URL https://mail.example.com/iredadmin. You will be redirected to the iRedMail login screen:
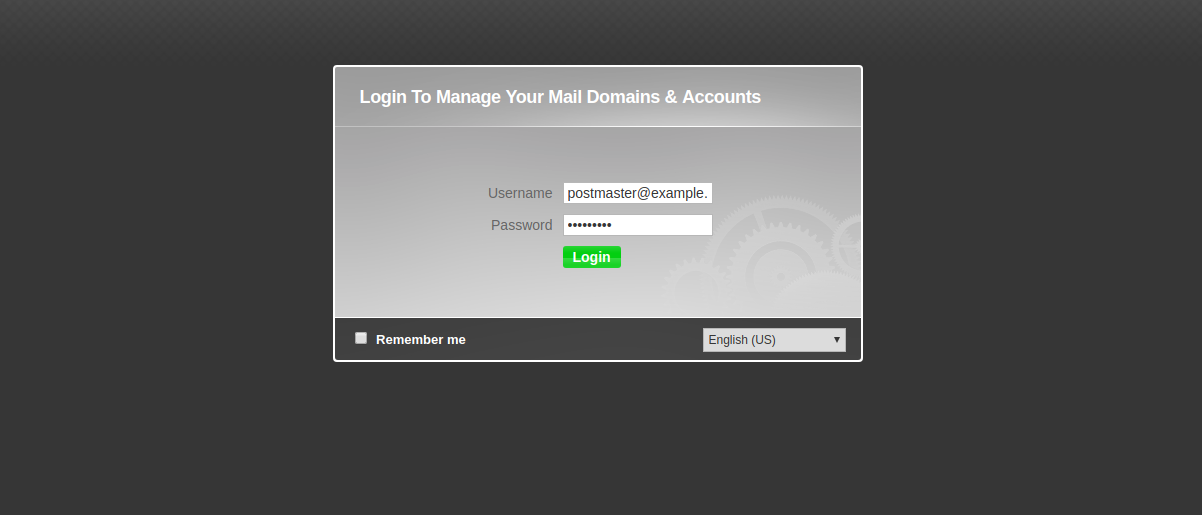
Provide your administrator username and password. Then, click on the Login button. You should see the iRedMail dashboard in the following page:
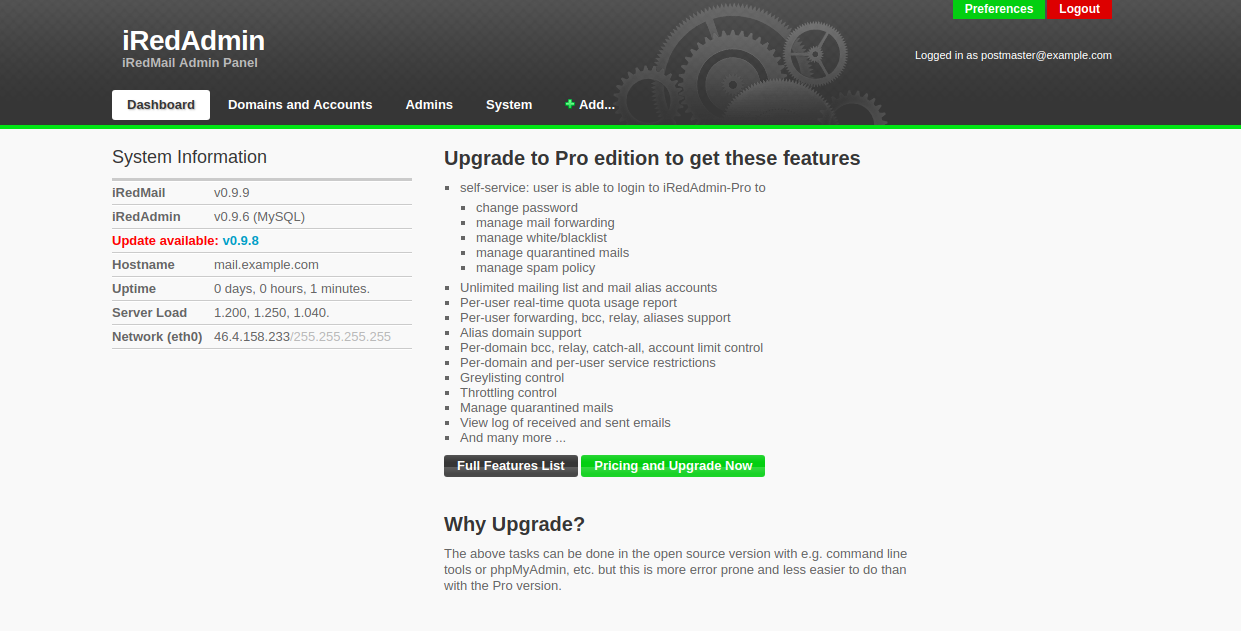
Next, click on the Add > User button to create your first email account. You should see the following page:
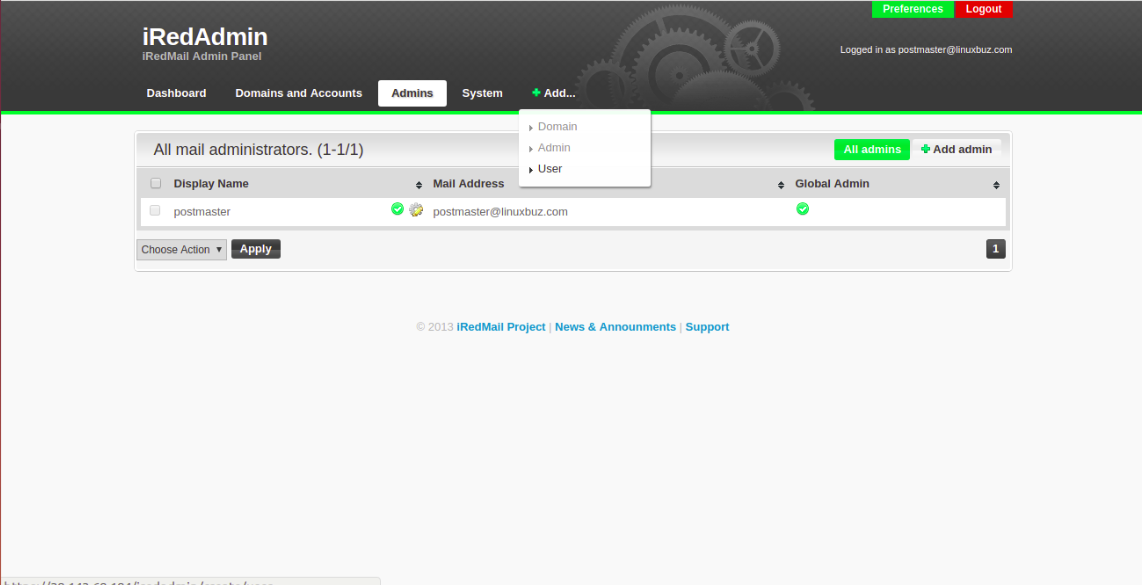
Provide your username, password, and MailBox Quota and click on the Add button. Once the user created successfully, you should see the following screen:
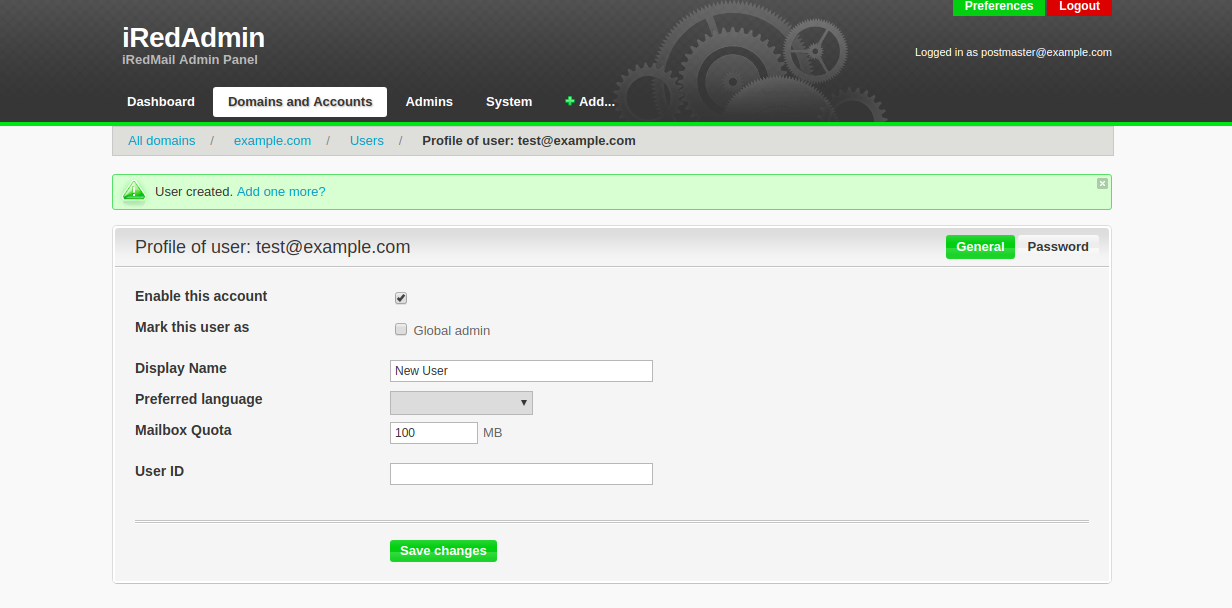
Next, open your web browser and type the URL https://mail.example.com/mail to access the Roundcube webmail. You should see the following screen:
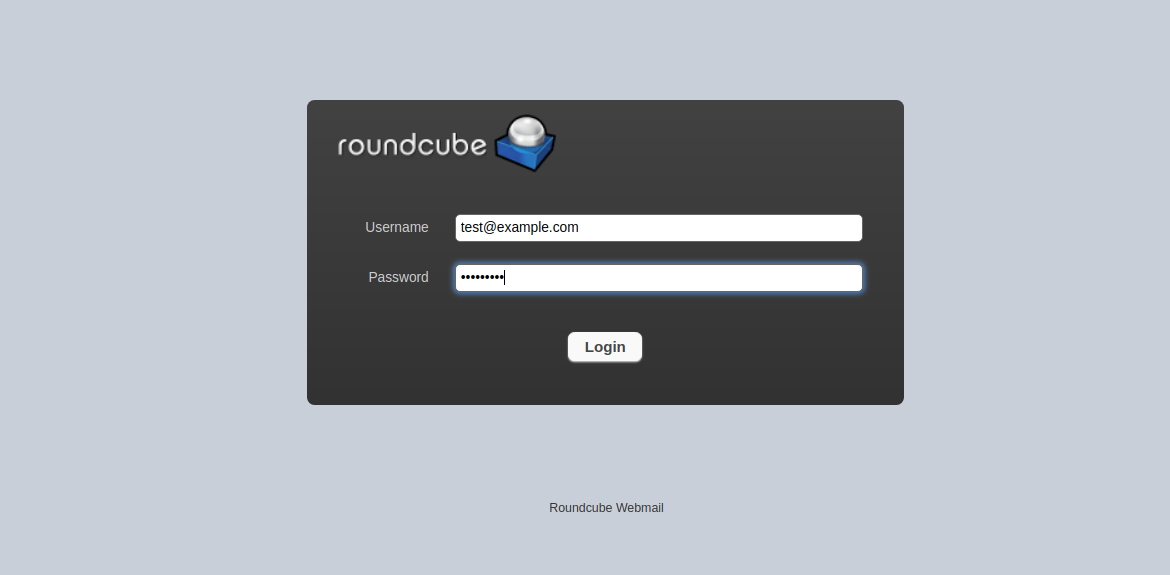
Now, provide your email username and password you created earlier and click on the Login button. You should see the Roundcube webmail dashboard:
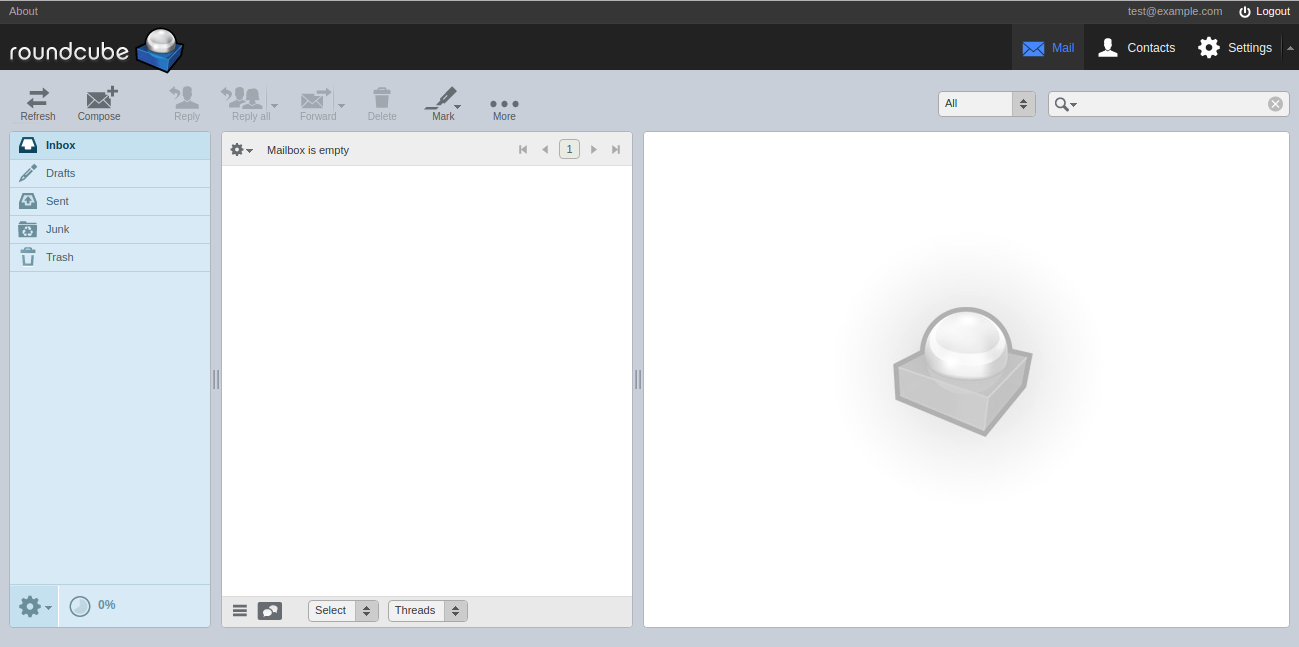
You can now send and receive email with this interface.
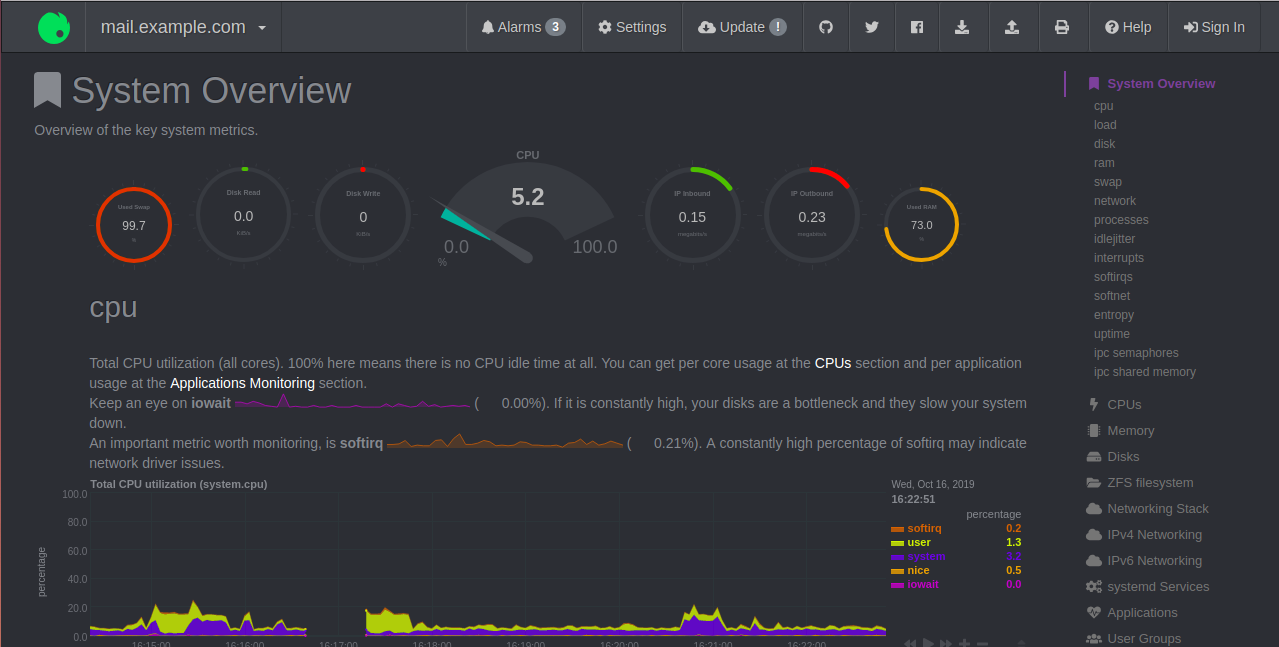
You can also monitor your server performance with Netdata. To do so, open your web browser and type the URL https://mail.example.com/netdata. You will be redirected to the Netdata dashboard in the following screen.
Conclusion
Congratulations! You have successfully installed and configured a full-featured iRedMail server on Ubuntu 18.04 VPS. You can now add more domains and email accounts to your mail server. Get started with iRedMail by signing up for a VPS Hosting account with Atlantic.Net today!

Written by
Hitesh Jethva is a regular contributor to the Atlantic.Net blog. With over 15 years of experience in Linux and open-source technologies, he founded Linux Buz, a website dedicated to Linux enthusiasts.