Introduction
Monsta FTP is a popular web-based FTP client you can use to manage your website files through your browser. It is commonly installed on the server for which you are trying to access files, and then you will navigate to its web UI to manage your files. It can also be used to connect to other servers that support FTP/SFTP so you can manage other remote servers.
Prerequisites
- An Atlantic.Net Cloud Server with a web server and PHP 5.3+ support. We will be using our LAMP server for this tutorial, since it already has Apache and PHP installed.
- An FTP account on the host you are trying to access. If you are going to be accessing your Atlantic.Net Cloud LAMP Server, you can install an FTP service or you can login via SFTP with your admin credentials.
Installing Monsta FTP
- To get started, log in to your Atlantic.Net Cloud LAMP Server via SSH (Windows | Linux).
- To download Monsta FTP to your server, you have one of two options:
- Navigate to the download page of Monsta FTP and download the client onto your computer. Unzip the contents to your desktop, and then upload the folder mftp and all its contents to your web space. This will typically be the home folder of your web space where the front page of your website resides (in a LAMP server, it would be /var/www/html).
- On your Atlantic.Net Cloud Server, download the file directly from Monsta FTP
wget -O mftp.zip https://www.monstaftp.com/downloads/mftp.php
and then unzip the file
unzip mftp.zip
Once unzipped, move the mftp directory into your web directory
mv mftp /var/www/html
- You’ll then open your web browser and access your install from http://www.yourdomain.com/mftp. If you have not yet set up a domain for your server or do not have one, you can access your site via its IP address: http://203.0.113.20/mftp.
Connect to your FTP server with Monsta FTP
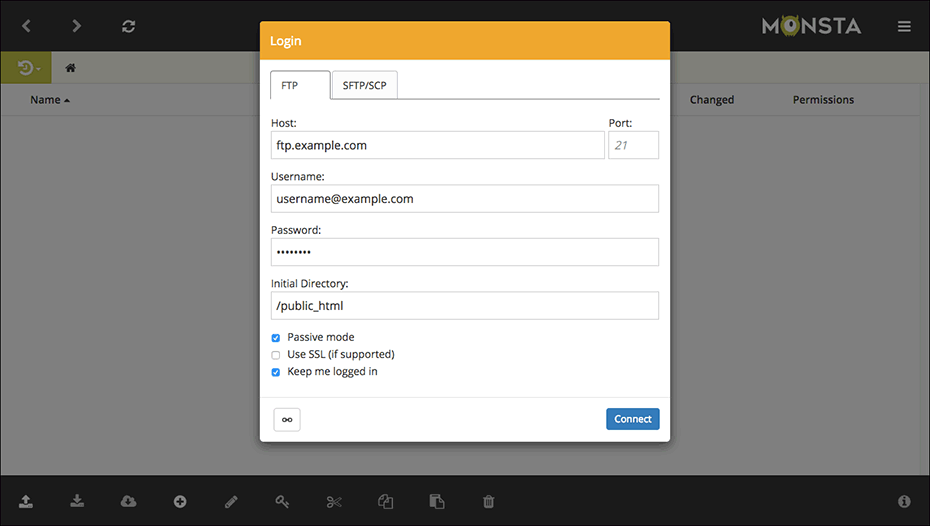
When you access your Monsta FTP install after upload, it will look similar to the image below.
To connect to an FTP server, enter the domain name or the server IP address where it says Host. The Port number will normally be 21 which will be set by default. Note: If connecting via SFTP, make sure to select the SFTP/SCP tab. The host will normally be the same server you installed it on, but it can be any server that allows FTP/SFTP access.
Next, enter your username and password into the Username and Password fields. Once you’ve entered all of this information, click the Connect button.
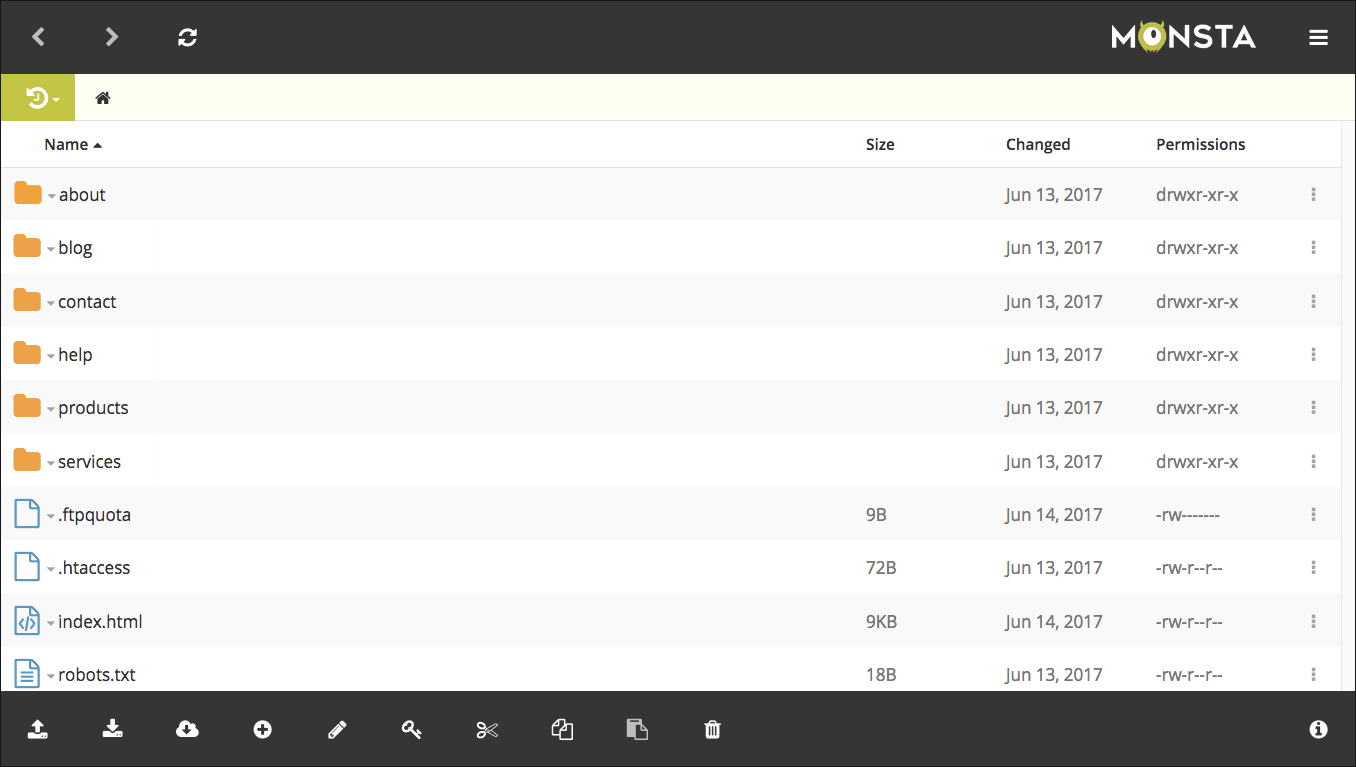
After Monsta FTP connects, your screen should look similar to the one shown in the image below.
Transferring Files
To upload a file to the remote server, either open your desktop file manager and drag a file or folder onto Monsta FTP, or click the icon in the bottom toolbar, which will open a menu with options to upload a file, folder, or zip file.
You can select multiple files and folders at once to upload.
To download a file from the remote server to your desktop or device, click or select the file or folder to download, then click the icon in the bottom toolbar to start the download.
You can also click+drag or CTRL/CMD+click to select multiple items and download them as a zip file.

