Asterisk is an open-source communications platform used to build a modern VoIP infrastructure on Linux systems. It supports voicemail, conference calling, IVR menus, call recording, SIP trunk connectivity, SIP endpoints, and outbound calls using the Session Initiation Protocol (SIP).
FreePBX is a free web-based management interface for Asterisk that simplifies administration through a browser. It allows administrators to create extensions, configure trunks, manage users, control permissions, and deploy a basic PBX copy of existing configurations for testing or migration purposes.
Ubuntu 24.04 LTS provides a stable and secure foundation for deploying Asterisk and FreePBX. Ubuntu 24.04 LTS receives security patches until April 2036, while Canonical provides timely security updates, with critical CVEs often patched in under 24 hours. Combined with Asterisk 20 LTS, which is supported until 2027, this platform offers a reliable long-term solution for building and managing business communications systems.
This guide explains how to install Asterisk on Ubuntu 24.04, perform a complete Asterisk installation, and deploy FreePBX using Asterisk 20 LTS.
Step 1 – Install Required Dependencies
Before starting, update your package index and enable the Universe repository.
sudo add-apt-repository universe -y
sudo apt update
Asterisk requires libraries like libxml2-dev and libssl-dev and git package for several build scripts and development workflows. You can install all required dependencies, development libraries, and build tools:
sudo apt-get install sox pkg-config libedit-dev unzip git gnupg2 curl libnewt-dev libssl-dev libncurses5-dev subversion libsqlite3-dev build-essential libjansson-dev libxml2-dev uuid-dev subversion -y
Once all packages installed successfully, you can proceed with the installation.
Step 2 – Install Asterisk
First, download the latest version of Asterisk from the Asterisk official website using the following command:
wget https://downloads.asterisk.org/pub/telephony/asterisk/asterisk-20-current.tar.gz
Once the download is completed, extract the downloaded tar package file with the following command:
tar -xvzf asterisk-20-current.tar.gz
Next, use the cd command to change the directory to the extracted directory and install the required dependencies with the following command:
cd asterisk-20.*/
sudo contrib/scripts/get_mp3_source.sh
sudo contrib/scripts/install_prereq install
Next, run the following configure script to configure Asterisk:
sudo ./configure
The configure script prepares the source code for your Ubuntu environment and Linux kernel.
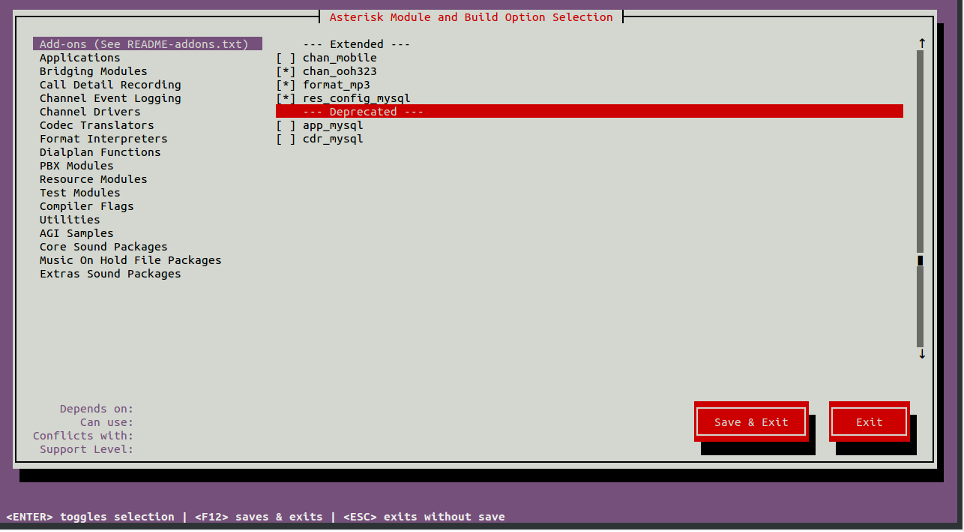
Next, set the menu options with the following command:
sudo make menuselect
Before continuing, you can save a menuselect copy of your selected build options. This is useful when deploying newer versions of Asterisk later.
You can use the Arrow key to navigate and the Enter key to select.
Enable required add-ons:
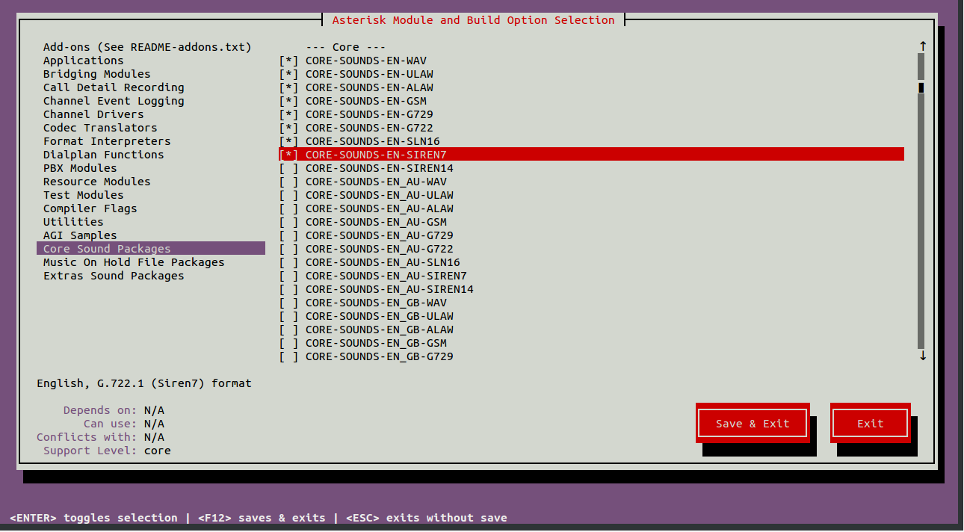
Enable Core Sound Packages
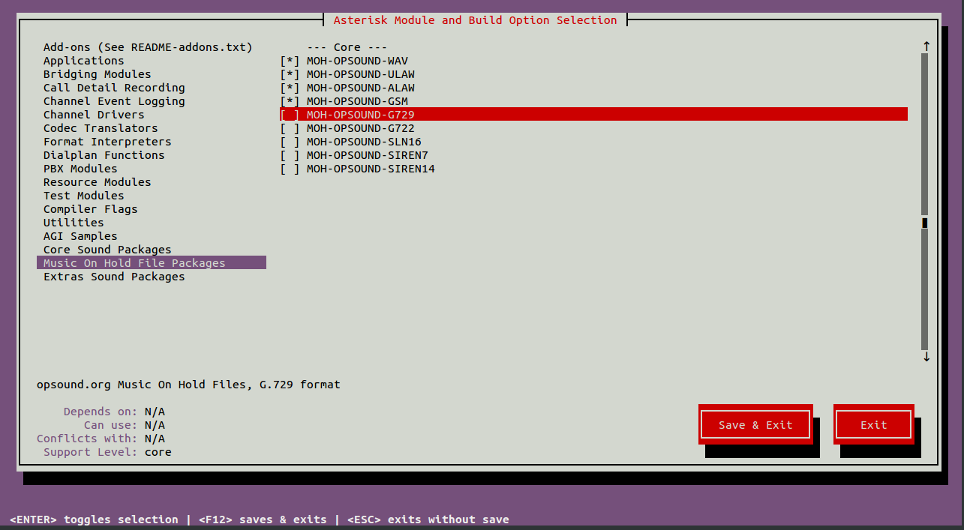
Enable MOH packages
Enable Extra Sound Packages
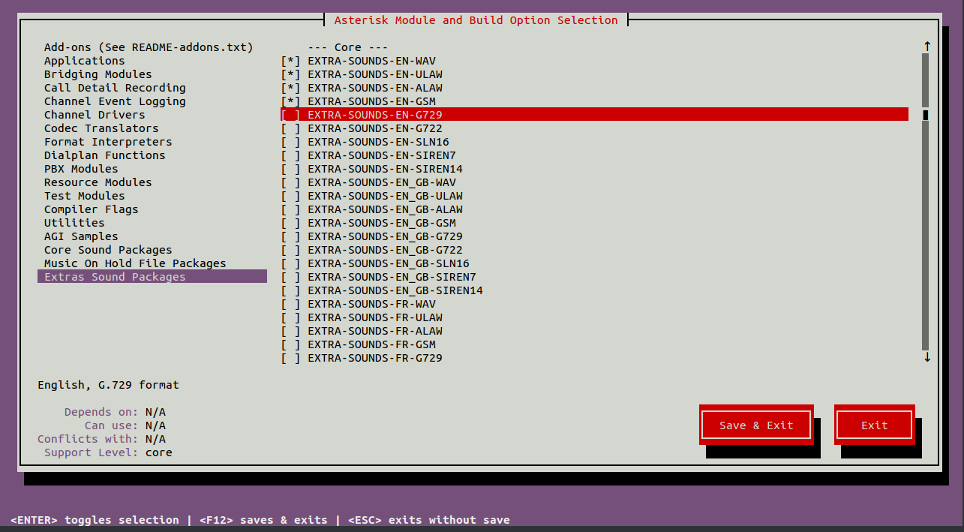
Once all the components are installed, build Asterisk with the following command:
sudo make -j2
Next, install Asterisk using the following command:
sudo make install
Next, install configs and samples using the following command:
sudo make samples
sudo make config
sudo ldconfig
Step 3 – Configure Asterisk
Running Asterisk as the root user poses a major security risk so never run Asterisk as root.
You must create a separate Asterisk user and group. You can create them with the following command:
sudo groupadd asterisk
sudo useradd -r -d /var/lib/asterisk -g asterisk asterisk
Next, add some required users to the Asterisk group with the following command:
sudo usermod -aG audio,dialout asterisk
Next, set proper permissions and ownership using the following command:
sudo chown -R asterisk:asterisk /etc/asterisk
sudo chown -R asterisk:asterisk /var/{lib,log,spool}/asterisk
sudo chown -R asterisk:asterisk /usr/lib/asterisk
Next, edit the /etc/default/asterisk file and set the asterisk user as a default user:
sudo nano /etc/default/asterisk
Change the following lines:
AST_USER="asterisk"
AST_GROUP="asterisk"
Save and close the file, then edit the Asterisk default configuration file and define the “run as” user and group:
sudo nano /etc/asterisk/asterisk.conf
Change the following lines:
runuser = asterisk ; The user to run as.
rungroup = asterisk ; The group to run as.
Save and close the file, then restart the Asterisk service and enable it to start at system reboot with the following command:
sudo systemctl restart asterisk
sudo systemctl enable asterisk
Next, verify the status of the Asterisk service with the following command:
sudo systemctl status asterisk
In some cases, you should get the following error:
radcli: rc_read_config: rc_read_config: can't open /etc/radiusclient-ng/radiusclient.conf: No such
file or directory
You can resolve this error using the following commands:
sudo sed -i 's";\[radius\]"\[radius\]"g' /etc/asterisk/cdr.conf
sudo sed -i 's";radiuscfg => /usr/local/etc/radiusclient-ng/radiusclient.conf"radiuscfg => /etc/radcli/radiusclient.conf"g' /etc/asterisk/cdr.conf
sudo sed -i 's";radiuscfg => /usr/local/etc/radiusclient-ng/radiusclient.conf"radiuscfg =>
/etc/radcli/radiusclient.conf"g' /etc/asterisk/cel.conf
Next, start the Asterisk service again with the following command:
sudo systemctl start asterisk
sudo systemctl status asterisk
Check the installed Asterisk version:
sudo asterisk -V
Review the installation details carefully before moving forward.
Next, connect to the Asterisk CLI with the following command:
sudo asterisk -rvv
You should get the following output:
Asterisk 20.4.0, Copyright (C) 1999 - 2022, Sangoma Technologies Corporation and others.
Created by Mark Spencer <markster@digium.com>
Asterisk comes with ABSOLUTELY NO WARRANTY; type 'core show warranty' for details.
This is free software, with components licensed under the GNU General Public
License version 2 and other licenses; you are welcome to redistribute it under
certain conditions. Type 'core show license' for details.
=========================================================================
Running as user 'asterisk'
Running under group 'asterisk'
Connected to Asterisk 22.4.0 currently running on ubuntu2404 (pid = 89531)
Exit out of the CLI type:
Exit
Step 4 – Install FreePBX
Before installing FreePBX, configure the firewall to allow web access, SIP signaling, and RTP traffic required by Asterisk. Web services such as HTTP and HTTPS use the TCP protocol, while SIP and RTP communications rely primarily on UDP ports for real-time voice transmission.
Asterisk requires dedicated SIP ports for call signaling and a dedicated UDP port range for RTP audio streams. Opening the correct ports ensures that extensions, SIP trunks, and VoIP calls can connect and transmit audio properly.
Run the following commands to allow the required traffic through UFW:
sudo ufw allow 22/tcp
sudo ufw allow 80/tcp
sudo ufw allow 443/tcp
sudo ufw allow 5060/udp
sudo ufw allow 5061/tcp
sudo ufw allow 10000:20000/udp
sudo ufw enable
Next, install the Apache, MariaDB, PHP and other required packages with the following command.
sudo apt install mariadb-server apache2 php libapache2-mod-php php-intl php-mysql php-curl php-cli php-zip php-xml php-gd php-common php-mbstring php-xmlrpc php-bcmath php-json php-sqlite3 php-soap php-zip php-ldap php-imap php-cas -y
Once all the packages are installed, download the latest version of FreePBX using the following command:
wget http://mirror.freepbx.org/modules/packages/freepbx/freepbx-17.0-latest.tgz
Once downloaded, extract the downloaded tar file with the following command:
tar -xvzf freepbx-17.0-latest.tgz
Next, change the directory to the extracted directory and install the Node.js package with the following command:
cd freepbx
sudo apt-get install nodejs npm -y
Next, set the required permissions with the following command:
sudo ./install -n
You should get the following output:
Setting specific permissions...
30690 [============================]
Finished setting permissions
Generating default configurations...
Finished generating default configurations
You have successfully installed FreePBX
Next, install the pm2 package with the following command:
sudo fwconsole ma install pm2
Next, change the Apache user to Asterisk and turn on the AllowOverride option with the following command:
sudo sed -i 's/^\(User\|Group\).*/\1 asterisk/' /etc/apache2/apache2.conf
sudo sed -i 's/AllowOverride None/AllowOverride All/' /etc/apache2/apache2.conf
Next, set upload_max_filesize to php.ini file with the following command:
sudo sed -i 's/\(^upload_max_filesize = \).*/\120M/' /etc/php/*/apache2/php.ini
sudo sed -i 's/\(^upload_max_filesize = \).*/\120M/' /etc/php/*/cli/php.ini
Next, enable the Apache rewrite module and restart the Apache service with the following command:
sudo a2enmod rewrite
sudo systemctl restart apache2
After installation, you can use the FreePBX interface to search for extensions, modules, and trunks. The FreePBX dashboard provides the simplest way to manage Asterisk from a browser.
Step 5 – Access FreePBX
Now, open your web browser and access the FreePBX web interface using the URL http://your-server-ip/admin. You will be redirected to the Admin user creation page:
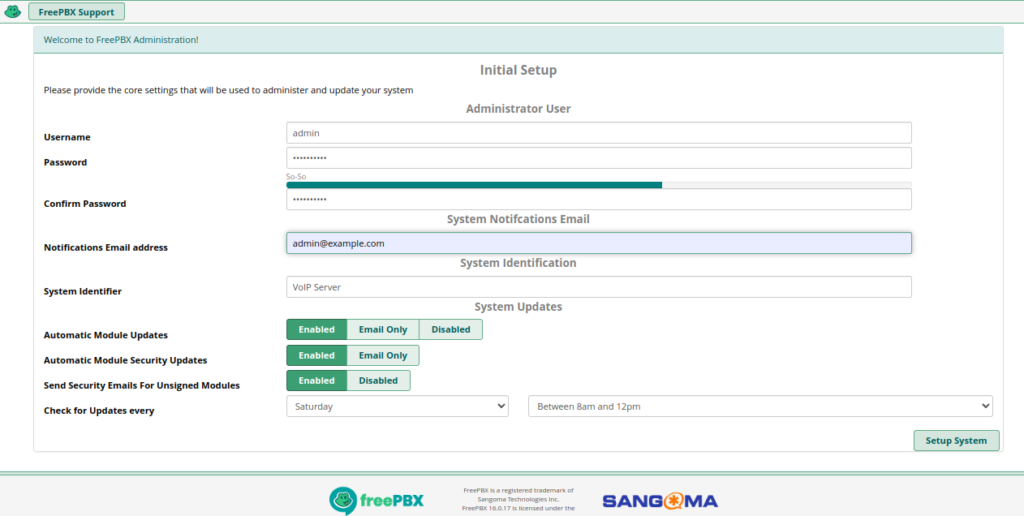
Provide your Admin user details and click on the Setup System button. You should see the following page:
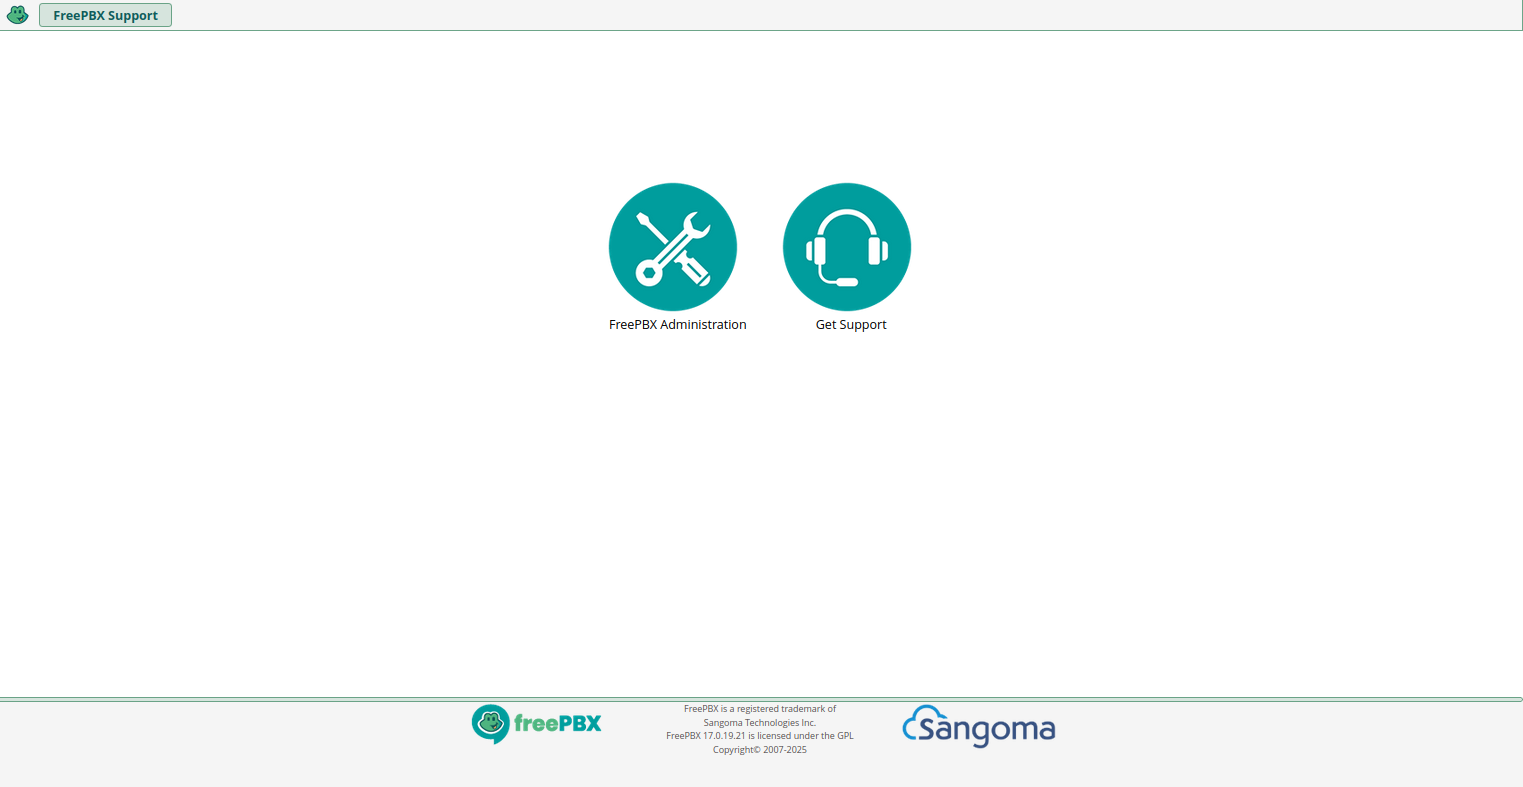
Click on the FreePBX Administration button. You should see the FreePBX login page:
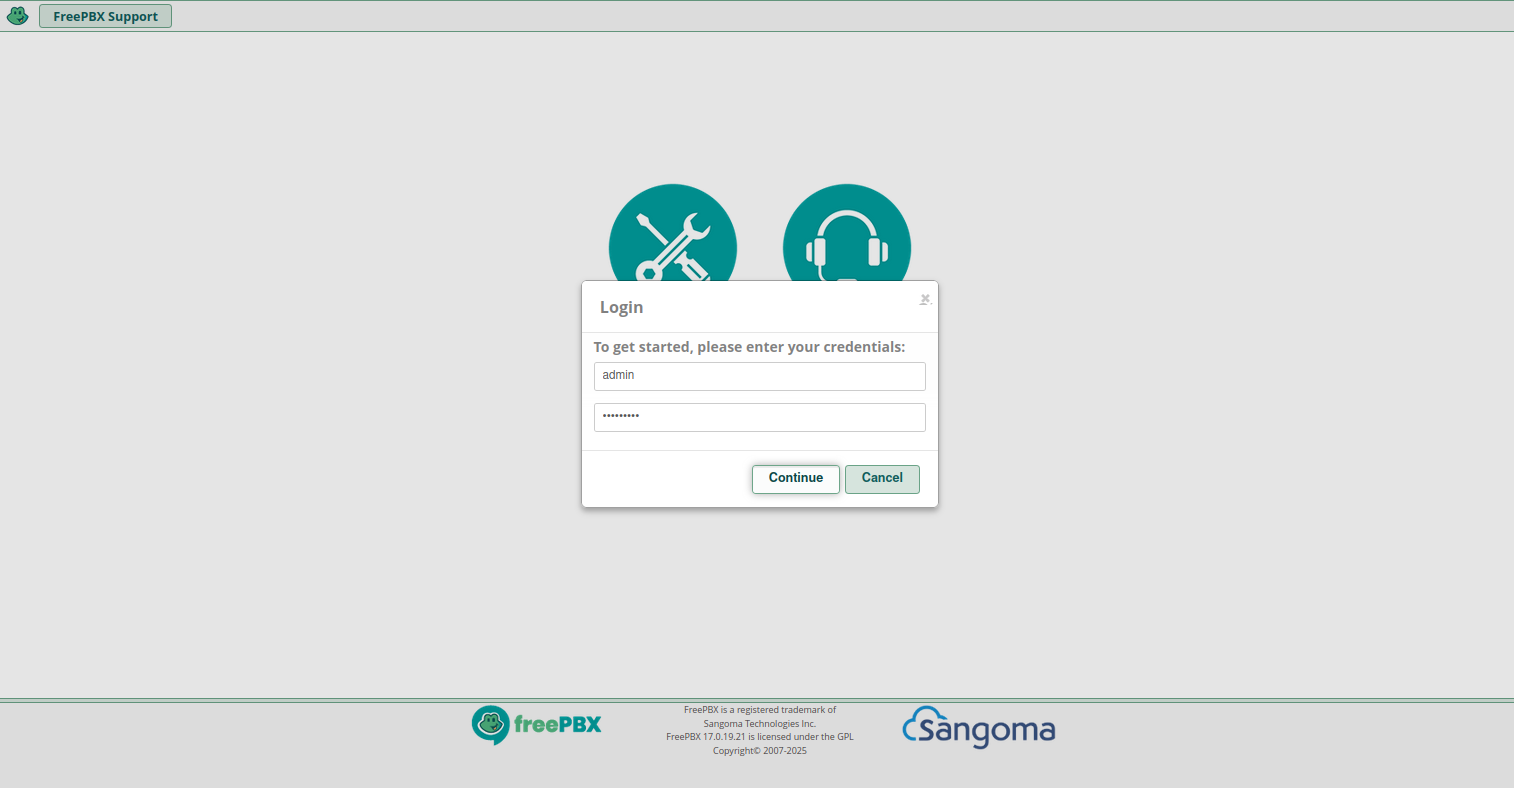
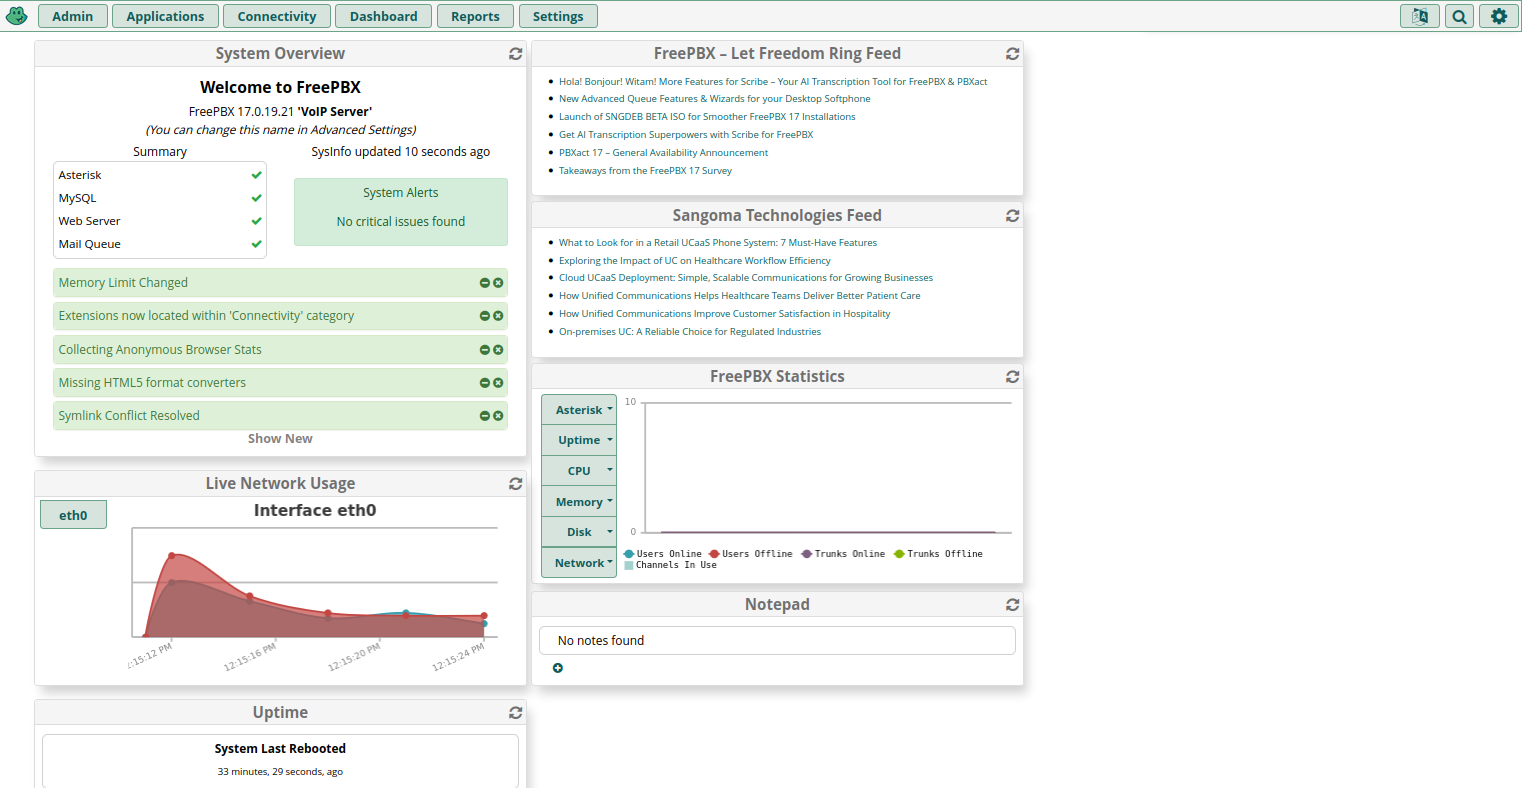
Provide your admin username and password, and click on the Continue button. You should see the FreePBX dashboard on the following page:
Asterisk Security Best Practices
For production deployments, follow these security recommendations:
- Use strong, unique passwords for SIP accounts.
- Restrict SIP ports to trusted IP addresses.
- Enable TLS encryption for SIP communications.
- Keep Ubuntu and Asterisk updated regularly.
- Apply security updates daily for Asterisk and dependencies.
- Use fail2ban and firewall protection.
- Grant only necessary sudo access to administrators.
- Review system log files regularly.
- Exposing SIP services directly to the Internet without restrictions creates a security risk.
- If an error occurs during compilation, verify that all dependencies are installed correctly.
Conclusion
In this tutorial, you learned how to install Asterisk on Ubuntu 24.04 and deploy FreePBX using Asterisk 20. You installed required Asterisk packages, compiled the source code, configured an Asterisk user, secured the Asterisk server, and configured firewall rules using sudo ufw.
Asterisk is a powerful communications program that runs on modern Linux platforms and supports enterprise telephony features through open-source software. The platform includes features such as voicemail, IVR, conference bridges, call recording, SIP trunk integration, and support for large-scale VoIP infrastructure deployments.
Always verify the release date of downloaded packages before deployment, review installation details, and test configurations before production use. Developers can also clone the source repository to evaluate changes and contribute improvements back to the project. After validating your configuration, you can safely proceed with production deployment on your server, whether it runs on an Ubuntu Server or Ubuntu Desktop environment.
Asterisk remains one of the most widely used open-source PBX platforms available today, with many components licensed under the GNU General Public License and other open-source licenses.
* This post is for informational purposes only and does not constitute professional, legal, financial, or technical advice. Each situation is unique and may require guidance from a qualified professional.
Readers should conduct their own due diligence before making any decisions.